3
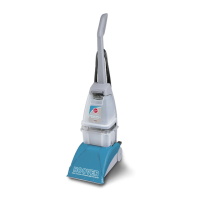
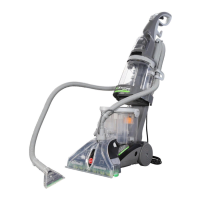
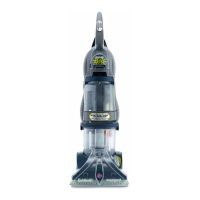
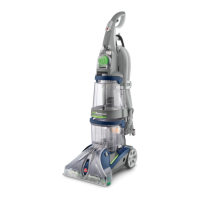
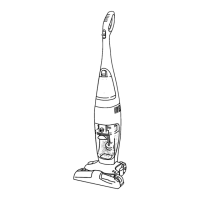
Assembling deep cleaner
The assembled model will look like this drawing.
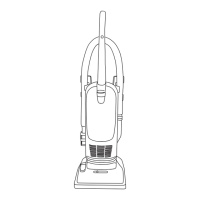
2
CORD
HOOK
With cord hook to back of deep cleaner, push upper handle
down onto lower handle. (Fig. 2).
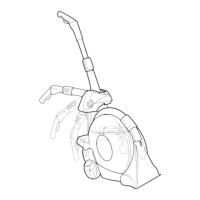
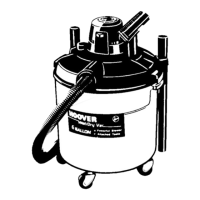
Remove clean solution tank (upper tank) (Fig. 1).
1
Attach upper handle
3
Push bolts into holes on front of handle (Fig. 3).
If bolts will not go through hole easily handle is not pushed
completely down.
4
Place nuts in recessed areas on back of handle. Hold each
nut in place while tightening each bolt securely with a Phillips
screw driver (Fig. 4).
Only two nuts are needed on this model. The extra nut is not
required but has been provided for your convenience.
5
SQUEEZE
TRIGGER
When handle sections are completely together, squeeze
trigger on upper handle to snap trigger rod in place. (Fig. 5)
6
TANK
HANDLE
Replace clean solution tank (upper tank) by positioning bottom
first. Press on tank handle to snap top of tank into place (Fig. 6).
Continued ➜