6
PLEASE READ THESE INSTRUCTIONS CAREFULLY
This cleaner should only be used for domestic cleaning as described in these instructions. Please
ensure that these are fully understood before operating the appliance. The Charger Base is
double insulated and must not be earthed.
ELECTRICAL REQUIREMENTS
This Hoover appliance is supplied with a double insulated battery charger which is only suitable
for insertion in a 230V (UK 240V) socket outlet. Ensure that the charger rating label matches
your voltage supply.
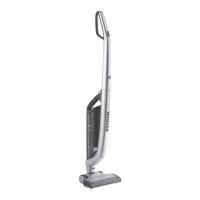
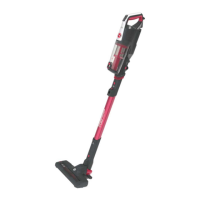
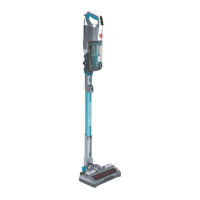
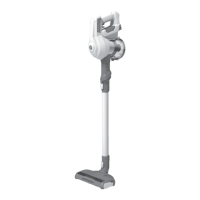
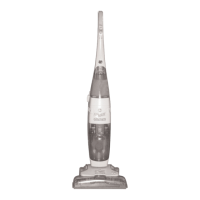
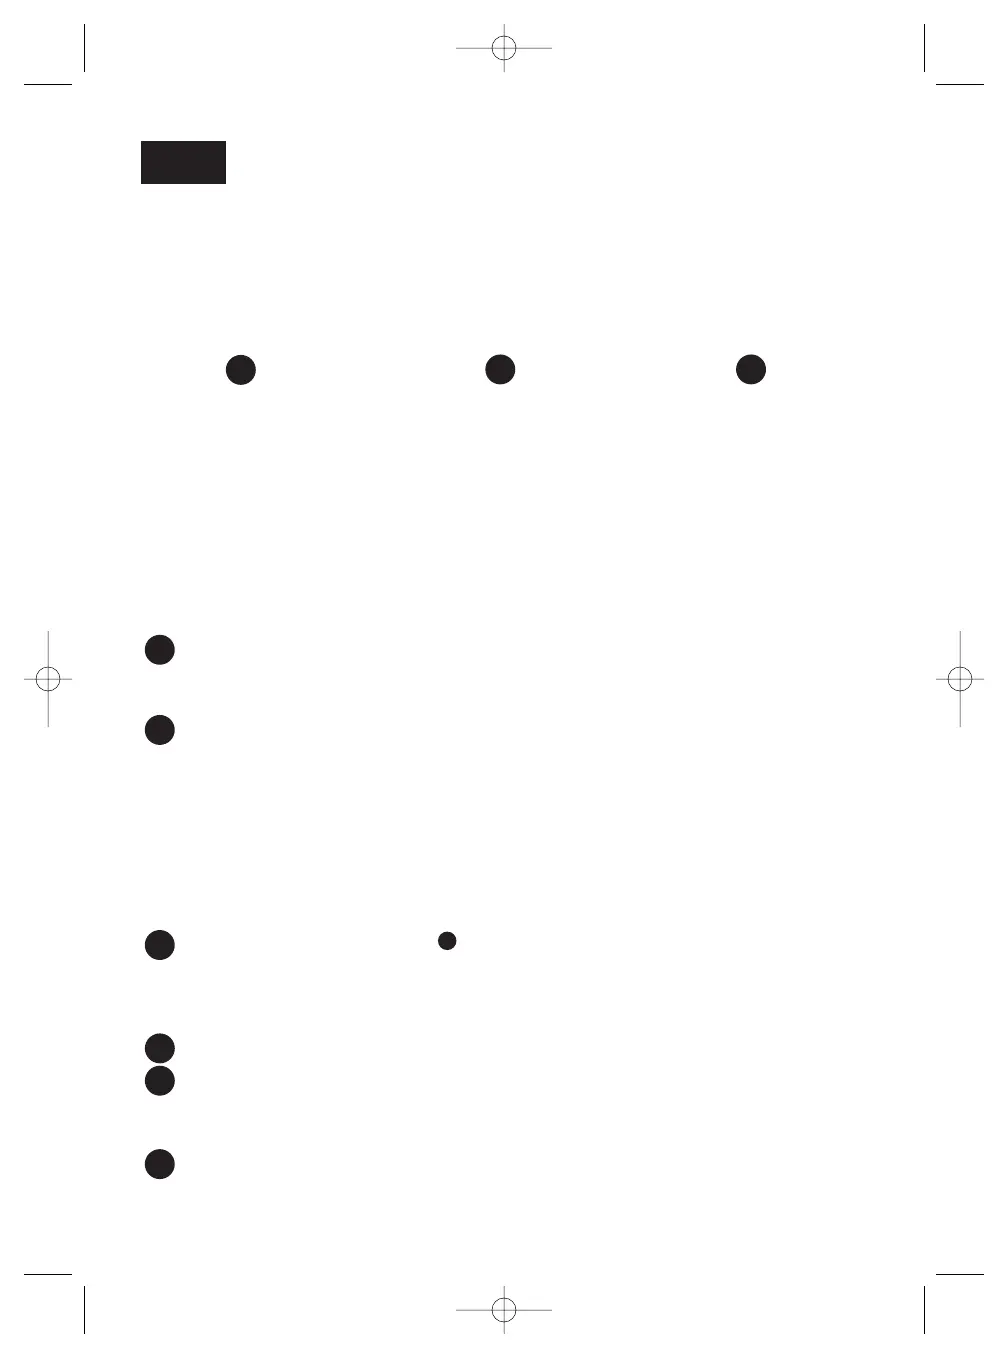
FEATURES
CLEANER ASSEMBLY CHARGING FILTERS
1. Handle
2. On/Off and Selector Switch
3. Handle Release Button
4. Main Body
5. Dust Cup
6. Filter (Inside Dust Cup)
7. Dust Cup Release Button
8. Nozzle Release Button
9. Carpet & Floor Nozzle
10. Indicator Light
11. Charger Contacts
12. Power Cord
13. Filter
14. Filter Screen
PREPARING CLEANER FOR USE
Line up Nozzle with Main Body and firmly push Nozzle into Main Body until the Nozzle
locks into place.
NOTE: To remove Nozzle, push Nozzle Release Button
88
and pull nozzle away from Main
Body.
Fold Handle up until it locks into place.
NOTE: For storage purposes the Handle may be folded down by depressing Handle Release
Button
33
.
CHARGING
NOTE: Use only the charger supplied with your cleaner to recharge.
IMPORTANT: Before first use charge your cleaner for 24 hours.
When charging the Cleaner power switch must be Off.
Keep the charger plugged into a socket outlet at all times. It is normal for the charger to
become warm to the touch when charging.
If the operating time reduces after repeated use, let the cleaner run until it stops, then
recharge for 24 hours and repeat this monthly for best results.
Place cleaner on Charger Base
The indicator light
1100
. will illuminate when charging.
IMPORTANT: Never charge the batteries in temperatures above 37 ºC or below 0 ºC.
USING YOUR CLEANER
Hard Floors: Slide the On/Off Switch 2 forward to the hard floor position.
Carpets: Slide the On/Off Switch 2 fully forward to the carpet cleaning position.
DUST CUP AND FILTER: REMOVAL & REPLACEMENT
REMOVAL
Remove Dust Cup: Depress the Dust Cup Release Button
77
and remove the Dust Cup
Assembly.
GB
AA
BB CC
DD
EE
FF
GG
HH
JJ
BB
 Loading...