Do you have a question about the Hoover SMART H4012 and is the answer not in the manual?
Highlights HEPA filtration, variable speed, telescopic tube, and compact design.
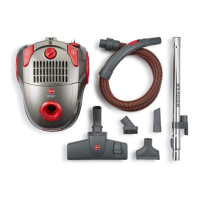
Lists essential components like handle, hose, telescopic tube, and controls.
Details floor tools, dusting brush, crevice tool, and upholstery brush.
Provides details on max power, dust capacity, noise level, and dimensions.
Ensures full benefit from the cleaner; keep manual for future reference.
Always switch off and unplug before cleaning or maintenance.
Covers safe operation regarding heat, water, sharp objects, and cable use.
Covers user suitability, child supervision, and electrical safety.
Ensures cord condition, proper unplugging, and avoiding cable damage.
Addresses wet hands, stair use, attachment changes, and proximity to heat.
Details items not to pick up, filter usage, and storage conditions.
Covers unplugging for maintenance, avoiding liquid cleaners, and modifications.
Step-by-step guide for connecting hose, tube, and handle.
Instructions for cable rewind, power on, and suction adjustment.
Procedure for replacing a full dust bag and ensuring proper closure.
Guidance on filter cleaning frequency and HEPA filter replacement.
Steps to replace the exhaust filter and reassemble the unit.
Addresses motor issues and reduced suction with potential causes and fixes.
Lists parts like hose, rod, filter, and motor with their corresponding part numbers.
Details the one-year parts and labour warranty for domestic use.
Specifies conditions that void the warranty, like misuse or non-genuine parts.
Explains consumer law rights and provides contact details for queries.
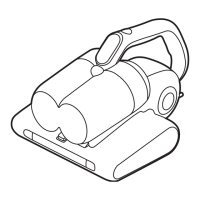
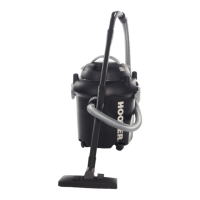
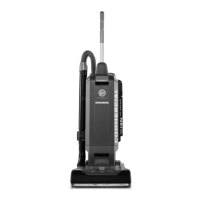
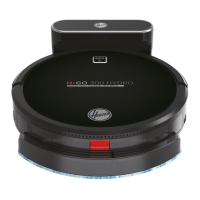
This document describes the H4012 Smart Bagged Vacuum Cleaner with HEPA Filtration, a compact and lightweight appliance designed for domestic household cleaning. It features variable speed control and a telescopic tube, making it versatile for various cleaning tasks.
The Hoover H4012 Smart is a bagged vacuum cleaner specifically designed for removing dry dirt and dust from household carpets, flooring, walls, and fabrics. It is equipped with HEPA filtration to ensure cleaner exhaust air. The vacuum operates with a variable speed control, allowing users to adjust the suction power according to the cleaning surface and task. Its compact and lightweight design enhances maneuverability and ease of storage. The cleaner is intended for domestic use only and is not suitable for industrial cleaning or for picking up vitreous building materials, construction products, or excessive sand, as this could void the manufacturer's warranty.
The vacuum cleaner is designed for straightforward assembly and operation.
Regular maintenance is essential to ensure the longevity and optimal performance of the Hoover H4012 Smart vacuum cleaner. Always ensure the cleaner is disconnected from the mains power supply before performing any maintenance duties.
Following these maintenance guidelines will help maintain the efficiency and extend the lifespan of your Hoover H4012 Smart vacuum cleaner.
| Model | SMART H4012 |
|---|---|
| Category | Vacuum Cleaner |
| Battery Type | Lithium-Ion |
| Type | Cordless |
| Special Features | LED headlight |
| Battery Voltage | 22 V |