Do you have a question about the Hoover Wet/Dry Vac and is the answer not in the manual?
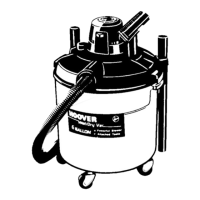
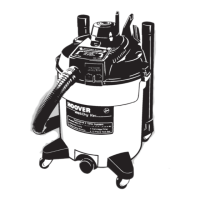
Attaching caster supports and casters to the outer tank for mobility.
Securing the float ball and cage to the inner tank for wet operation.
Placing the inner tank into the outer tank correctly for two-tank operation.
Securing the lid onto the cleaner tank for operation.
Mounting the tool rack onto the cleaner lid for storage.
Connecting hoses, wands, and nozzles for cleaning tasks.
Installing the drain cap on the lower front of the tank.
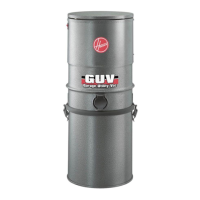
Steps to detach the blower unit from the cleaner lid.
How to connect wands and nozzles to the blower.
Procedures for draining liquid and removing dry debris from the tanks.
Information on filter availability and importance of genuine HOOVER filters.
How to clean and replace the foam filter for optimal performance.
Steps for cleaning, maintaining, and replacing the cartridge filter.
Troubleshooting steps for when the cleaner fails to power on or operate.
Diagnosing and resolving issues related to reduced vacuum power.
The device is a HOOVER Wet/Dry Vac, designed for both wet and dry pick-up, and features a portable blower. It incorporates an exclusive two-tank system for enhanced versatility.
The HOOVER Wet/Dry Vac is a multi-purpose cleaning appliance intended for household use. Its primary functions include:
| Brand | Hoover |
|---|---|
| Model | Wet/Dry Vac |
| Category | Vacuum Cleaner |
| Language | English |