2,8 5,5–∞
4 3,9–∞
5,6 2,9–∞
8 2–∞
11 1,5–∞
16 1–∞
4.3. Picture Taking
Cock the shutter.
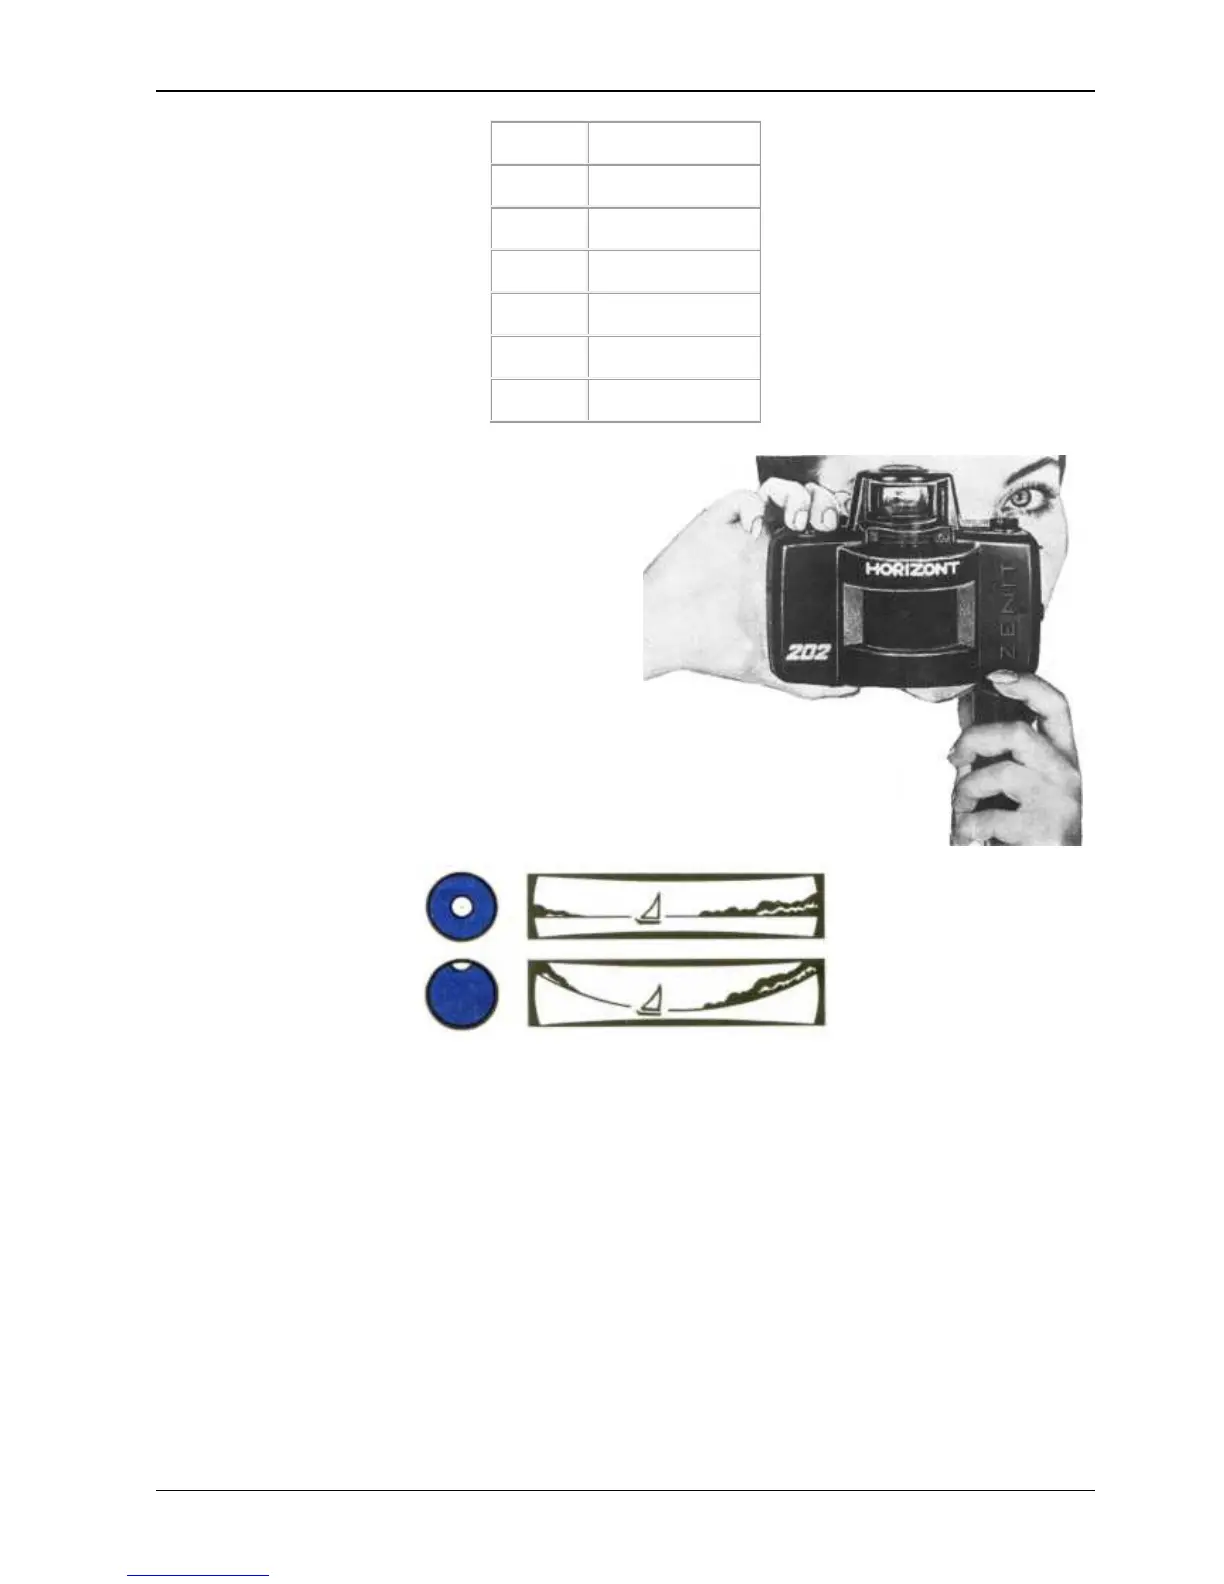
When shooting hold the camera in the way
shown in the picture.
Be sure that the frame is not blocked by your
fingers.
Aim the camera at the object to be photographed
and looking through the viewfinder determine its
limits.
Camera horizontal portion is adjusted by lever 3.
At correct camera position which prevents a
perspectively distorted picture, the level ball
should be in the center of the light circle seen in
the viewfinder field of view.
For vertical shorts no level is used. Having prepare the camera for shooting press the release button
as far as it will go to take a picture.
REMEMBER, that sharp pressing on the release button results in camera shake at the moment of
exposure and thus in blur of the picture.
To take picture with longer exposures than 1/30s the shutter is better released with the help of a
cable release which is screwed into the release button socket.
You can as well make use of a tripod having removed the handle beforehand.
4.5. Mounting the Handle
Take the handle out of the case. Remove the end-cap 23 from the camera locating hole. To do this
take a pressure on the end-cap with your thumb and turn it in either sides till it comes out of the
camera.
Put the handle in the hole and pressing it to the camera turn it in either direction to a click-stop.
At correct mounting of the handle the key down should be on the outer side of the camera. To
remove the handle from the camers press the key down to a stop and turn the handle till it comes out of
the camera.
 Loading...