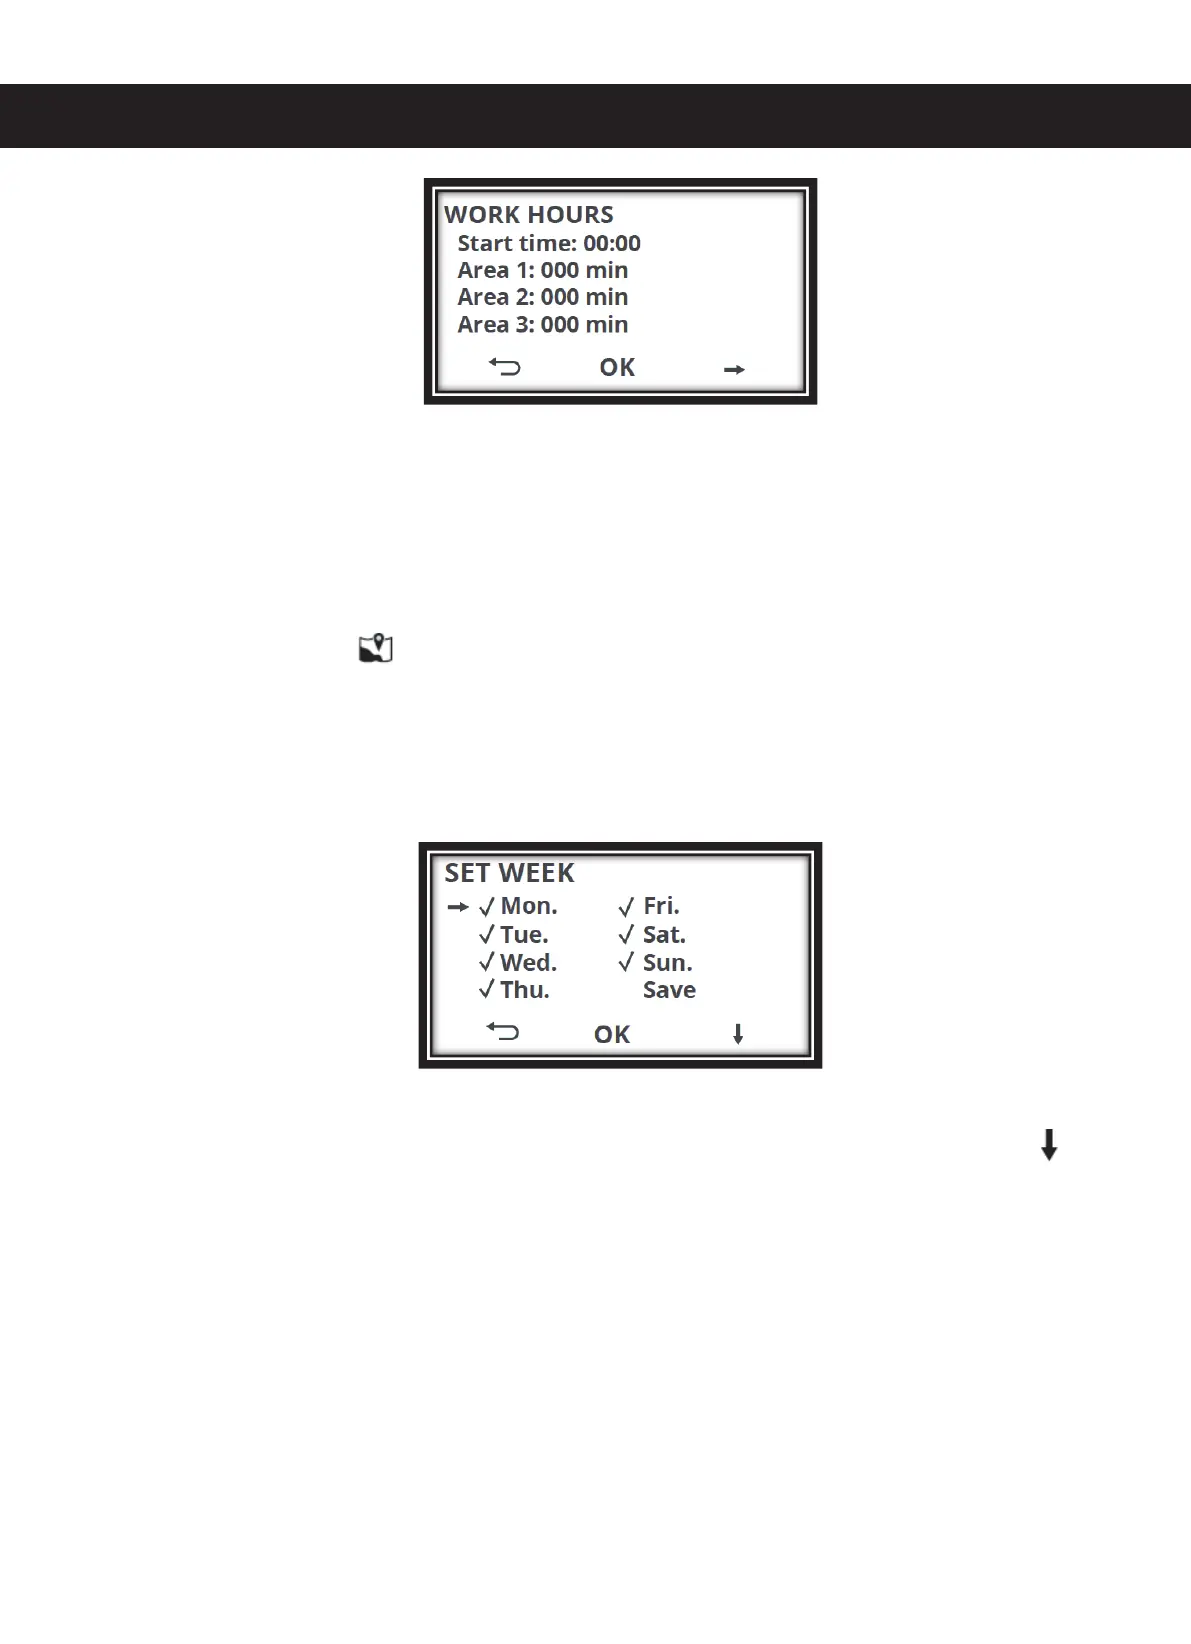
4.2.2 : You can now define the start time as well as the time intervals for the areas 1, 2 and
3 with the help of the digits on the keypad. After entering the start time, the cursor jumps
automatically to the fields for entering the time intervals hh:mm for the area 1, area 2 and the
area 3. With the start time, you are defining the time point at which the mower should begin
with the work. With the time intervals for the areas 1, 2 and 3, you are defining the time
period for how long the mower works in each area. You can define the individual start points
in the menu option AREA . Please read the item AREA in the Operator's Manual for this
purpose.
Starting from here, the procedure for "Full area" as well as "Area 1, 2, 3" is identical
5. SET WEEK. Define the days on which the mower should work. To do this, select "Work
days" and press "OK". The following is displayed:
All days are stored in the default factory settings. This means that there is a tick mark before
every day of the week. Now select the days on which the mower should work. Press to
change the days. You can set or delete the tick mark with OK.
ATTENTION: The mower will mow only on those days which have a tick mark set before
them. Now choose "Save" to save the settings. If you forget to save, you will be asked once
again "Save or not?" Here, you can then choose between "Yes" or "No". Confirm with OK.
The screen shows you "Saved" and returns to selection in Schedule mode.
6. Select "Clear timer", you can reset the settings configured. To do this, select "Clear timer"
and confirm with OK. The following is displayed: