Do you have a question about the Hotpoint Ariston LFT 116 and is the answer not in the manual?
Ensure the dishwasher is stable and level for optimal operation and reduced noise.
Connect water and power according to safety guidelines, using qualified technicians.
Connect the inlet hose to a suitable cold or hot water point, ensuring correct pressure.
Connect the outlet hose to a drain duct with a minimum diameter of 4 cm, at the correct height.
The dishwasher is equipped with a system to prevent floods in case of leaks or hose rupture.
Apply the adhesive strip under the wooden shelf to protect it from condensation.
Fill the salt dispenser with water and salt before the first wash cycle.
Details on dimensions, capacity, water pressure, voltage, and certifications.
Information on the standard Eco wash cycle for energy and water efficiency.
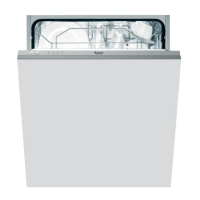
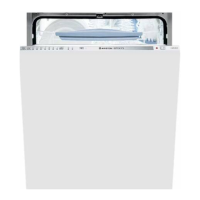
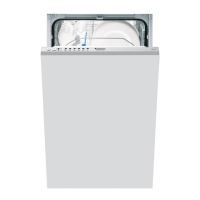
Diagram identifying the main components of the dishwasher.
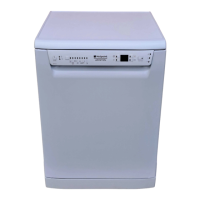
Overview of buttons, indicator lights, and their functions.
Guidance on loading the lower rack and cutlery basket with various items.
Instructions for loading delicate and lightweight crockery onto the upper rack.
Details on adjusting tip-up compartments for optimal crockery arrangement.
How to adjust the upper rack height for easier loading.
List of items that should not be placed in the dishwasher.
Step-by-step guide to starting a wash cycle.
Guidance on using the correct amount of detergent for effective washing.
How to change a wash cycle if it has just begun.
Instructions for adding more items during a wash cycle.
What happens if the cycle is interrupted by door opening or power cut.
Table detailing different wash cycles, their settings, and durations.
Tips for measuring detergent and information on the Eco wash cycle.
How to fill the rinse aid dispenser and adjust the dosage for optimal drying.
Guide to adjusting rinse aid dosage based on drying results.
Instructions on setting water hardness for optimal performance.
How to fill the salt dispenser and ensure proper water softening.
Steps to safely disconnect water and electricity before cleaning or maintenance.
Methods for cleaning external surfaces and removing internal marks.
Tips to prevent odors, including keeping the door ajar and cleaning seals.
How to remove and clean the upper and lower sprayer arms.
Procedure for cleaning the water inlet filter at the tap outlet.
Detailed instructions for cleaning the filter assembly.
Instructions for disconnecting and preparing the appliance for extended periods.
Important safety information for operating the appliance.
Guidelines for the proper disposal of packaging and the appliance.
Tips for saving water, energy, and using eco-friendly detergents.
Solutions for when the dishwasher does not start or cannot be controlled.
Troubleshooting steps if the dishwasher door does not close properly.
Causes and solutions for water not draining from the dishwasher.
Identifying and resolving causes of excessive noise during operation.
Solutions for white film or limescale deposits on dishes and glasses.
Troubleshooting for streaked or bluish tinges on crockery.
Causes and solutions for dishes not being dried properly.
Solutions for when the crockery is not clean after a wash cycle.
Troubleshooting for the no water intake alarm.
Solutions for water inlet hose alarms or blocked filters.
Steps to take before calling for technical support.
Details to have ready when contacting the assistance service.
| Brand | Hotpoint Ariston |
|---|---|
| Model | LFT 116 |
| Category | Dishwasher |
| Language | English |