Installation
Instructions
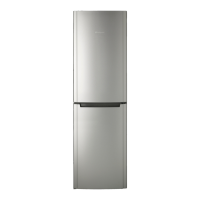
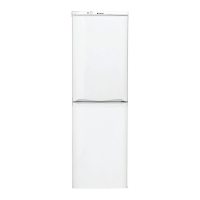
Refrigerator
Models 18and 19
ffyou have questions,call 1.800.GE.CARESor ,isit ore" _,%bsite at: www.Hotpoint.com
BEFORE YOU BEGmN
Read these i]]strnctlons completely and carefully:
" IMPORTANT - these
i_structions {or local inspector's i_se.
° IMPORTANT - Obse ,'e
governim_g codes ;md ordim_aN_ces.
* Note to Installer = Be sure to leave these
im_structions with the Consm_er.
* Note to Consumer = Keep these im_strl*ctiom_s
ti)r hmu'e re{erence.
* Skill level - In staHati on of this applia m_ce req I_ires
basic mecha_*ical skills_
° Completion time - Rehigemtor h_stallation
]5 m im_I_tes.
* Proper im_sta]]ation is the respom_sibi]ity of the
im_sta]ler.
° Product thilm'e due to improper im_stallation is m_t
covered imder the Warl_mtv.
WATER SUPPLY TO THE ICEMAKER
(ON SOME MODELS)
If the refrigerator has an icemaker, it will have to be
cmmected to a cold water line. AGE water supply kit
(contaii]ii]g robing, shutoff valve, fittings and
instructions) is awfilable at extra cost from vom" dealer
or by visiting ore" Website at w_v.GEAppliai]ces.coln
or Parts and Accessories, 800.626.2002.
REFRIGERATOR LOCATION
• Do not install the reflJgerator where the temperature
will go below 60°F (l 6°C) because it will not run o[_ten
enough to nlaintain proper telnperatures.
• Do not install the refrigerator where the temperature
will go above 100°F (37°C) because it will not perlorm
properly:
• Install it on a floor strong enough to suppoi_t it flflly
loaded.
CLEARANCES
_Mhav the fl_llowing clearances for ease of installation,
proper air circulation and plumbing and electrical
connections.
• Sides 1/8" (3 ram)
• Top 1" (25 ram)
• Back 1" (25 ram)
If the refl_igerator is to be installed next to a wall on the
hinge side, allow 5/16" (8 ram) door clearance.
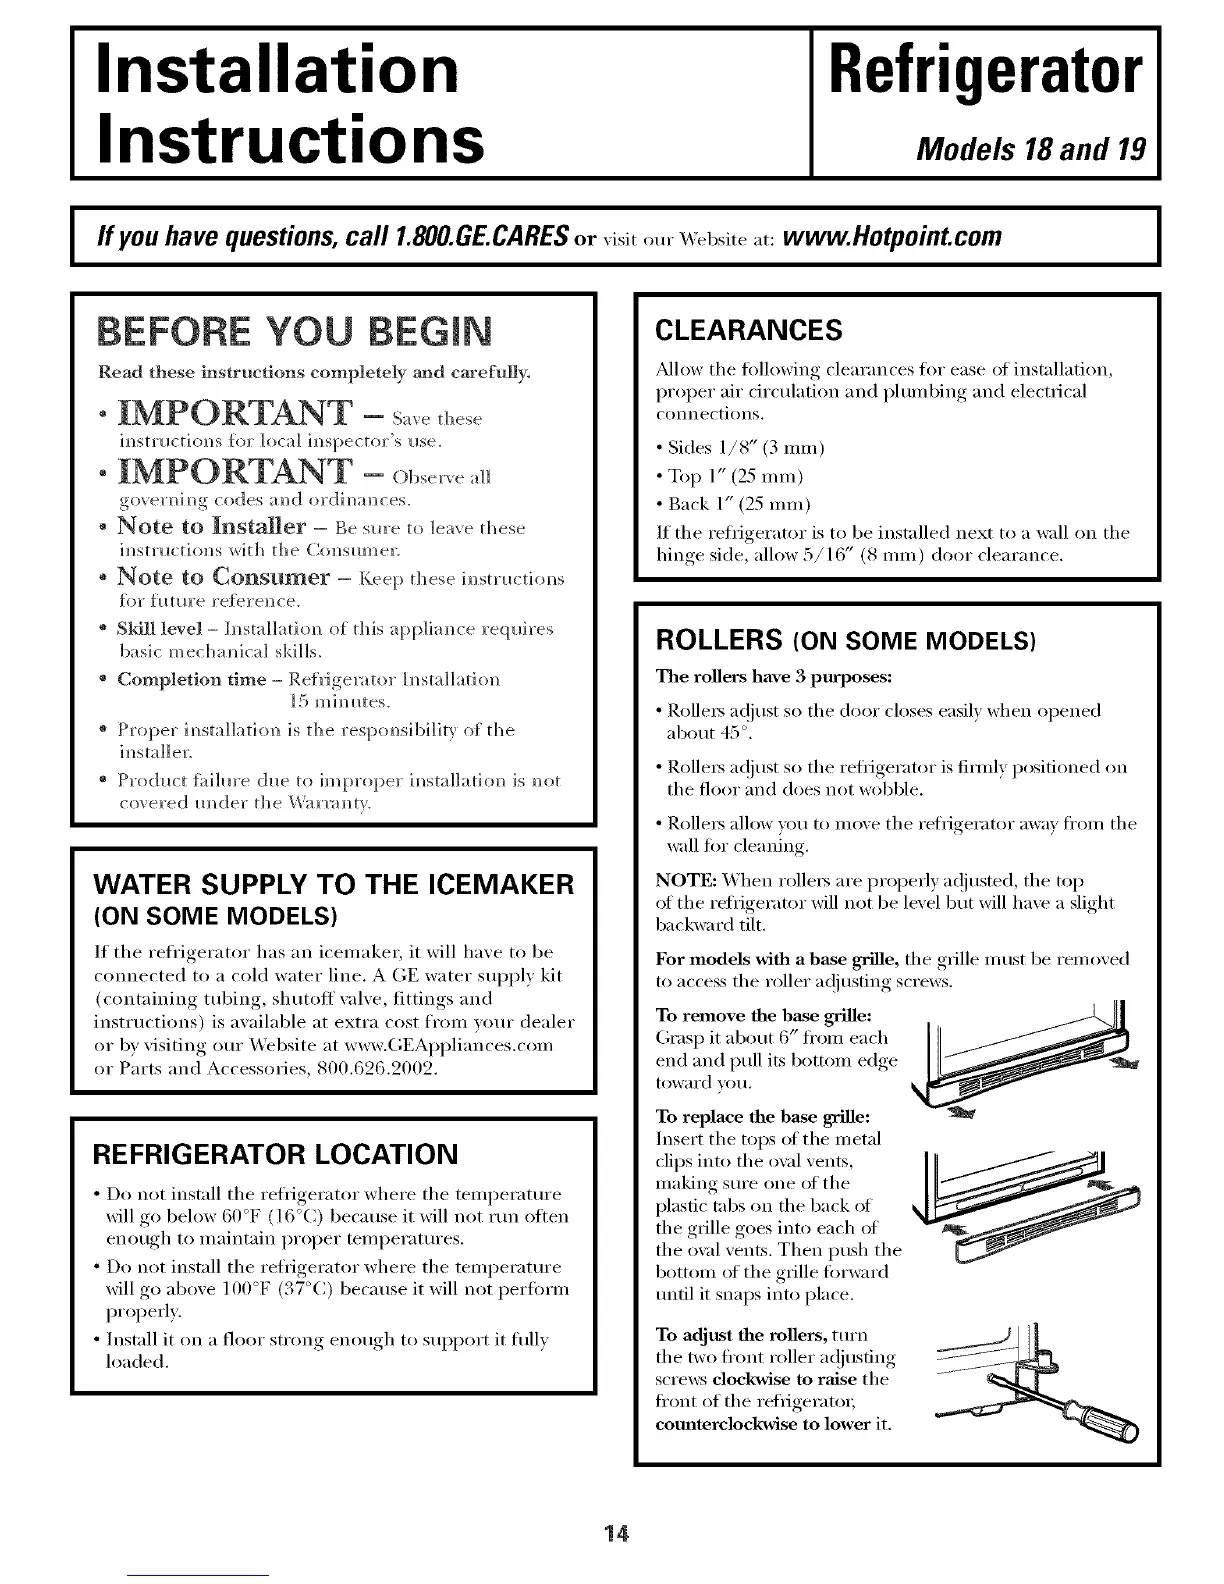
ROLLERS (ON SOME MODELS)
The rollers have 3 purposes:
• RolleI_ a_!just so the door closes easiE when opened
about 45 °.
• RolleI_ a(!just so the refl_igerator is firmly positioned on
the floor and does not _obble.
• Rollei_ allow win, to inoxe the refrigerator away fl'Oln the
wall tot cleanim*
NOTE: X&hen rollels are properly a(!justed, the top
of the refrigerator will not be lexe[ but will haxe a slioht
backward til t,
For models with a base grille, the grille m ust be rein oxed
to access the roller a(!justing screws.
To remove the base grille:
Grasp it about 6" fl'om each
end and pull its bottom edge
toward VOtl.
To replace the base grille:
Insert the tops of the metal
clips into the o\;d vents,
making sm'e one _ff the
plastic tabs on the back ot
the grille goes into each ot
the oxal vents. Then Imsh the
bottoln of the grille fi>rward
tmtil it snaps into place.
To adjust the milers, turn
the two fl'ont roller a(!jusfing
screv,:s clockwise to raise the
fl'ont of the reffigeratoi;
comlterclockwise to lower it.
14