CONNECTING DUCTWORK
20
3
Pop
corn
Co
n
veni
en
c
e Cooki
ng
Ex
p
ress
Cook
Pota
to
S
t
ar
t
P
a
u
s
e
Canc
e
l
Off
Be
v
erag
e
Re
h
e
at
S
et
Clock
Tu
rn
t
a
b
le
S
u
r
fa
ce
Lig
h
t
Ve
n
t
Ad
d
3
0
Se
c.
Pow
e
r
L
ev
e
l
0
8
5
2
7
4
1
9
6
3
C
oo
k
T
im
e
D
e
fros
t
W
eig
ht/T
ime
Timer
O
n/
O
ff
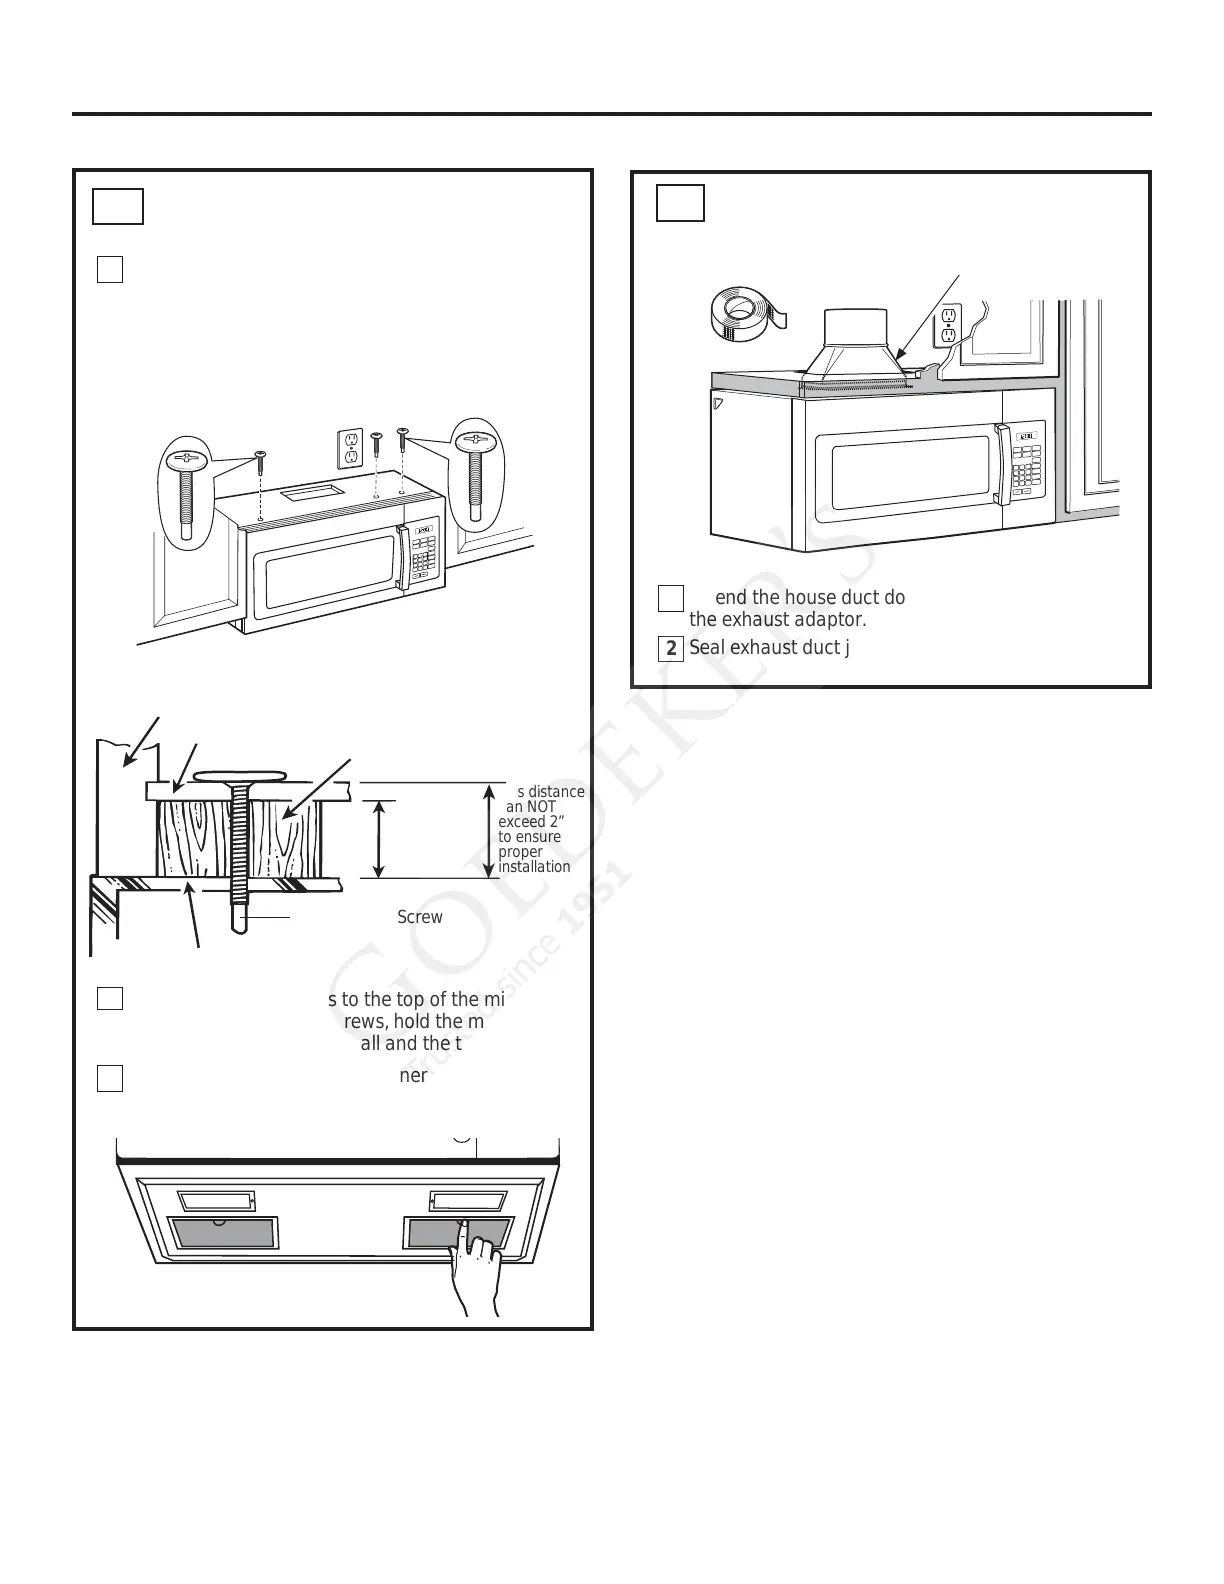
Cabinet Front
Cabinet Bottom Shelf
Filler Block
Microwave Oven Top
Equivalent
to Depth
of Cabinet
Recess
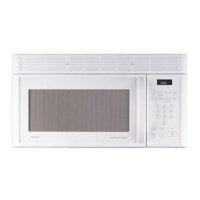
Insert a self-aligning screw through top-center
cabinet hole. Temporarily secure the microwave
oven by turning the screw at least two full
turns after the threads have engaged. (It will be
completely tightened later.) Insert 2 self-aligning
screws (
1
ø4s-28 x 2
1
ø4
s
) through outer top cabinet
holes. Turn two full turns on each screw.
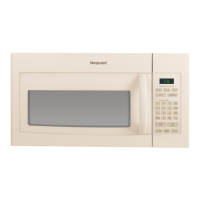
Tighten the three screws to the top of the microwave
oven. (While tightening screws, hold the microwave
oven in place against the wall and the top cabinet.)
Install grease filters. See the Owner’s Manual packed
with the microwave oven.
5
4
Installation Instructions
1
2
Extend the house duct down to connect to
the exhaust adaptor.
Seal exhaust duct joints using duct tape.
P
op
co
r
n
Con
ve
n
ien
c
e
Cooki
ng
Ex
press Cook
Potato
S
tar
t
P
aus
e
Can
cel
Off
B
e
v
erag
e
R
eheat
Set
Cl
oc
k
Tu
r
ntable
Su
rf
ace
L
ight
Vent
Add
30
Sec.
Power
Le
vel
0
8
5
2
7
4
1
9
6
3
Cook
Tim
e
Def
ro
st
W
e
igh
t
/
Time
Tim
er
O
n
/O
ff
House Duct
Self-Aligning Screw
MOUNT THE MICROWAVE OVEN
FRQW
B5
B6
This distance
can NOT
exceed 2”
to ensure
proper
installation