GB
8
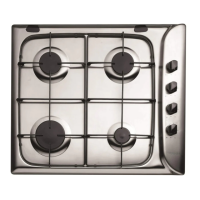
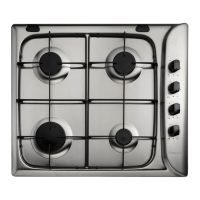
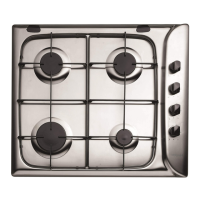
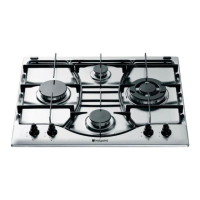
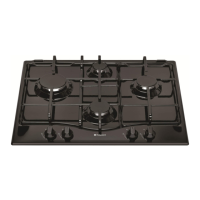
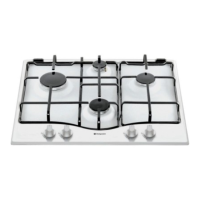
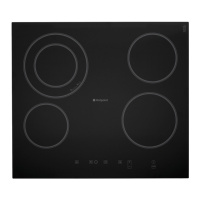
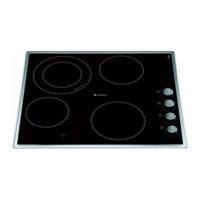
The position of the corresponding gas burner or
electric hotplate* is shown on every knob.
Gas burners
Each burner can be adjusted to one of the following
settings using the corresponding control knob:
Off
Maximum
Minimum
To turn on one of the burners, place a lighted match or
lighter near the burner, press the knob all the way in
and turn it anti-clockwise to the "High" setting.
To light a burner, simply press the corresponding
knob all the way in and then turn it anti-clockwise to
the "High" setting, keeping it pressed in until the
burner lights.
If a flame is accidentally extinguished, turn off the
control knob and wait for at least 1 minute before
trying to relight it.
To switch off the burner, turn the knob in a clockwise
direction until it stops (when reaches the position).
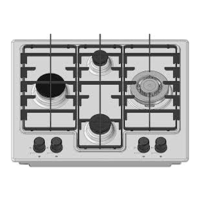
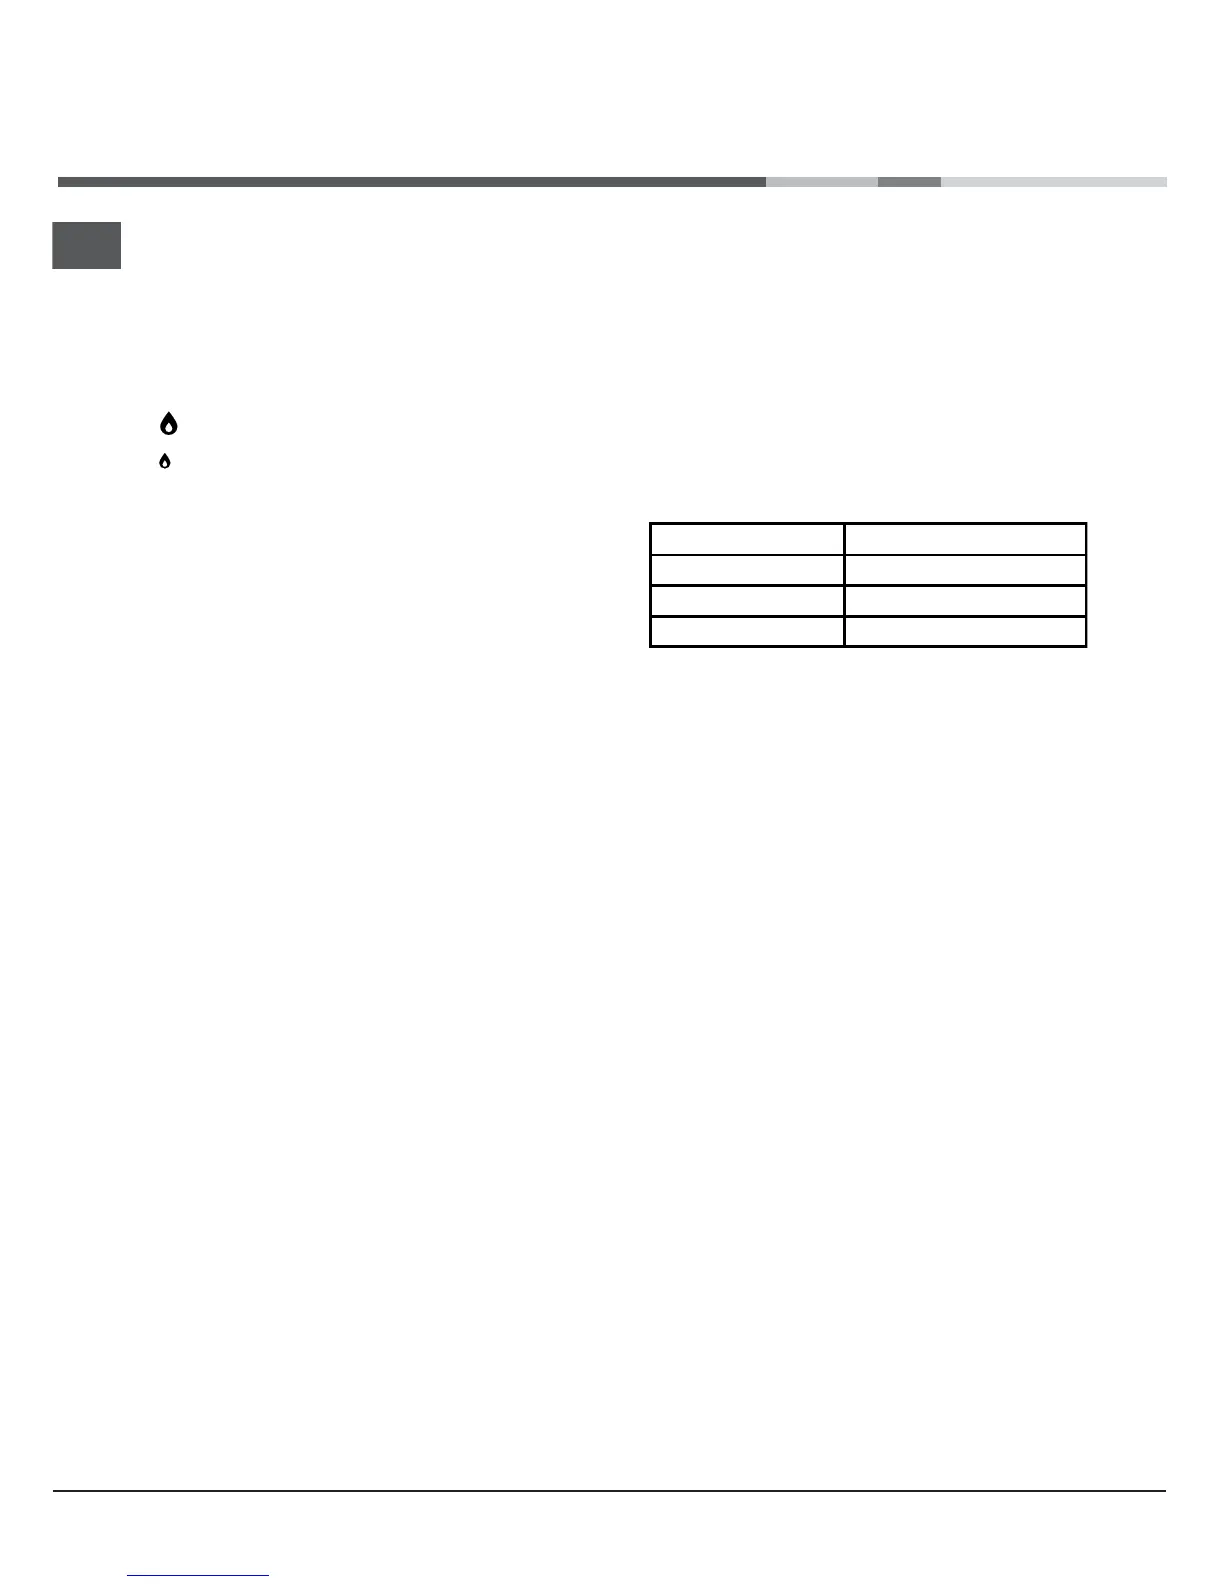
Practical advice on using the burners
To ensure the burners operate efficiently:
Use appropriate cookware for each burner (see
table) so that the flames do not extend beyond the
bottom of the cookware.
Always use cookware with a flat base and a cover.
When the contents of the pan reach boiling point,
turn the knob to minimum.
Burner ø Cookware diameter (cm)
Fast (R) 24 - 26
Semi Fast (S) 16 - 20
Auxiliary (A) 10 - 14
To identify the type of burner, refer to the designs in
the section entitled, "Burner and Nozzle
Specifications".
Start-up and use
 Loading...