Do you have a question about the Hotpoint H3D91WBUK and is the answer not in the manual?
Identifies the ON/OFF button, programme selection knob, and start/pause button.
Details buttons for Crease Care, Dryness Level, Start Delay, Timed Drying, and indicators.
Steps for initial setup, cleaning, and checks before first operation.
Step-by-step guide for loading, selecting programs, starting, and completing a drying cycle.
Procedure for opening the door to check or remove garments during operation.
Guidelines for safely lifting and moving the tumble dryer.
Explanation of common care label symbols for tumble drying.
Details on programs like Eco Cotton, Hygiene, Jeans, Refresh, Duvet, Bed & Bath, Baby, Pre-Iron, Daily, Shirts, Silk, Wool, Mixed, Rapid 30', Synthetics.
How to adjust the residual moisture level (Iron Dry, Hanger Dry, Cupboard Dry, Extra Dry).
How to set a delayed start time for the drying cycle.
How to manually set the duration of the drying cycle.
Details on Cycle End Signal, Gentle, Key Lock, Crease Care, and Mute functions.
Explanation of the function that enables quicker drying.
Instructions for regularly emptying the water tank after each cycle.
Procedure for removing and cleaning the lint filter after each use.
Monthly instructions for removing and cleaning the condenser unit.
Guidance on cleaning the exterior parts of the tumble dryer.
Troubleshooting steps for when the tumble dryer does not power on.
Solutions for issues preventing the dryer from starting a cycle.
Causes and solutions for laundry remaining wet after drying.
Reasons for extended drying times and how to address them.
Troubleshooting when a drying cycle fails to complete.
Explanation of indicator lights (Water tank, Door filter, Condenser unit) and wrench symbol.
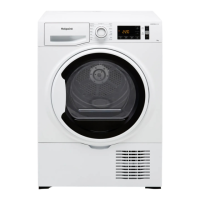
| Drying Capacity | 6 kg |
|---|---|
| Weight | 66.5 kg |
| Colour | White |
| Maximum Spin Speed | 1400 rpm |
| Energy Efficiency Class Drying | B |
| Washing Capacity | 9 kg |
| Noise Level Washing | 56 dB |
| Noise Level Spinning | 81 dB |
| Noise Level Drying | 61 dB |
| Capacity | 9 kg |
| Noise Level (Washing) | 56 dB |
| Programmes | 15 |
| Delay Start | Yes |
| Child Lock | Yes |
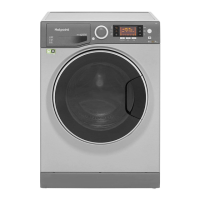
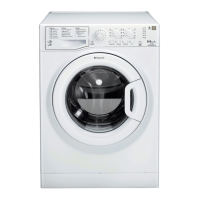
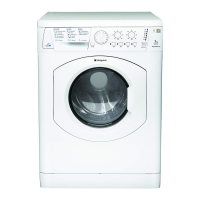
| Type | Freestanding Washer Dryer |
| Dimensions | 850 x 595 x 605 mm |