Howard-McCray
A Division of HMC Enterprises, LLC.
831 East Cayuga Street •Philadelphia, PA 19124 USA •(215) 464-6800 •(800) 344-8222
Fax (215) 969-4890 •E-Mail: techservice@howardmccray.com 120215
4
Control Settings
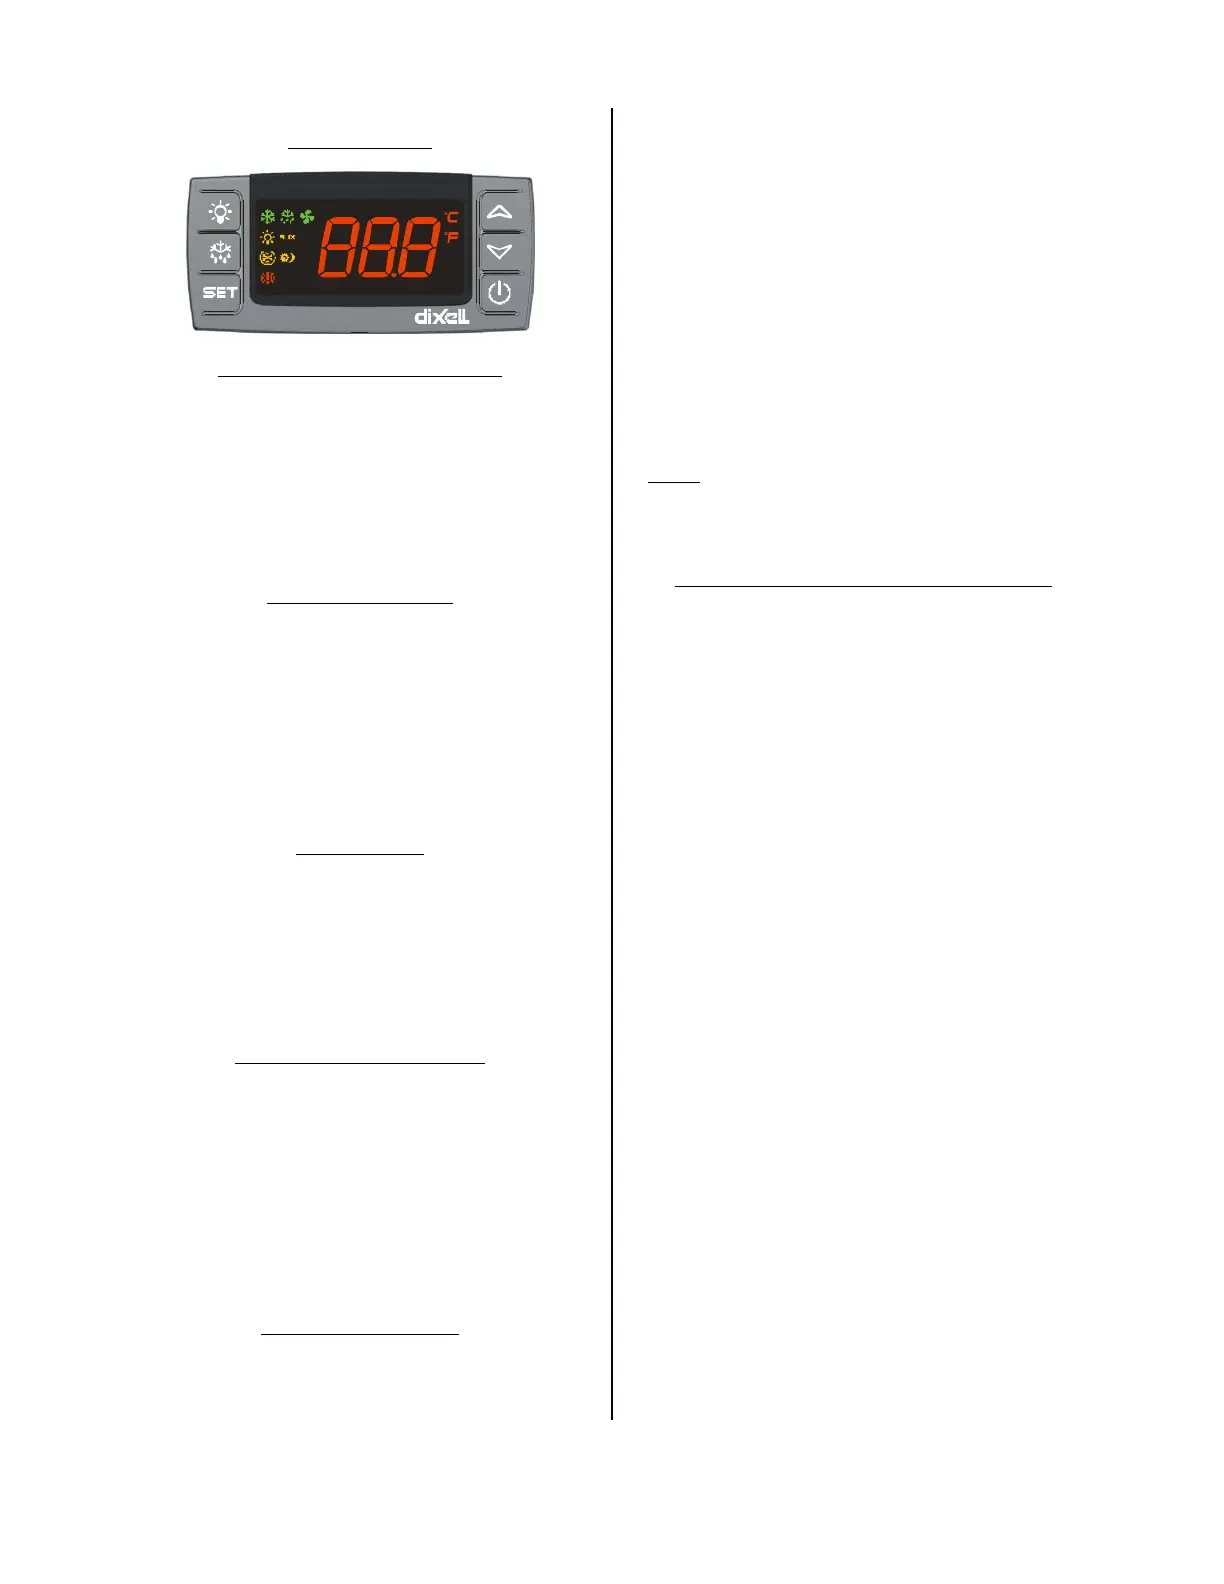
Temperature Control-Electronic
The standard temperature control, when it leaves
is set to Cut-Out at 35ºF and Cut-In 39ºF, and can
be located in the machine compartment right
front behind the grille. This control may have to
be reset to satisfy the owner’s requirements or
local conditions. See attached controller manual.
The controller is located in the machine
compartment behind the front grille.
Stocking the Cabinet
After the equipment is running, it should be
operated for a sufficient length of time to bring
the storage temperature down to cycling of the
condensing unit. Three to four hours usually will
be enough to allow temperatures to drop.
The evaporator fans draw air up from the storage
area, circulate it through the evaporator and
discharge it down the rear wall of the cabinet. Be
certain that their good air circulation.
Defrost Period
One defrost periods per day. The defrost period
occurs 24 hours after start-up or can be reset by
forcing a manual defrost on the controller.
Pressing the defrost button on the controller for
2 seconds will manually start a defrost. Defrost is
set to terminate at 40ºF Evaporator Coil
Temperature.
Condensate Evaporator Pan
An electric condensate evaporator pan is
furnished with the cabinet, to dissipate the water
collected from the coil during defrost or off cycle.
The evaporator pan and it's mounting bracket
are shipped as a separate items. The evaporator
pan is equipped with a power cord for plugging
into a 115VAC NEMA 5-15R outlet. To install the
evaporator see the
Condensate Pan Instruction
drawing for exact instructions.
Drain Trap Installation
A properly installed drain trap is extremely
important in ensuring satisfactory cabinet
operation, and protection from product loss. The
drain hose on this model is factory attached to
the rear of the cabinet. The drain hose is
supplied at a length sufficient to reach the floor,
when the cabinet is equipped with either casters
or legs. After installing the factory supplied
Electric Condensate Pan loosen the drain hose
attachment clamps that hold the drain hose in a
loop. Configure the drain hose on the rear of the
cabinet so that it is oriented vertically to the
condensate pan. Locate the factory supplied
drain trap so that it exits (in a vertical orientation)
into the Electric Condensate Pan. Determine
where the drain hose will overlap the drain trap
by a minimum of 2" and cut the hose to this
length. Insert the drain trap into the drain hose
and secure them to the rear of the cabinet.
NOTE
Never route the drain hose directly into the
Electric Condensate Pan, the heat of the pan will
damage the drain hose.
CHECK-LIST FOR USE BEFORE START-UP
The following items should be checked, when
applicable to the cabinet:
Make sure that the door gaskets make a proper
seal to the cabinet.
Make sure that all fan motors are properly
plugged in.
Make sure that all fan blades are tight on all fan
motor shafts.
Make sure that the expansion valve sensing bulb
is properly positioned and is tightly secured.
Make sure that all flare nuts are tight.
Make sure that tubing entrance holes both inside
and outside the cabinet are properly sealed.
Make sure that all SEALANT MATERIAL that was
removed from position in the cabinet during
installation and piping is correctly replaced and
seals in a satisfactory manner.
Make sure that all the loose debris in the cabinet
is removed.
 Loading...