Do you have a question about the HP 25mx and is the answer not in the manual?
Essential safety guidelines for service personnel to minimize risks and ensure safe operation of equipment.
Defines service levels and provides general information about the manual's content and scope.
Covers essential pre-return checks, including AC leakage current testing and safety verification.
Guidance on preparing the work environment and gathering necessary tools and materials for safe and effective disassembly.
Procedure for repairing the Audio connector (M1) by desoldering the old component and soldering a new one.
Instructions for replacing the HDMI connector (J2), involving desoldering, hot air gun use, and applying a gasket.
Guide for replacing the DisplayPort connector (J3) with emphasis on desoldering, soldering, and proper gasket installation for EMI.
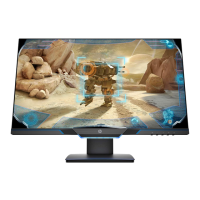
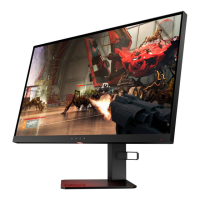
| Screen Size | 24.5 inches |
|---|---|
| Panel Type | TN |
| Refresh Rate | 144Hz |
| Brightness | 400 cd/m² |
| Contrast Ratio | 1000:1 |
| Aspect Ratio | 16:9 |
| AMD FreeSync | Yes |
| Viewing Angle | 170° horizontal, 160° vertical |
| Color Gamut | 72% NTSC |
| VESA Mount | 100 x 100 mm |
| Resolution | 1920 x 1080 (FHD) |
| Response Time | 1 ms |
| Connectivity | 1 x DisplayPort 1.2 |