116 Removal and replacement
EN
Front casing
1 Remove all covers, the RFI shield, and the printer door.
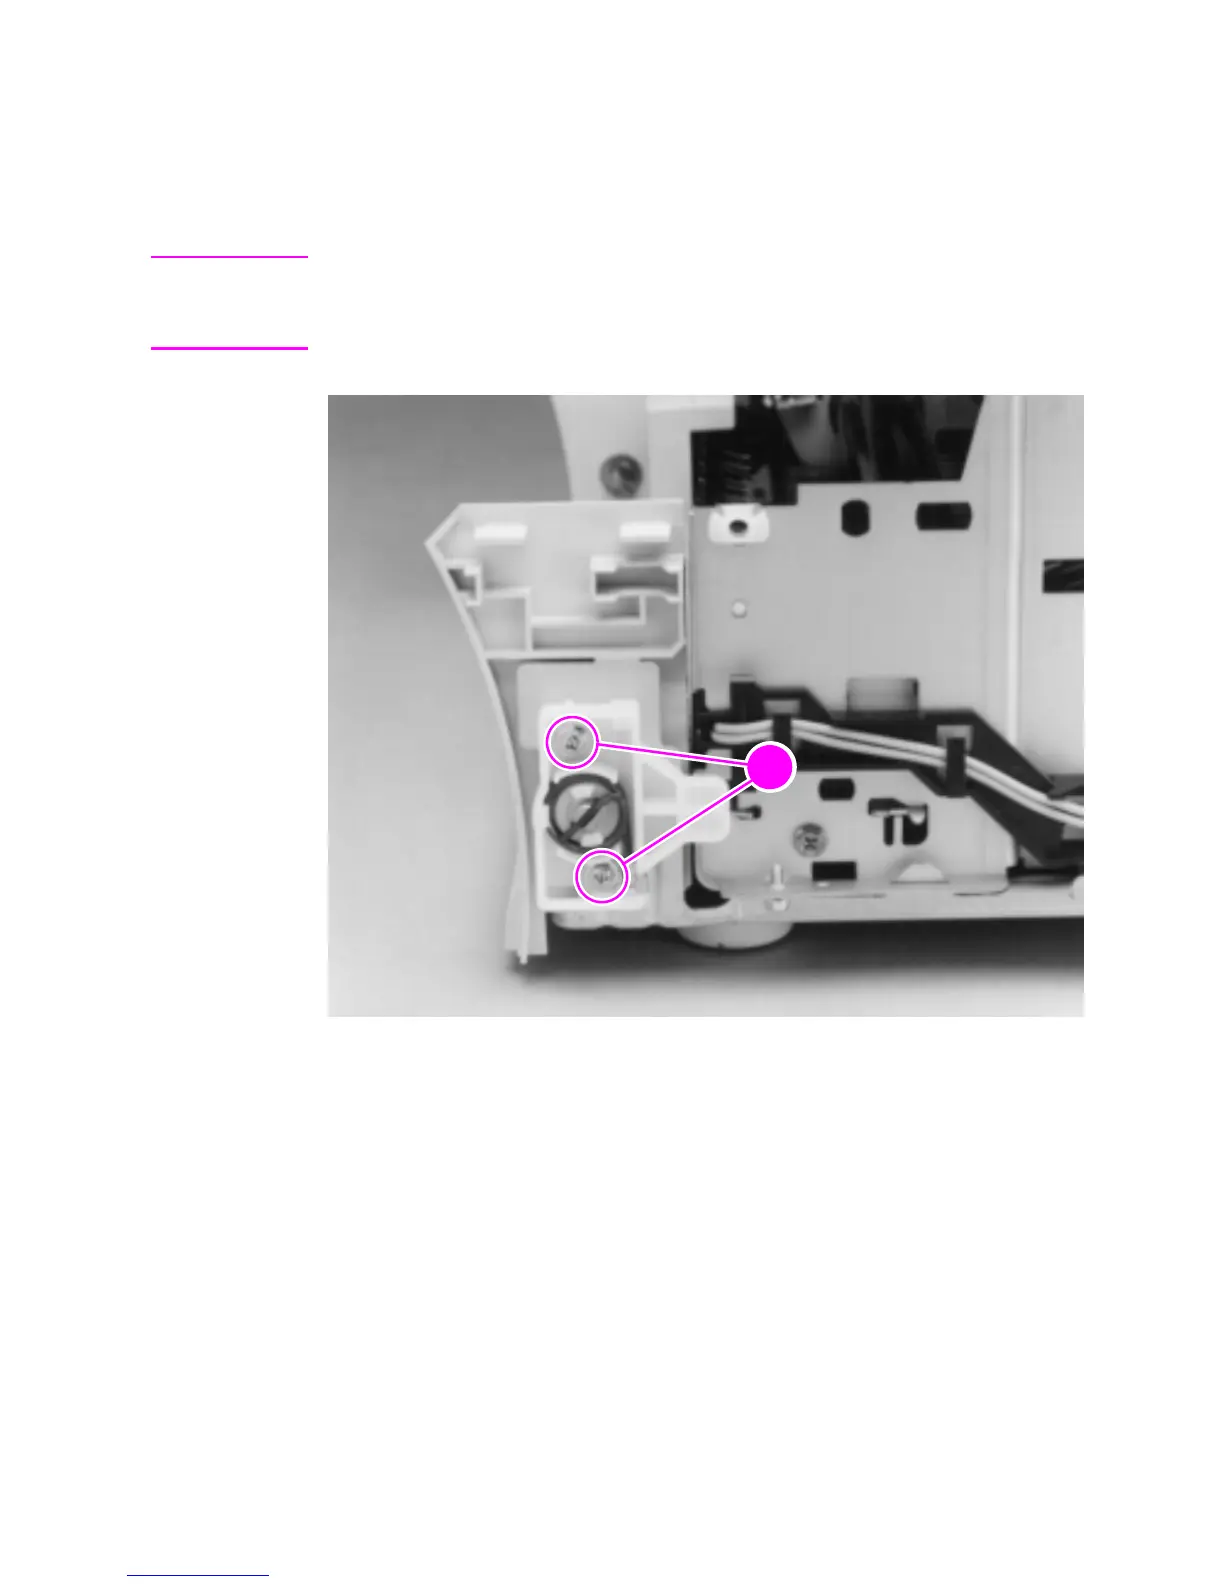
2 Remove the two (2) screws (callout 1) from the right hinge holder.
Note The lower screw on each of the hinge holders secures a small metal
grounding plate. Upon reinstallation, make sure the grounding plates
are in the correct position.
Figure 44. Front casing removal
3 Lift the right hinge holder from the frame.
4 Repeat the procedure to remove the left hinge holder.
5 Lift the front of the product up slightly and press the tabs at the
bottom of the product to release the front casing.
6 Lift the front casing away from the product.
To reinstall
Make sure that the paper path lever hooks into the face-up/face-down
lever correctly.