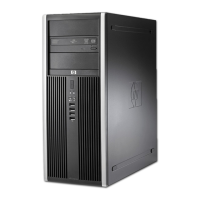
7. Remove the eight screws that secure the system board to the chassis.
Figure 7-36 System board screws
8. Slide the system board toward the front of the computer to disengage the I/O panel (1), lift the
rear of the system board up at an angle (2), and then lift the system board out of the computer
(3).
Figure 7-37 Removing the system board
When reinstalling the system board, first insert the I/O panel back into the slots in the rear of the
chassis, and then align the board with the chassis screw holes.
NOTE: When replacing the system board, you must change the chassis serial number in the BIOS.
164 Chapter 7 Removal and Replacement Procedures – Microtower (MT) Chassis
 Loading...