Adjustments
Model
8642A;B
5-4
9.
When
"ENTER CURRENT MONTH .G8001" appears, key
in
a
two
digit
number
indicating
the
month.
Then
press IHzl
to
continue.
10.
When
"ENTER TODAYS DATE .G8002" appears, key in a
two
digit
number
indicating
the
date.
(Example:
For
February 30
yOll
would
enter
30.)
Then
press IHzl
to
continue.
11.
When
"ENTER CURRENT YEAR .G8003" appears, key in last
two
digits
of
the
current
year.
(Example:
For
February 30, 1984 you would
enter
84.)
Then
press
IHzl
to
continue.
12.
When
"ENTER MODULE CAL.
ID
.G8004" appears, key in last five digits
of
the
Mouule
Cal
10
numher
of
the
module
you are running the Auto-Adjust
Routine
for.
Then
press IHzl
to
continue.
A2
EXAMPLE:
The
Module
Cal
10
number
is
similar
to
the
instrument
serial
!lumber
but
appears
on
the
modules.
The
A2
Module
Cal
10
number
can
be found
on
the
ribbon
cable
connector
at
the
left
hand
side
of
the
A2
board
Voul
will see a label with a
number
similar to:
2412A/31458. So, you would
enter
[!]
OJ
@] @]
~
Hz for
the
Module
Cal
10
number.
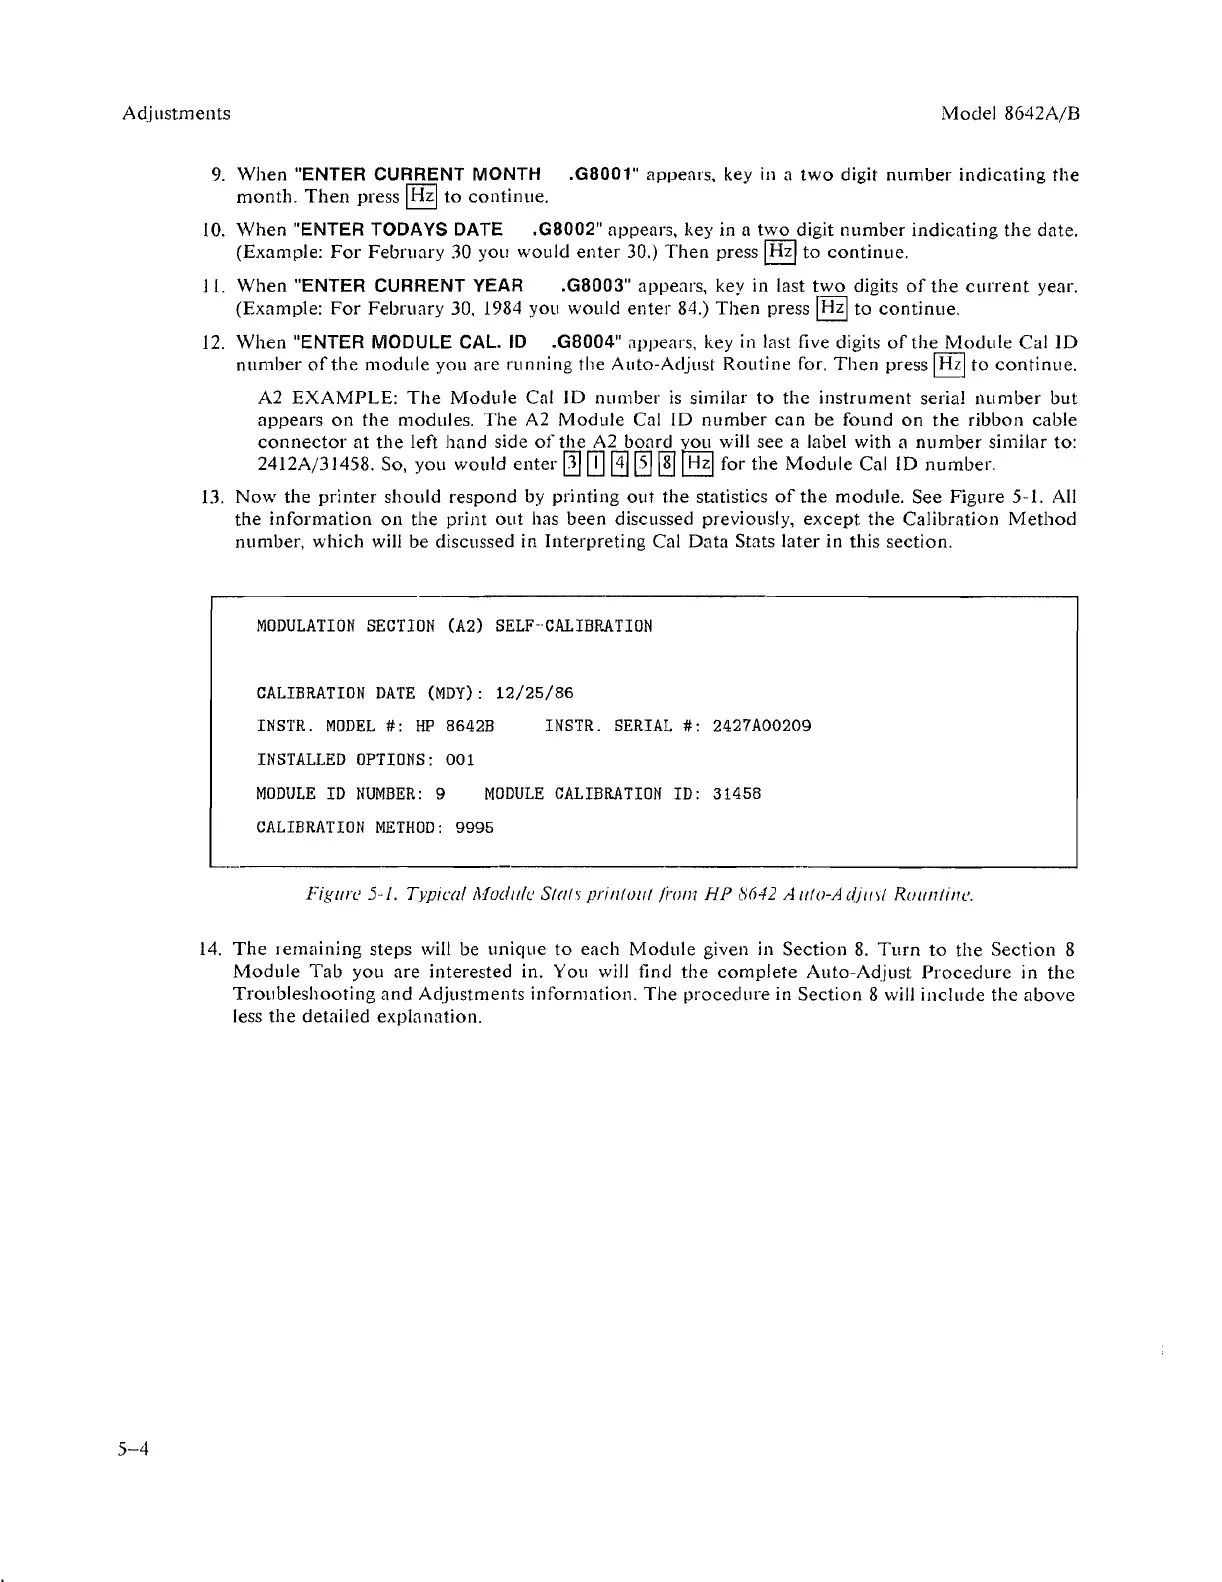
13.
Now
the
printer
should
respond
by
printing
out
the
statistics
of
the
module. See Figure 5-1. All
the
information
on
the
print
out
has been discussed previously,
except
the
Calibration
Method
number, which will be discussed in Interpreting Cal
Data
Stats later in this section.
MODULATION
SECTION
(A2)
SELF"CALIBRATION
CALIBRATION
DATE
(MDY):
12/25/86
INSTR.
MODEL
#:
HP
8642B
INSTALLED
OPTIONS:
001
INSTR.
SERIAL
#:
2427A00209
MODULE
ID
NUMBER:
9
MODULE
CALIBRATION
ID: 31458
CALIBRATION
METHOD:
9995
Figllre 5-1.
TypiL'a{
Modllle S((!h pril/(o/(( li'om
HP
8M2
A
I/(o-A
djill/
ROlin/inc.
14.
The
lemaining
steps will be
unique
to
each
Module
given in
Section
8.
Turn
to
the
Section
8
Module
Tab
you are interested in. You will find
the
complete
Auto-Adjust
Procedure
in
the
Troubleshooting
and
Adjustments information.
The
procedure
in
Section
8 will
include
the
above
less
the
detailed expla nation.

 Loading...