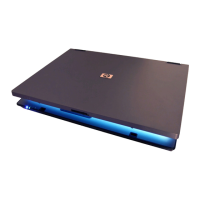
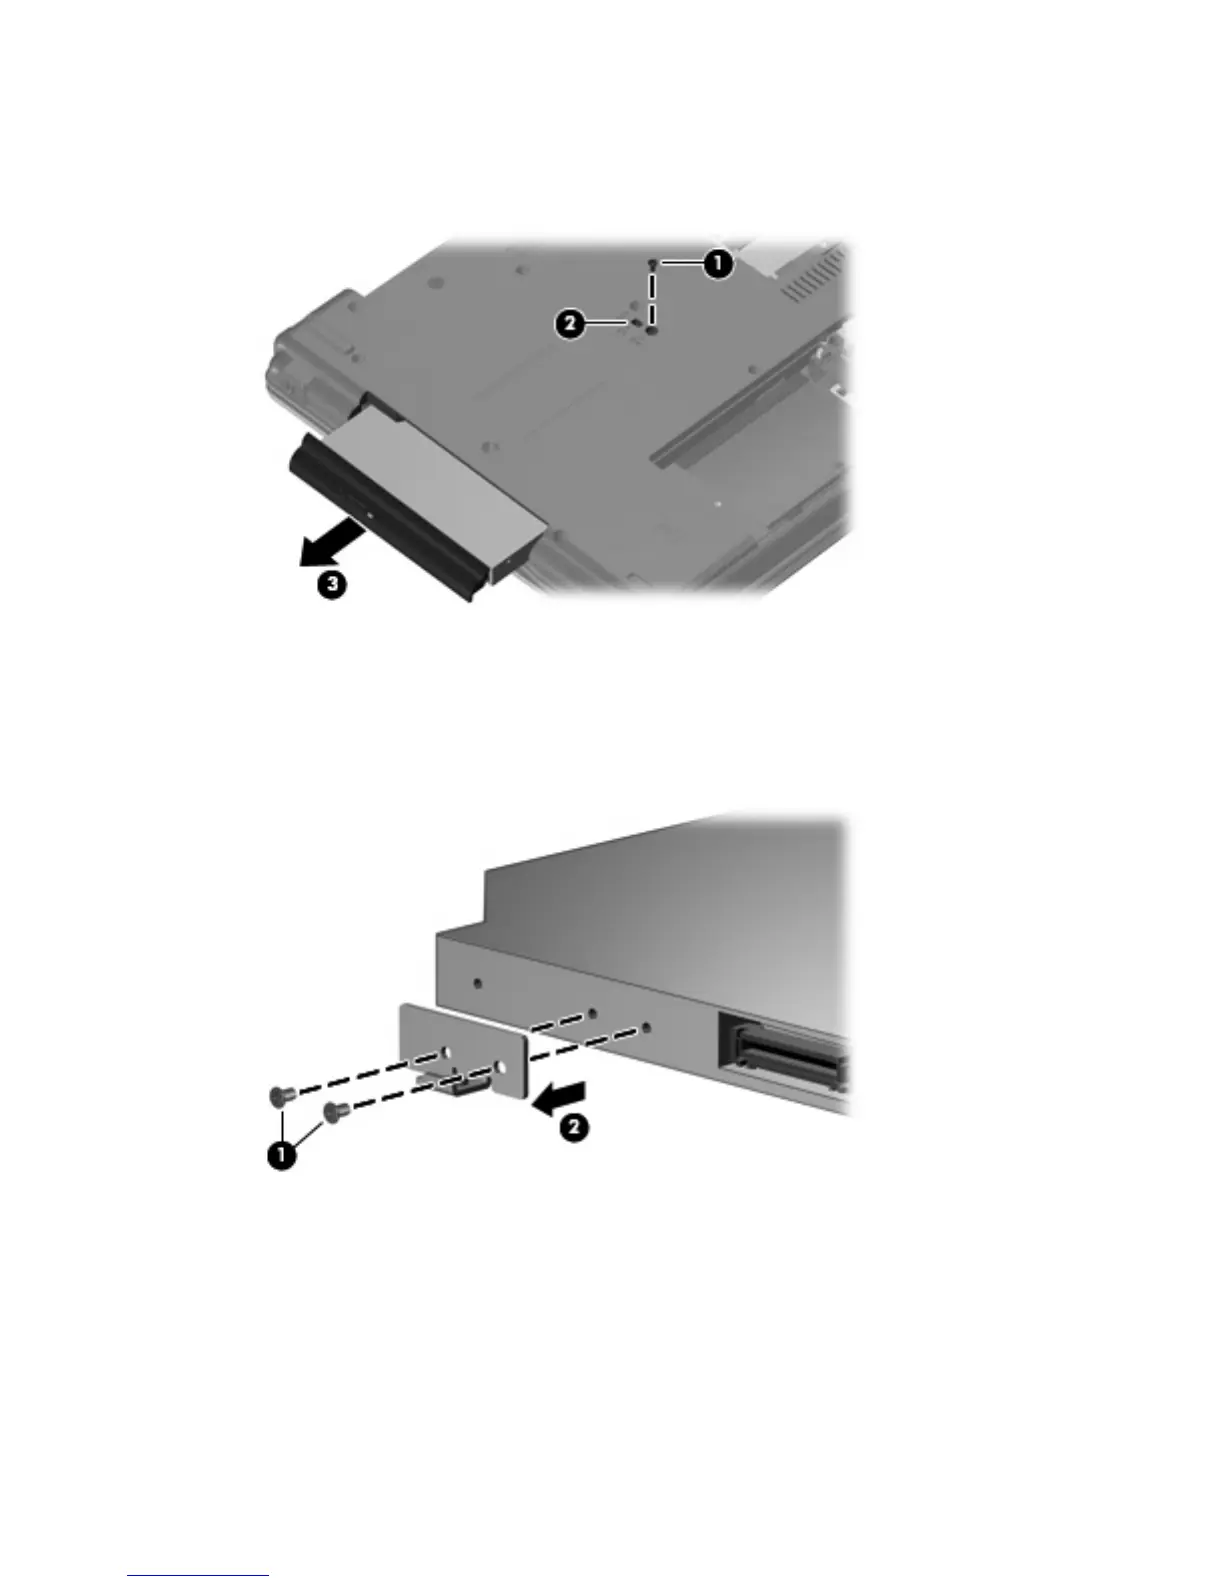
3. Insert a flat-bladed screwdriver or similar tool into the optical drive tab access (2) and press the tab
to the left to release the optical drive from the computer.
4. Remove the optical drive (3) from the computer.
5.
If it is necessary to replace the optical drive bracket, position the optical drive with the rear toward
you.
6. Remove the two Phillips PM2.0×4.0 screws (1) that secure the optical drive bracket to the optical
drive.
7. Remove the optical drive bracket (2).
Reverse this procedure to reassemble and install an optical drive.
Component replacement procedures 43
 Loading...