EL-MF877-00 Page 2
Template Revision A
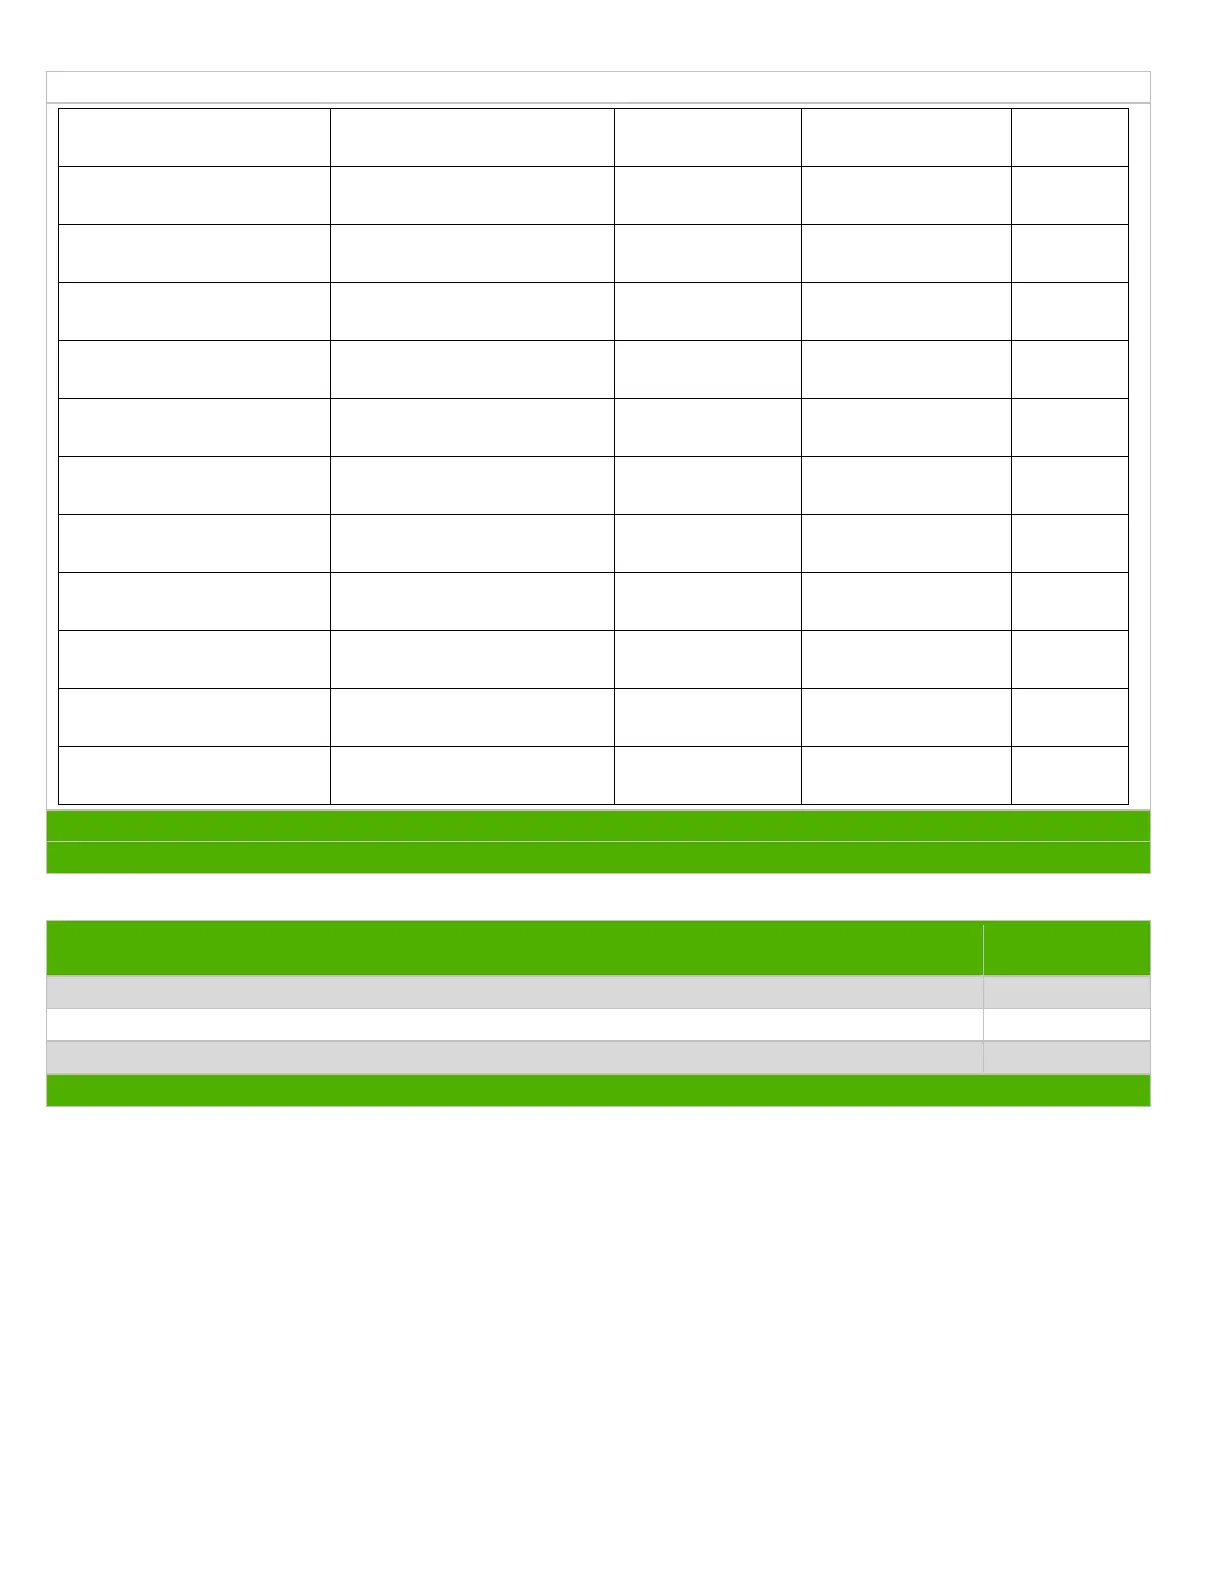
1.3 Markings for plastic parts greater than 25 grams
ISO 11469:2000
Plastic Part Mark
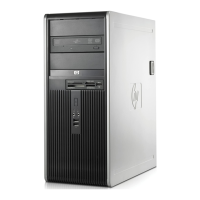
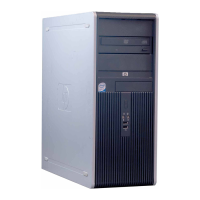
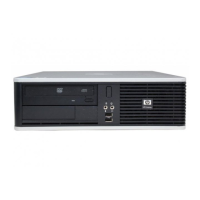
Front plastic bezel of
desktop or tower product
Air duct of desktop or
tower product
System fan holder of
desktop or tower product
CPU Fan Frame of
desktop or tower product
CPU Fan Frame of
desktop or tower product
CPU Fan Frame of
desktop or tower product
System Fan Frame of
desktop product
System Fan Frame of
desktop product
DC Fan Frame of desktop
or tower product
DC Fan Frame of desktop
or tower product
DC Fan Frame of desktop
or tower product
List the type and size of the tools that would typically be used to disassemble the product to a point where components
and materials requiring selective treatment can be removed.
Tool Size (if
applicable)
Description #1 Phillips screwdriver
Description #3 Torx screwdriver
3.0 Product Disassembly Process
3.1 List the basic steps that should typically be followed to remove components and materials requiring selective treatment:
1. To remove the access panel, lift up on the access panel handle (1), slide the access panel back about 1.25 cm (1/2
inch), and then lift it up and off the unit (2) (see Figure 1).
2. Push up on the two release tabs (1), then rotate the front bezel away from the chassis to release it (2) (see Figure 2).
3. Remove or cut all expansion cards, cables, and any other devices from the system board.
4. To remove the battery:
Locate the battery and battery holder on the system board. Depending on the type of battery holder on the system
board, complete the following instructions to remove the battery.
TYPE 1 BATTERY HOLDER (see Figure 3):
Lift the battery out of the holder.
TYPE 2 BATTERY HOLDER (see Figure 4):
To release the battery from its holder, squeeze the metal clamp that extends above one edge of the battery. When the
battery pops up, lift it out.
 Loading...