6
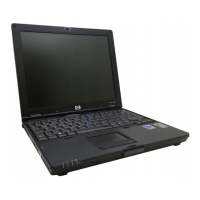
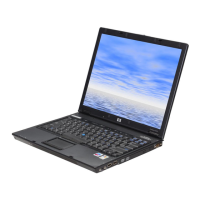
– Removal procedures are available in the Maintenance and Service Guide: “HP Compaq
Business Notebook nc6200 Series.”
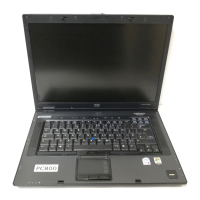
6. Insert the drive removed from the nc8200 into the nc6200.
7. Apply power to the nc6200 and allow the OS to enumerate all of the new devices.
8. Power down the nc6200 and remove the hard drive.
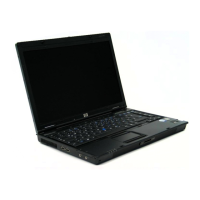
9. Remove the primary hard drive from the nc6100.
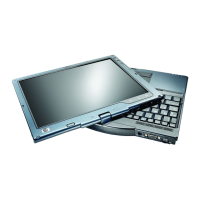
– Removal procedures are available in the Maintenance and Service Guide: “HP Compaq
Business Notebook nc6100 Series.”
10. Insert the drive removed from the nc6200 into the nc6100.
11. Apply power to the nc6100 and allow the OS to enumerate all of the new devices.
12. Power down the nc6100 and remove the hard drive.
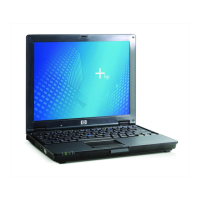
13. Remove the primary hard drive from the nc4200.
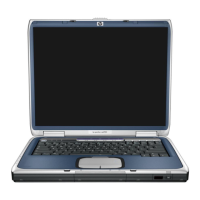
– Removal procedures are available in the Maintenance and Service Guide: “HP Compaq
Business Notebook nc4200 Series.”
14. Insert the drive removed from the nc6100 into the nc4200.
15. Apply power to the nc4200 and allow the OS to enumerate all of the new devices.
– The image is now ready for use with supported single image systems.
 Loading...


