HP Designjet T Series — Service Manual 6-127
Removal and Installation - Carriage Assembly (T1120/T1120ps)
Carriage Assembly (T1120/T1120ps)
Removal
1. Remove the Front Cover on page 6-16.
2. Re
move the Right Cover on page 6-27.
3. Re
move the Left Cover on page 6-30.
4. Re
move the Cutter Assembly on page 6-
42.
5. Re
move the Front Panel on page 6-47.
6. Re
move the Top Cover on page 6-50.
7. Re
move the Window Position Sensor on
page 6-53.
8. Re
move the Encoder Strip, spring and
attachment nut (T1120/T1120ps) on page
6-99.
9. If
necessary manually move the Carriage
Assembly fully right into the docking
station.
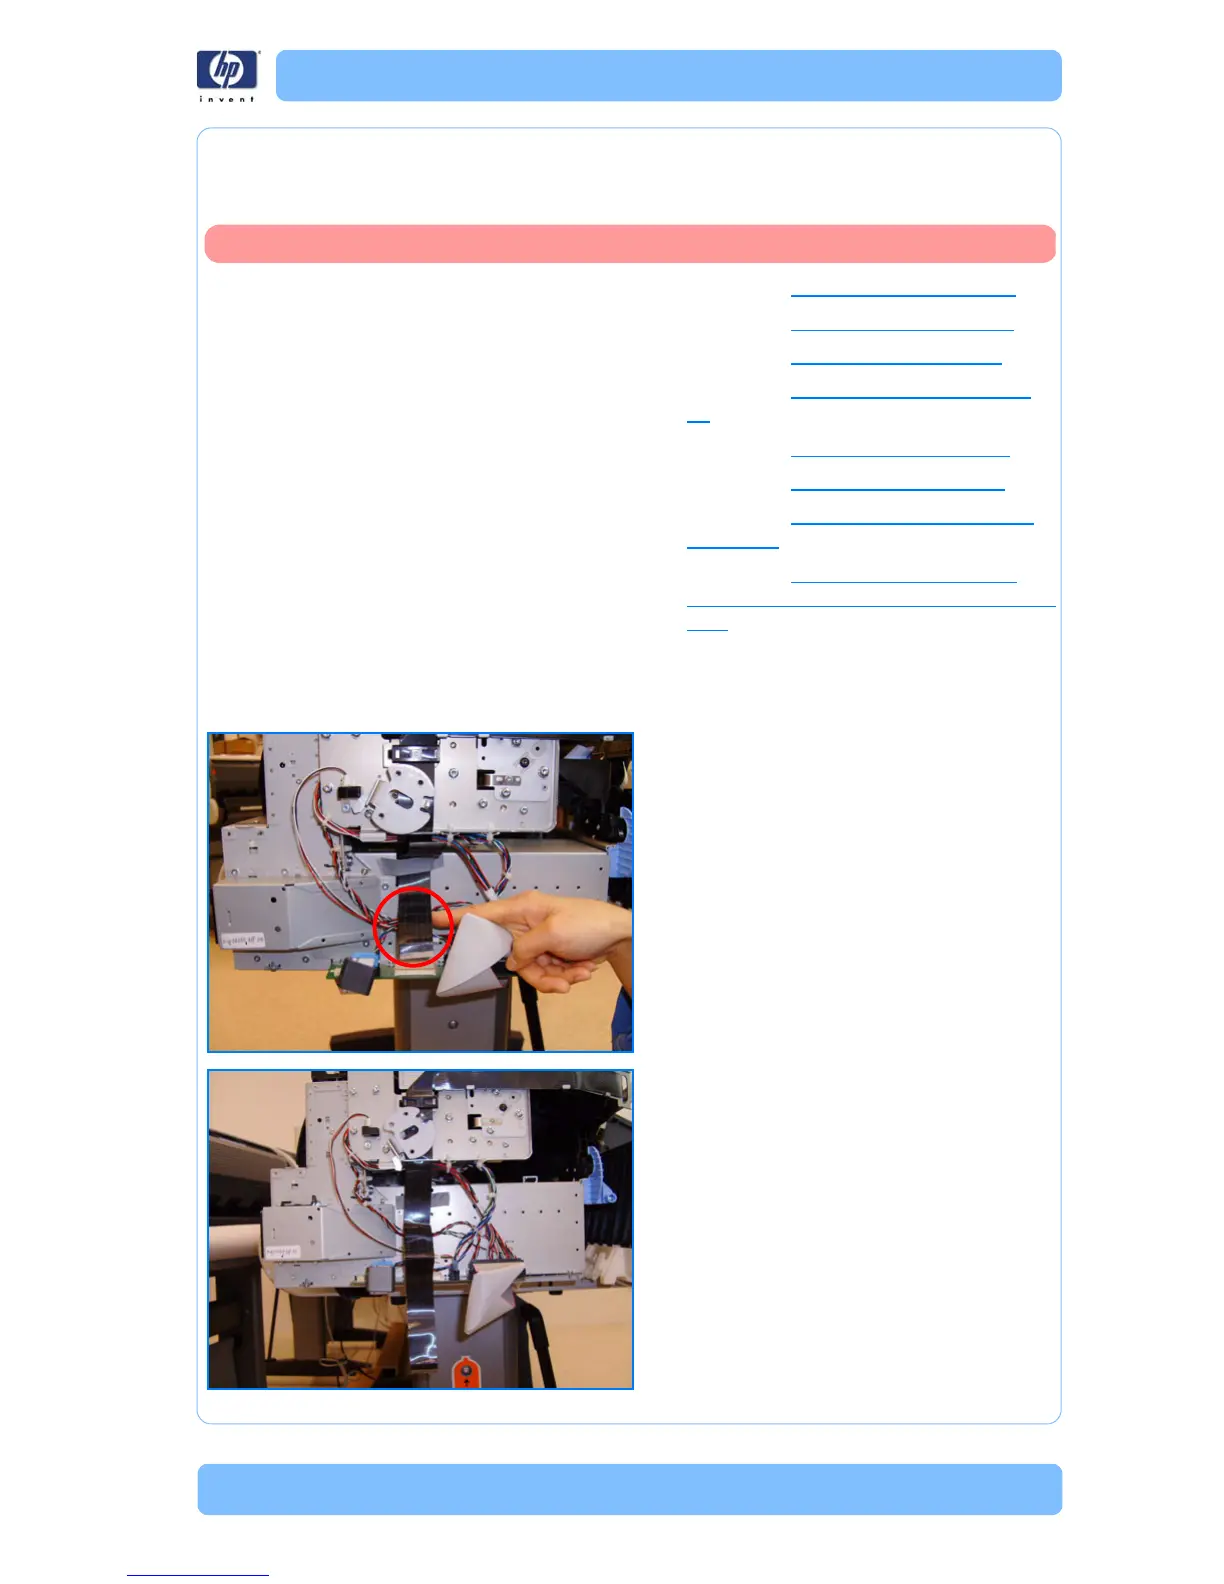
10. Disconnect the ribbon cable of the Trailing
Cables from the Electronics Module.
11. Unroute the Trailing Cables.
Switch off the printer and remove the power cable.
 Loading...