HP Designjet T Series — Service Manual 6-137
Removal and Installation - Carriage Rear Bushing
Carriage Rear Bushing
Removal
1. Remove the Front Cover on page 6-16.
2. Re
move the Right Cover on page 6-27.
3. Re
move the Left Cover on page 6-30.
4. Re
move the Cutter Assembly on page 6-
42.
5. Re
move the Front Panel on page 6-47.
6. Re
move the Top Cover on page 6-50.
7. Re
move the Window Position Sensor on
page 6-53.
8. If
the printer is a T1100/T1100ps/T610,
remove the
Ink Supply Tubes Support Rail
(T1100/T1100ps/T610) on page 6-55.
9. R
emove the Encoder Strip, spring, and
attachment nut. See page
6-96 or 6-99
depending on the printer model.
10. R
emove the Carriage Assembly. See page
6-116 or 6-127 depending on the printer
model.
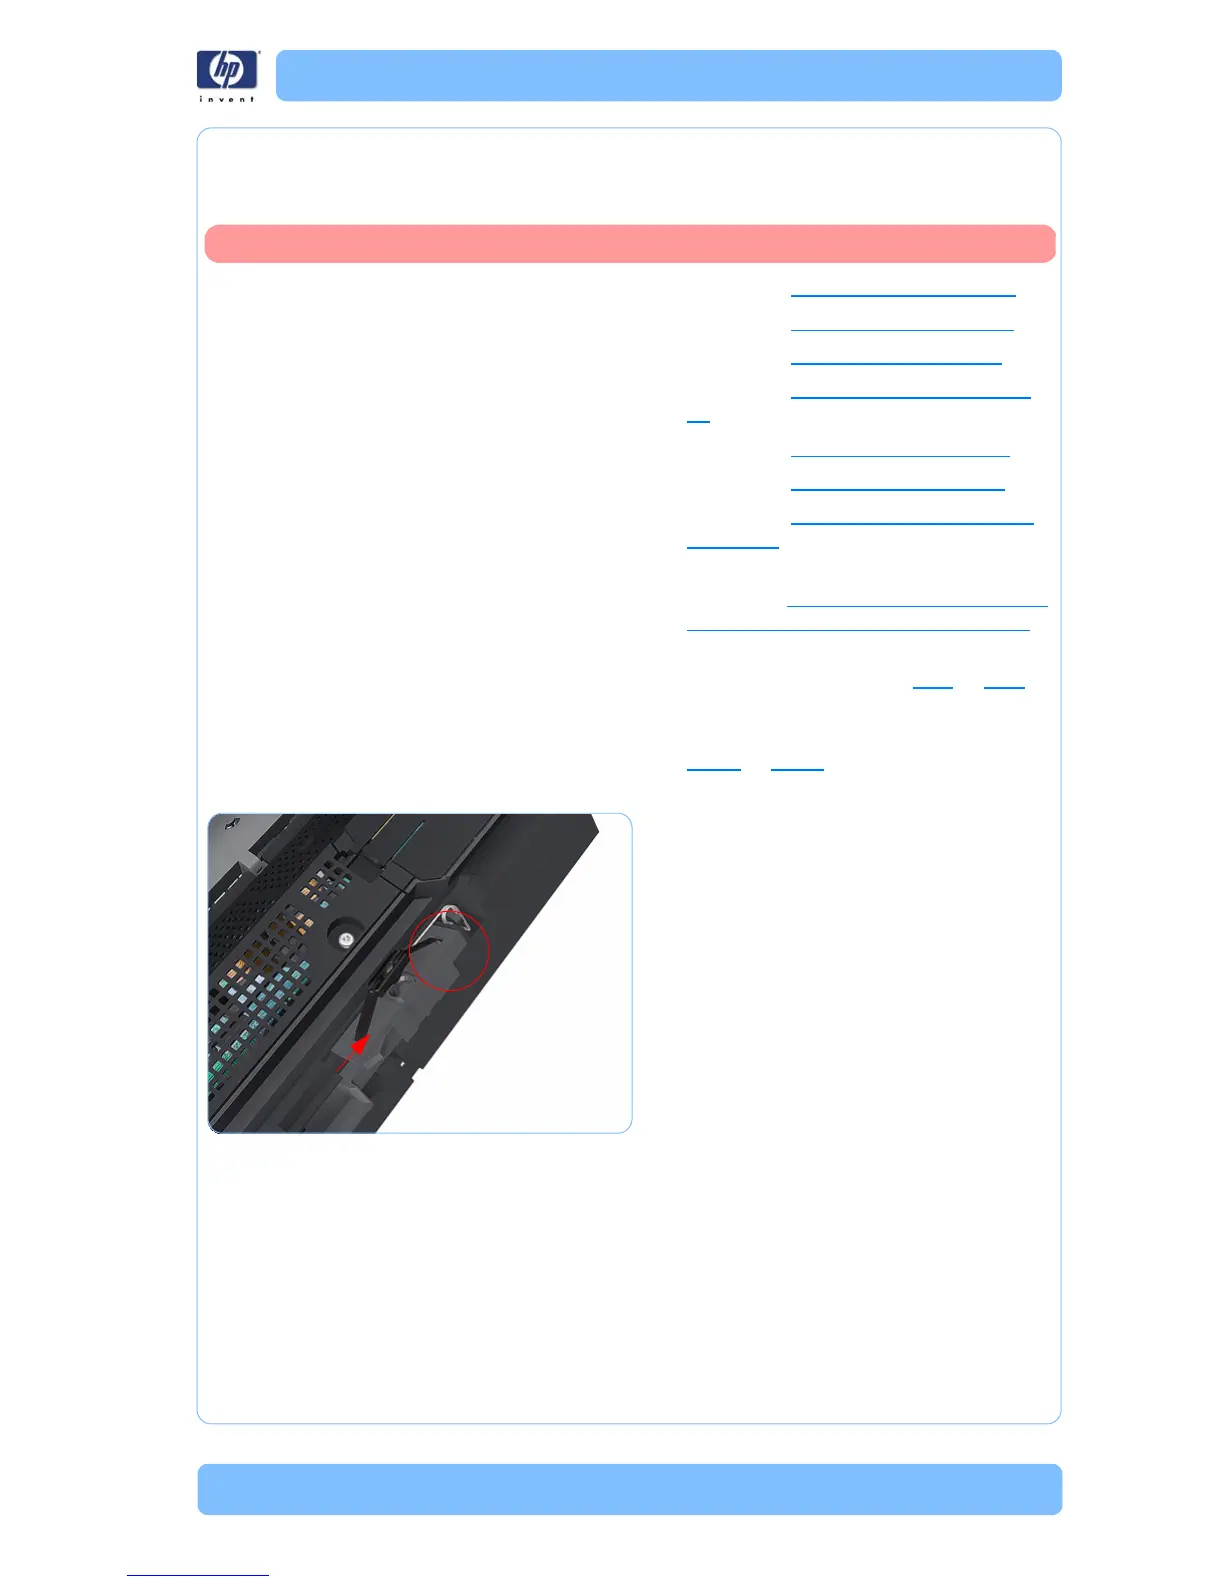
11. Squeeze the left hand clip of the Carriage
Rear Bushing sufficiently to be able to
release it from the Carriage Assembly.
Switch off the printer and remove the power cable.

 Loading...


