Cause Solution
During initial setup, the printer detects that the new
printheads are installed and the ink system is ready for
priming.
Make sure all ink tanks are lled above the minimum line, and
the blue printhead latch is closed rmly. Press and hold the
Resume button ( ) for 3 seconds to start ink priming.
NOTE: Priming will occur in the background and will not
block printing or copying.
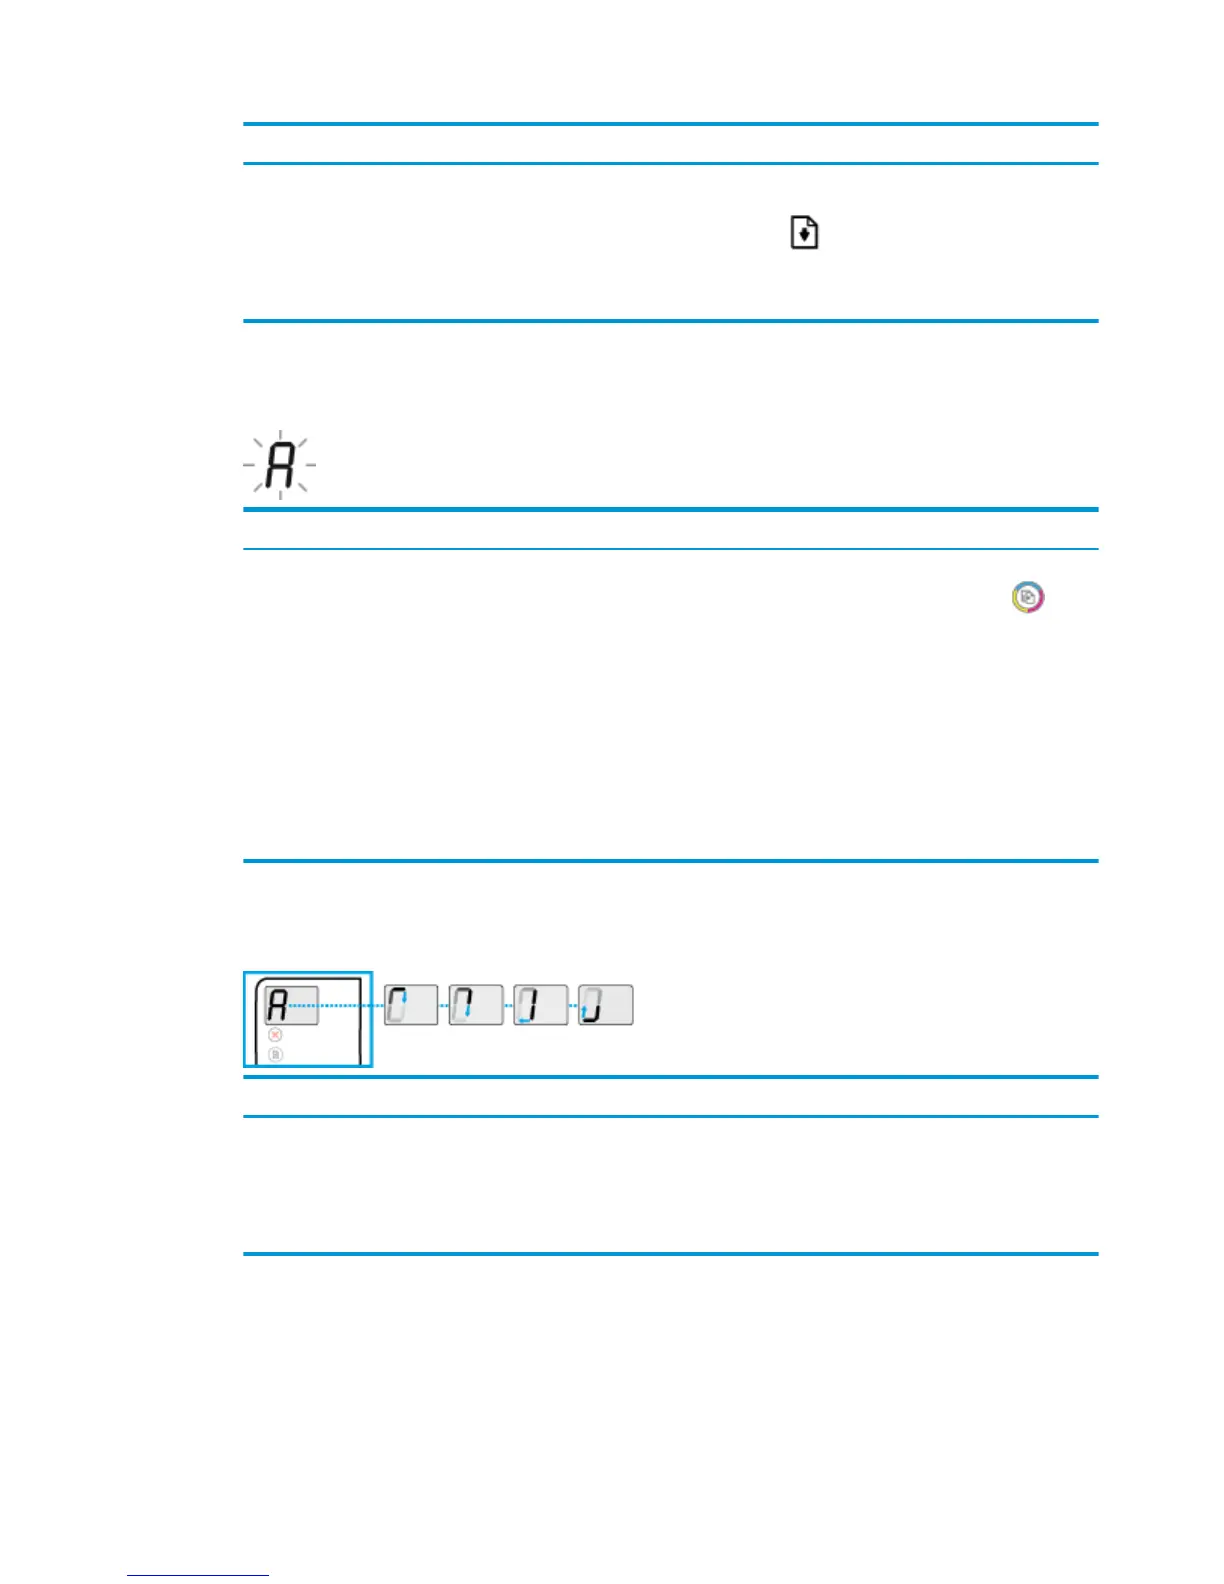
Alignment status icon
●
The Number of copies icon becomes a blinking A.
Cause Solution
The alignment page is printing and waiting to scan. Place the alignment page print side down on the scanner
glass, and then press the Start Copy Color button ( ) on
the control panel to align.
NOTE: When scan starts, blinking "A" changes to solid "A".
Alignment is complete after the scan.
●
If alignment event occurs as part of the priming process
during initial printer setup, the solid "A" changes to
rotating lines once alignment is complete.
●
If alignment event occurs after initial printer setup, the
control panel display returns to normal state once
alignment is complete.
Priming in progress
●
The Number of copies icon changes to rotating lines.
Cause Solution
Printhead priming is in progress. Rotating lines on the display indicate that printhead ink
priming is in progress. This occurs in the background when the
printer is idle. You can print, scan, and copy while the printer is
priming.
Background priming is complete when the display shows "0".
Error
icon, Paper Error icon, and Resume light
The Error icon, the Paper Error icon, and the Resume light are blinking.
10 Chapter 2 Get started ENWW
 Loading...