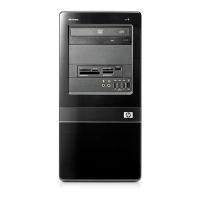
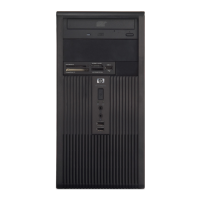
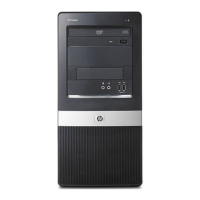
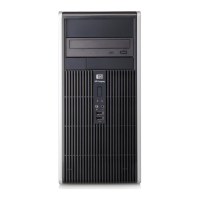
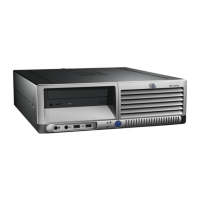
Removing a 5.25" Drive Bezel Blank
If the computer was not shipped with a drive in the 5.25" option bay, the bay will be covered by a bezel
blank. If you add a drive to the option bay, you must first remove the bezel blank.
1. Remove/disengage any security devices that prohibit opening the computer.
2. Remove all removable media, such as diskettes or compact discs, from the computer.
3. Turn off the computer properly through the operating system, then turn off any external devices.
4. Disconnect the power cord from the power outlet and the computer, and disconnect any external
devices.
WARNING! When the computer is plugged into an AC power source, voltage is always applied
to the system board. To reduce the risk of personal injury from electrical shock and/or hot surfaces,
be sure to disconnect the power cord from the wall outlet and allow the internal system components
to cool before touching.
5. Remove the access panel and front bezel. Refer to Removing the Computer Access Panel and
Front Bezel on page 5.
6. While facing the inside of the front bezel, press the two retaining tabs on the right towards the outer
edge of the bezel (1) and pull the bezel blank inwards to remove it (2).
Figure 2-3 Removing a 5.25" Bezel Blank
NOTE: To install a 5.25" bezel blank, slide the left side of the blank into the two retainer slots on the
left side of the front bezel then snap the right side of the blank into place.
ENWW Removing a 5.25" Drive Bezel Blank 7
 Loading...
