7.
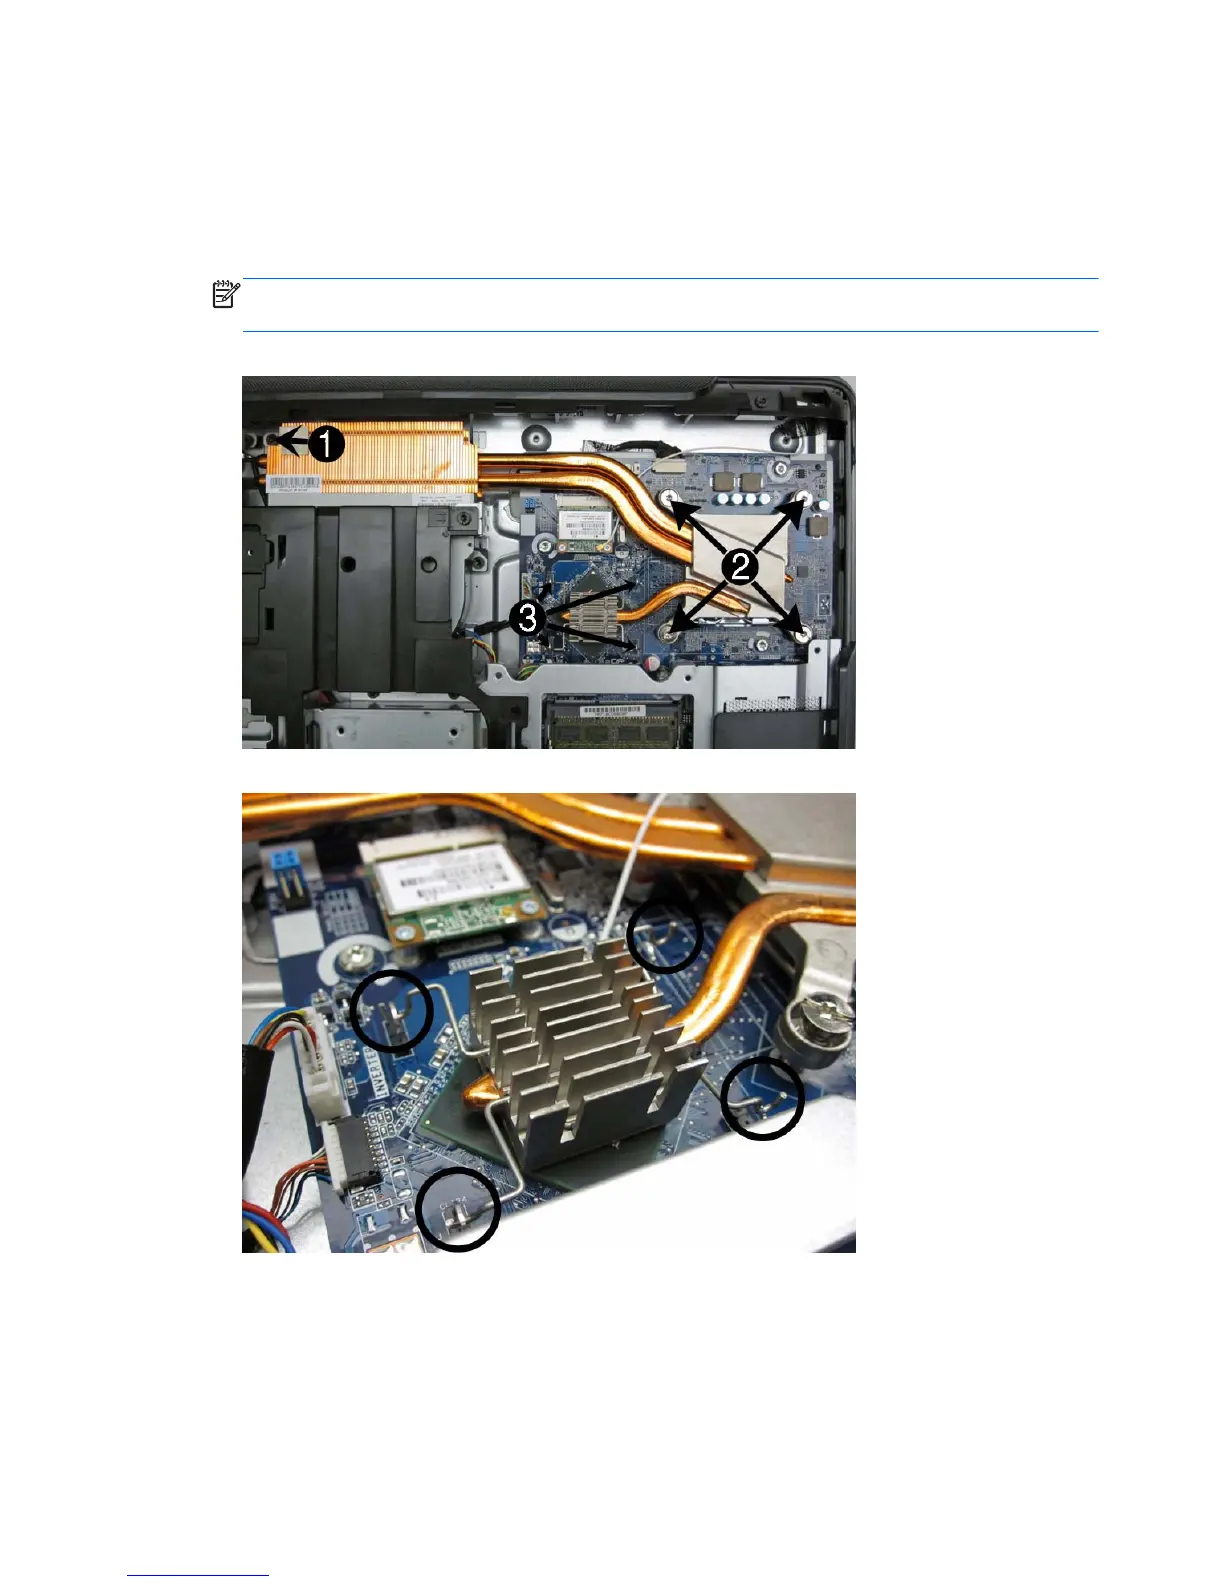
Remove the screw at the top of the heat sink (1).
8.
In the order indicated by the numbers stamped into the heat sink, remove the four screws (2) that
secure the heat sink to the system board.
9. Remove the four clips (3) that secure the bottom part of the heat sink over the graphics processor.
NOTE: See the second image below for a closer view of the graphics heat sink levers and
hooks.
Figure 7-12 Removing the heat sink
Figure 7-13 Graphics heat sink levers and hooks
10.
Lift the heat sink off the system board.
To replace the heat sink, reverse the removal procedures.
40 Chapter 7 Removal and Replacement Procedures All-in One (AIO) Chassis
 Loading...