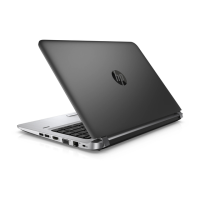
7. Remove the 8 Torx T8M2.5×6.0 screws from the top cover.
8. Pry the top cover o the computer starting at the top (1), and then working around the right (2), bottom
(3), and left (4) sides.
NOTE: The top cover may be dicult to remove from the computer. Be careful not to damage the top
cover when attempting to remove it.
Reverse this procedure to install the top cover.
56 Chapter 6 Removal and replacement procedures for Authorized Service Provider parts
 Loading...
