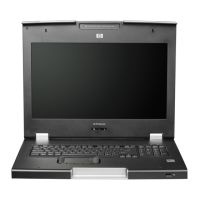
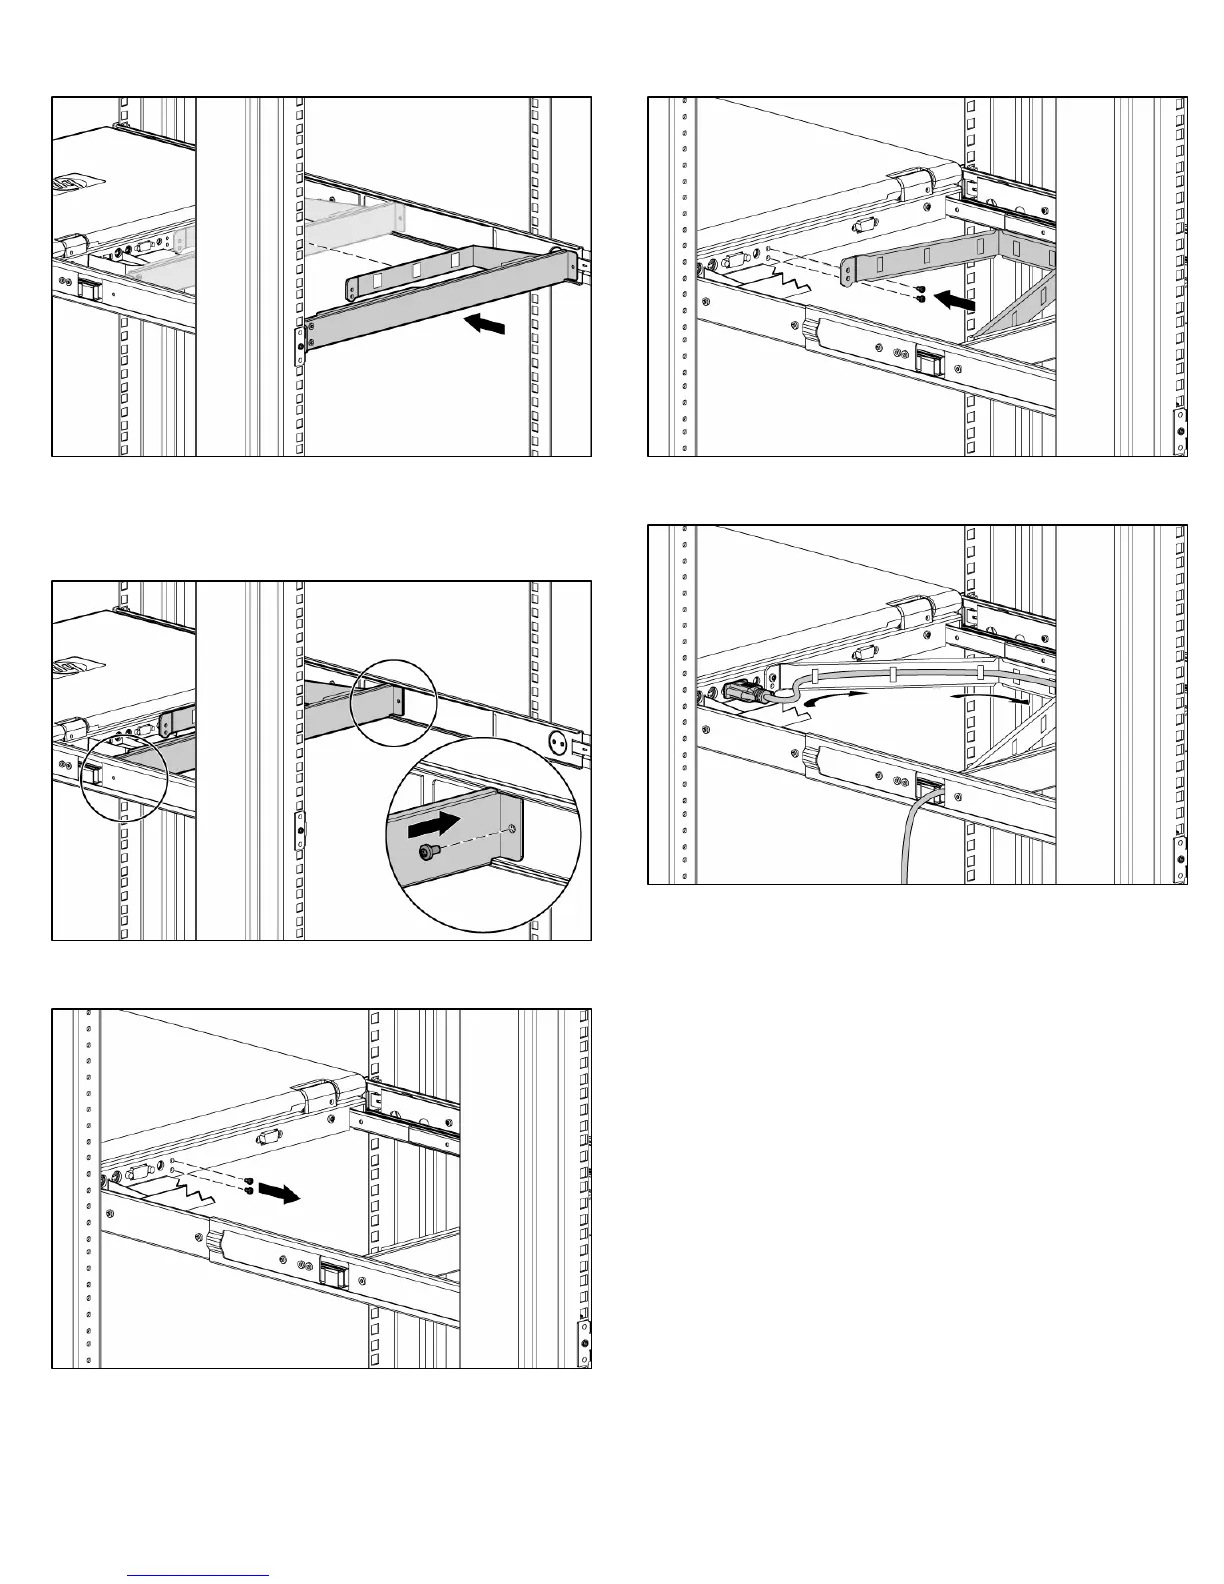
4. Slide the brace rail assembly in between the HP 1U
Adjustable Toolless Rails from the rear of the rack.
5. Align the screw holes on the brace rail with the screw
holes on the HP 1U Adjustable Toolless Rails.
6. Secure the brace rail to the HP 1U Adjustable Toolless
Rails with two 6-32 screws.
7. Remove the two shipping screws from the rear of the
HP TFT7600 and discard the screws.
8. Attach the cable management arm to the rear of the
unit with two 6-32 screws, supplied in the kit.
9. Connect and route the cables through the cable
management arm and unit opening.
Installation is complete.

 Loading...