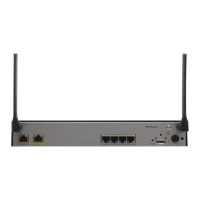
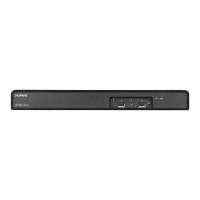
Scenario 3: Wall Mounting (AR651F-Lite/AR651C)
This installation method applies to the AR651F-Lite/AR651C router.
Before drilling holes in a wall, make sure there are no power cables in the wall to avoid electric shock.
Ensure that there are no flammable or explosive materials near the router and no obstructions within 100 mm
around the router.
The panel with interfaces must face down to protect the interfaces from water.
Screws must be installed solid in the wall. Otherwise, the wall-mounted router may fall down after cables are
connected.
The wall must be a bearing wall. Otherwise, the wall is not suitable for wall-mounting.
Install the router at an appropriate height to ensure that the indicators can be observed easily.
Before You Start
Use a Phillips screwdriver to fix the mounting brackets to both sides of the router using M4 screws, with a
torque of 1.4 N·m.
Use a measuring tape to determine the four mounting bracket installation positions. Keep the upper and
lower installation positions respectively on a horizontal line and mark the positions with a marker.
Drill holes and install mounting expansion bolts in the wall.
a. Use an 8-mm drill bit to drill holes in the marked positions.
b. Insert M6 expansion bolts into the holes and screw the M6 nuts to fasten the expansion bolts.
c. Remove the nut, flat washer, and spring washer.
Place the router on the M6 expansion bolts, fasten the spring washers, flat washers, and nuts in order, and
secure the router on the wall using a torque wrench, with a torque of 5 N·m.
Step 1
Step 2
Step 3
Step 4
Installation Procedure
2 mm
185 mm
1
2
3
3
Hang the router on the mounting screws.
Connect the ground cable to the ground point.
Step 3
Step 4
Installation Procedure