The installation holes on the front/rear
side of an N66B cabinet are numbered
1 to 83 from bottom to top.
Scenario Component Installation Holes Remarks
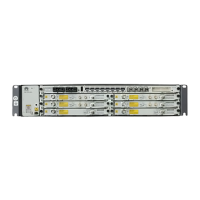
1 x T64
subrack +
2 x T32
subracks
PDU 81, 83 -
T64 44, 46, 58, 59, 74, 76 -
T32 7, 9, 21, 22, 37, 39
The same numbered
installation holes are
used to install T32
subracks on the front
and rear sides of the
cabinet.
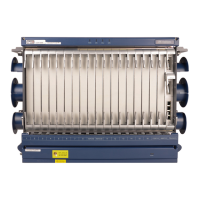
DCM 1, 2
Two DCM frames
need to be installed.
The same numbered
installation holes are
used to install the
DCM frames on the
front and rear sides of
the cabinet.
1 x T64
subrack +
4 x 6800
subracks
PDU 81, 83 -
T64
44, 46, 58, 59,
74, 76
-
6800 subrack 24, 25, 38, 39
The same numbered
installation holes are
used to install 6800
subracks on the front
and rear sides of the
cabinet.
6800 subrack 8, 9, 22, 23
DCM 1, 2, and 3, 4
Four DCM frames
need to be installed.
The same numbered
installation holes are
used to install the
DCM frames on the
front and rear sides of
the cabinet.
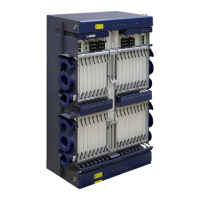
1 Installation Holes for the Subrack
Deploying T64 and Other Subracks in the Same N66B Cabinet
a
Installing Components
Installation holes on the front/rear side of an N66B cabinet
Front side of an N66B cabinet
 Loading...