30
10
Installing Clock Cables
120-ohm clock cable
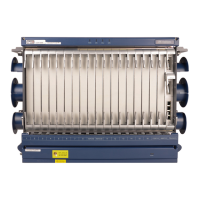
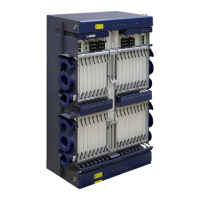
Installing clock cables - OptiX OSN 9560 and OptiX OSN 3500
a
A
Connected to
the CLK1 port
B
75-ohm clock output 1
75-ohm clock output 2
75-ohm clock input 1
75-ohm clock input 2
120-ohm clock input/output 1
120-ohm clock input/output 2
Outputting
clock signals
B
A
75/120-ohm clock transit
cable (one channel)
75/120-ohm clock transit
cable (two channels)
The 75-ohm and 120-ohm clock cables are available.
The OptiX OSN 9560 supports input and output of 75-ohm and 120-ohm clock signals. However, 75/120-ohm clock transit cables
are required if an OptiX OSN 9560 traces clock signals from a 75-ohm port because STI boards on the OptiX OSN 9560 provide
only 120-ohm RJ45 connectors.
The OptiX OSN 9560 uses 120-ohm clock cables by default. If an OptiX OSN 9560 connects to an OptiX OSN 3500, use 120-ohm
clock cables to connect them. Clock cables between subracks can be made using network cables on site.
The 120-ohm clock cables must be shielded wires without cable sheaths.
Connected to
the CLK2 port
Outputting
clock signals
Clock Cable Connections
X1 X2 Color Relationship
1 4 White/Blue A twisted pair
2 5 Blue
3 7 White/Orange A twisted pair
6 8 White/Green
4 1 Green A twisted pair
5 2 Orange
7 3 White/Brown A twisted pair
8 6 Brown
NOTE
 Loading...