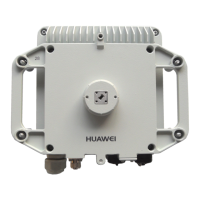
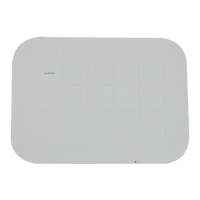
Installing an Indoor PI
Tighten floating nuts.
1
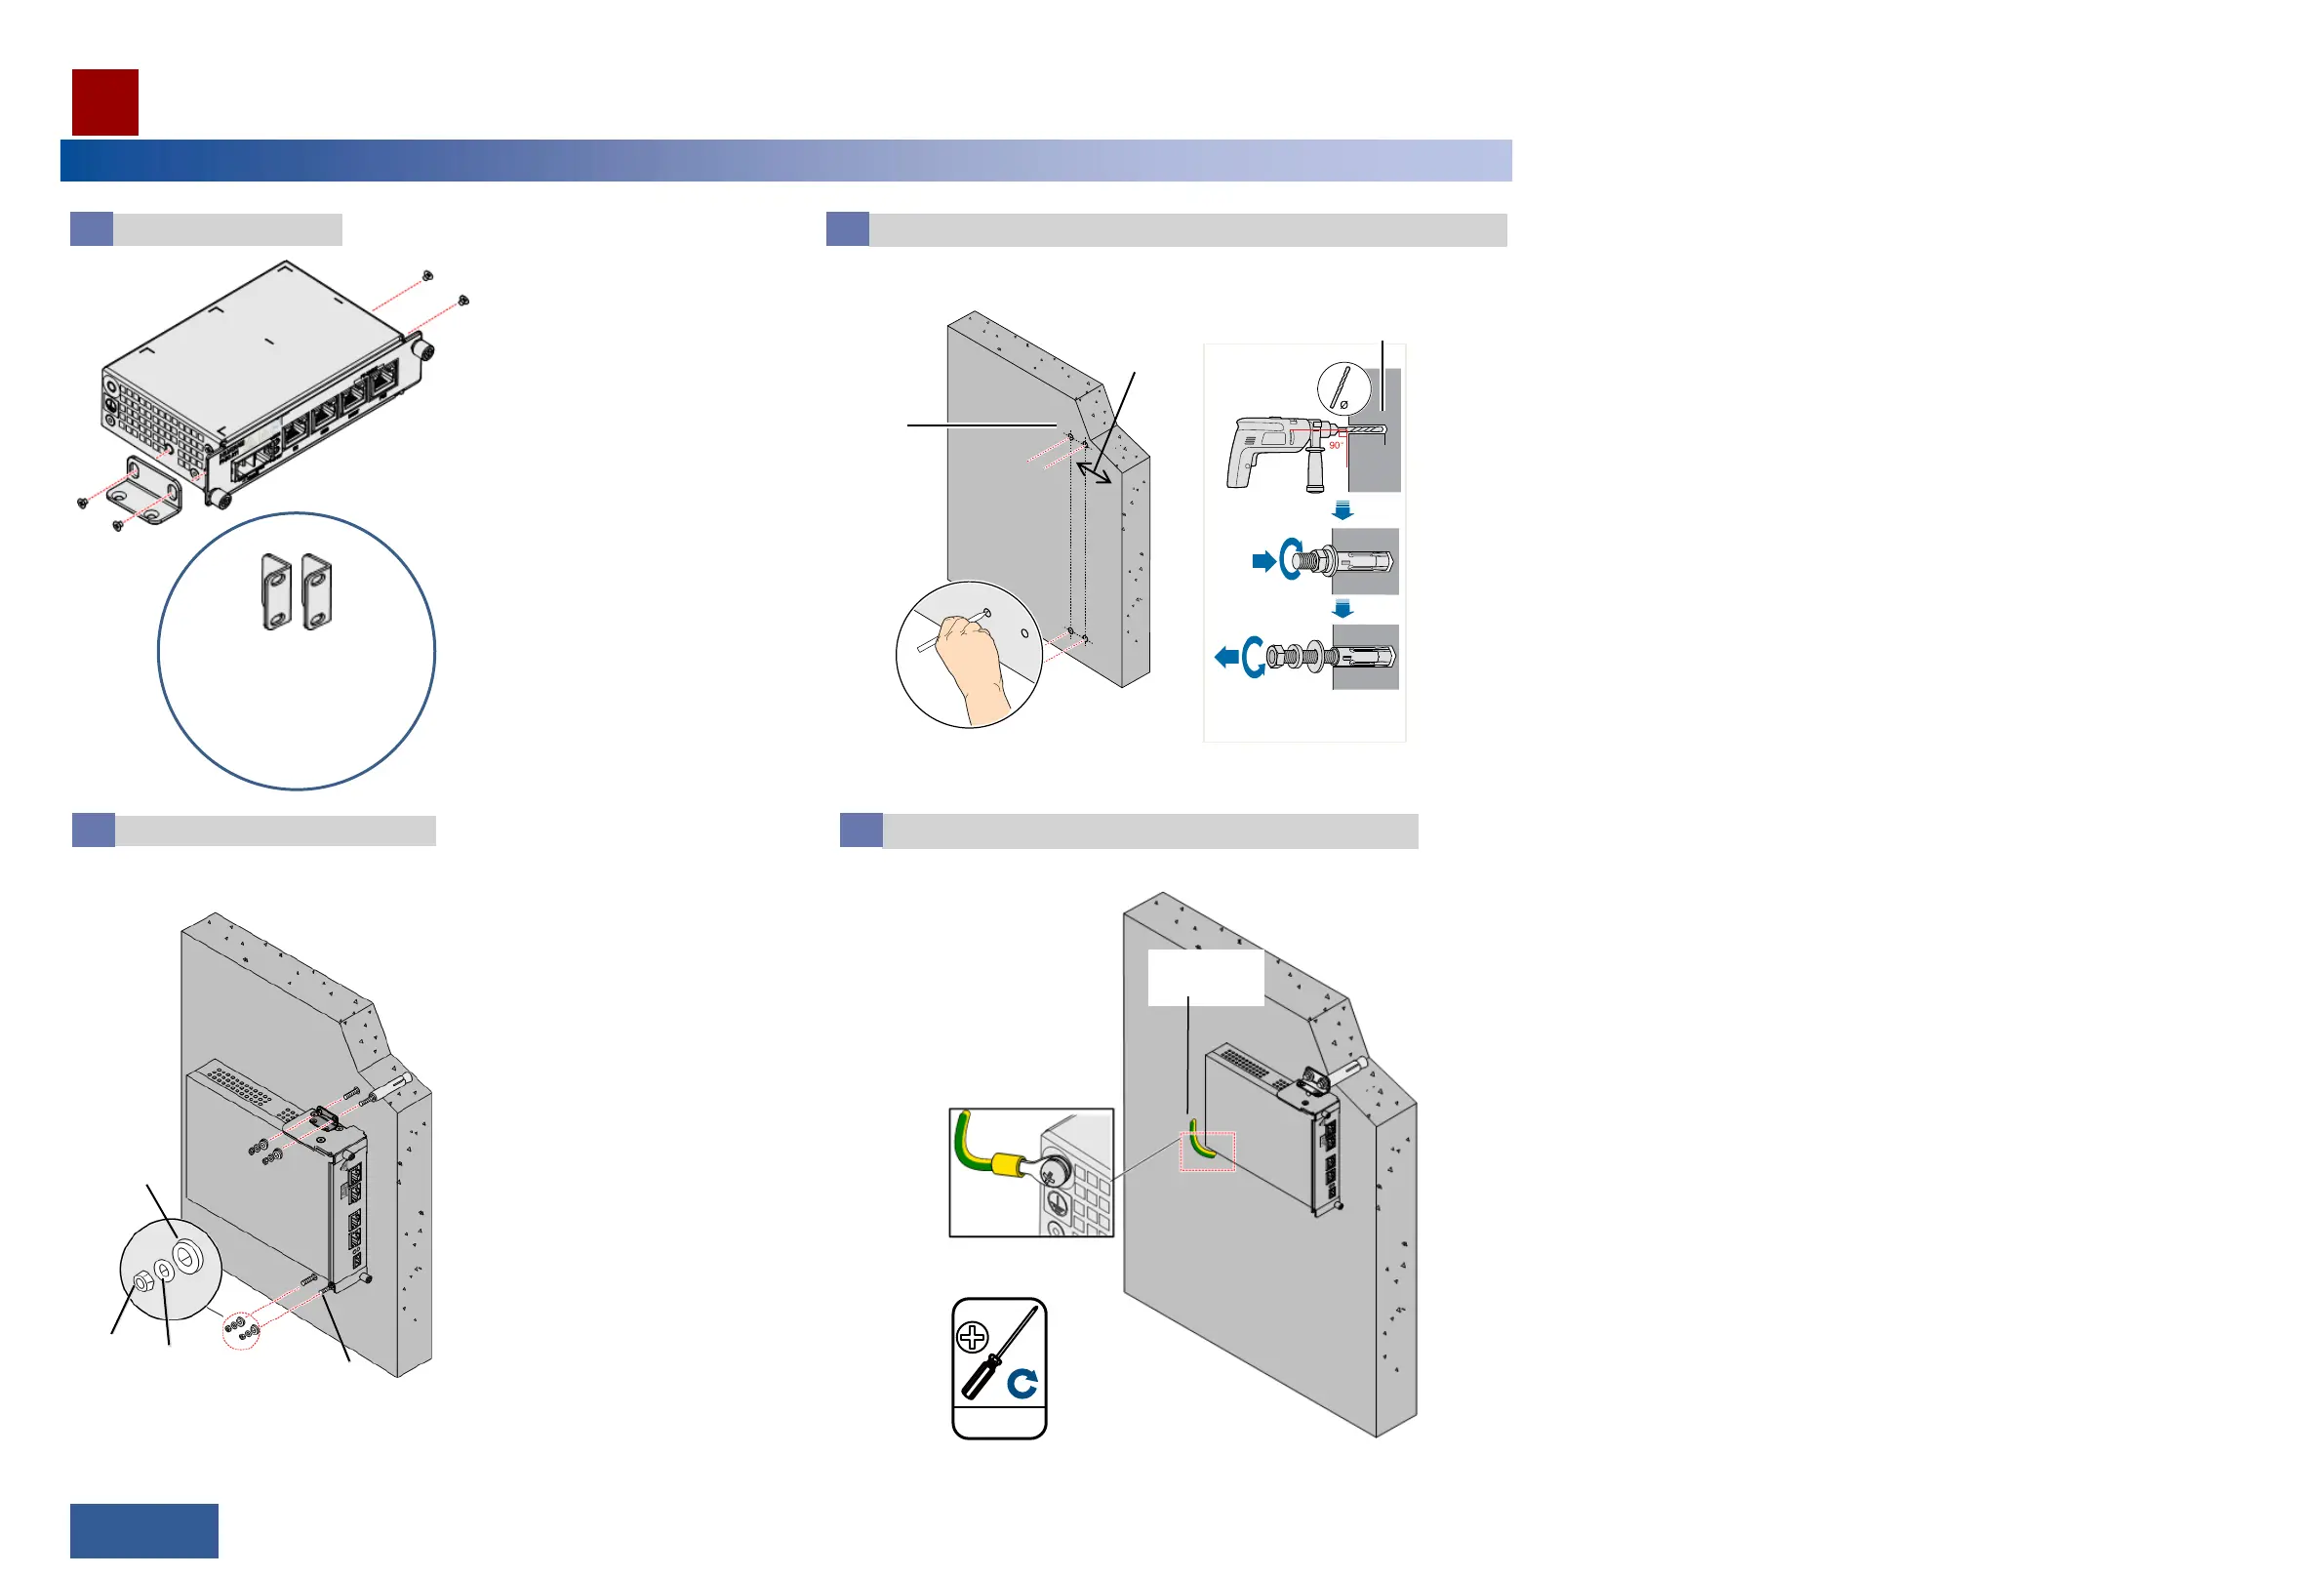
Optional: Installing a PI on a Wall
Drilling
positions
Drill Ф8 holes to a
depth of 52 to 60 mm.
≥ 300 mm
Hold the PI up to the wall and mark the drilling positions. Drill the holes and insert the fixing bolts.
The positions of the holes should allow a heat dissipation space of at least 50 mm above and
below the auxiliary mounting bracket.
Mark and drill holes in the wall.
2
Install the PI on the wall.
3
Big flat
washer
Nut
Small flat washer
M6x60
expansion bolt
PGND
cable
1.4±0.14 N·m
M6
Install the PGND cable using
a ground screw (M6).
Install the PGND cable.
4
48/49 >>
Installation Reference
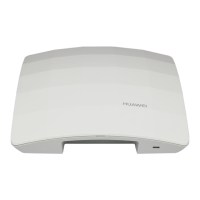
Mounting ears for
installation on a wall