Do you have a question about the Human Touch Perfect Chair and is the answer not in the manual?
Prepare the chair by placing it on its side and removing specific bolts before mounting the table.
Place the first chair on its side on a soft surface with the mounting side facing up.
Remove specific bolts, save them, and align barrel nuts if they become dislodged.
Secure the table firmly to the mounting brackets by installing a locking knob on the underside of each mounting pin.
Confirm installation is complete and retain removed bolts for original chair configuration.
Secure the mounting bracket to the back leg using spacers and a short bolt, ensuring proper alignment.
Attach the mounting bracket to the front leg using a spacer and a long bolt, then tighten both bolts.
Repeat the bracket installation process for the opposite side of the second chair.
Position both chairs and use alignment wires or a ruler to set the correct spacing between them.
Remove the table from packaging, place it face-down on a soft surface, and install mounting screw pins.
Lower the table between chair arms, aligning screw pins with bracket holes and pressing firmly to secure.
Replace any rubber grommets that may have popped out of the mounting brackets before completing installation.
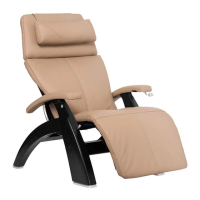
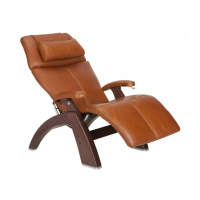
| Adjustable Headrest | Yes |
|---|---|
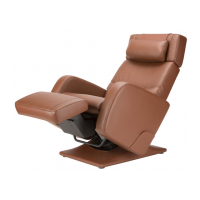
| Recline Angle | 180 degrees (zero gravity) |
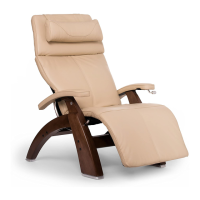
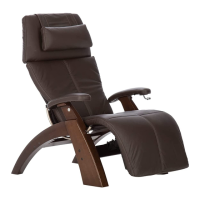
| Material | Leather |
| Dimensions | Varies by model |
| Features | Zero Gravity Recline, Lumbar Support |
| Color Options | Black, Brown |
| Power Options | Electric Recline and Power Lift |