www.HunterFan.com
1.888.830.1326
M0047-01 • 11/26/12 • © Hunter Fan Company
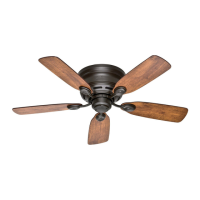
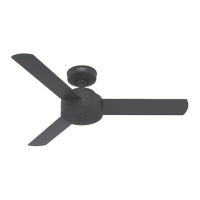
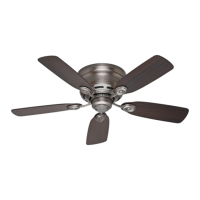
Blades
9
bag into the holes in the blades, then
secure each blade to a blade iron with
screws found in the hardware bag.
motor with screws found in
the hardware bag, then securely
tighten after both screws are attached.
Your blades are shielded with Dust Armor® which
is a nanotechnology coating that repels dust. For
cleaning the fan, use soft brushes or cloths to prevent
scratching. Cleaning agents may damage the nishes.
www.HunterFan.com
1.888.830.1326
Feed the wire plug through the center
hole of the upper switch housing, then
wrap keyhole slots around the screws and
twist counterclockwise.
Screw two (2) housing assembly screws
from the hardware bag halfway into
the motor housing. It does not matter
which two screw holes you choose.
Insert the third screw, found in
the hardware bag, into place and then
tighten all three (3) screws.
Make sure the upper switch housing is securely
attached to the mounting plate. Failure to properly
secure all three assembly screws could result in the
switch housing xture falling.
Switch Housing
10
M0047-01 • 11/26/12 • © Hunter Fan Company
 Loading...