4
Check the outlet box:
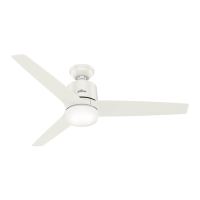
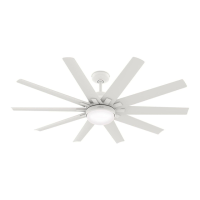
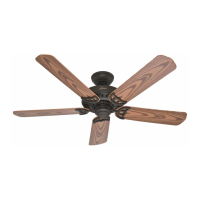
Ceiling Bracket Downrod Hanging Fan Wiring Canopy Blades Light Glass/Bulbs Remote
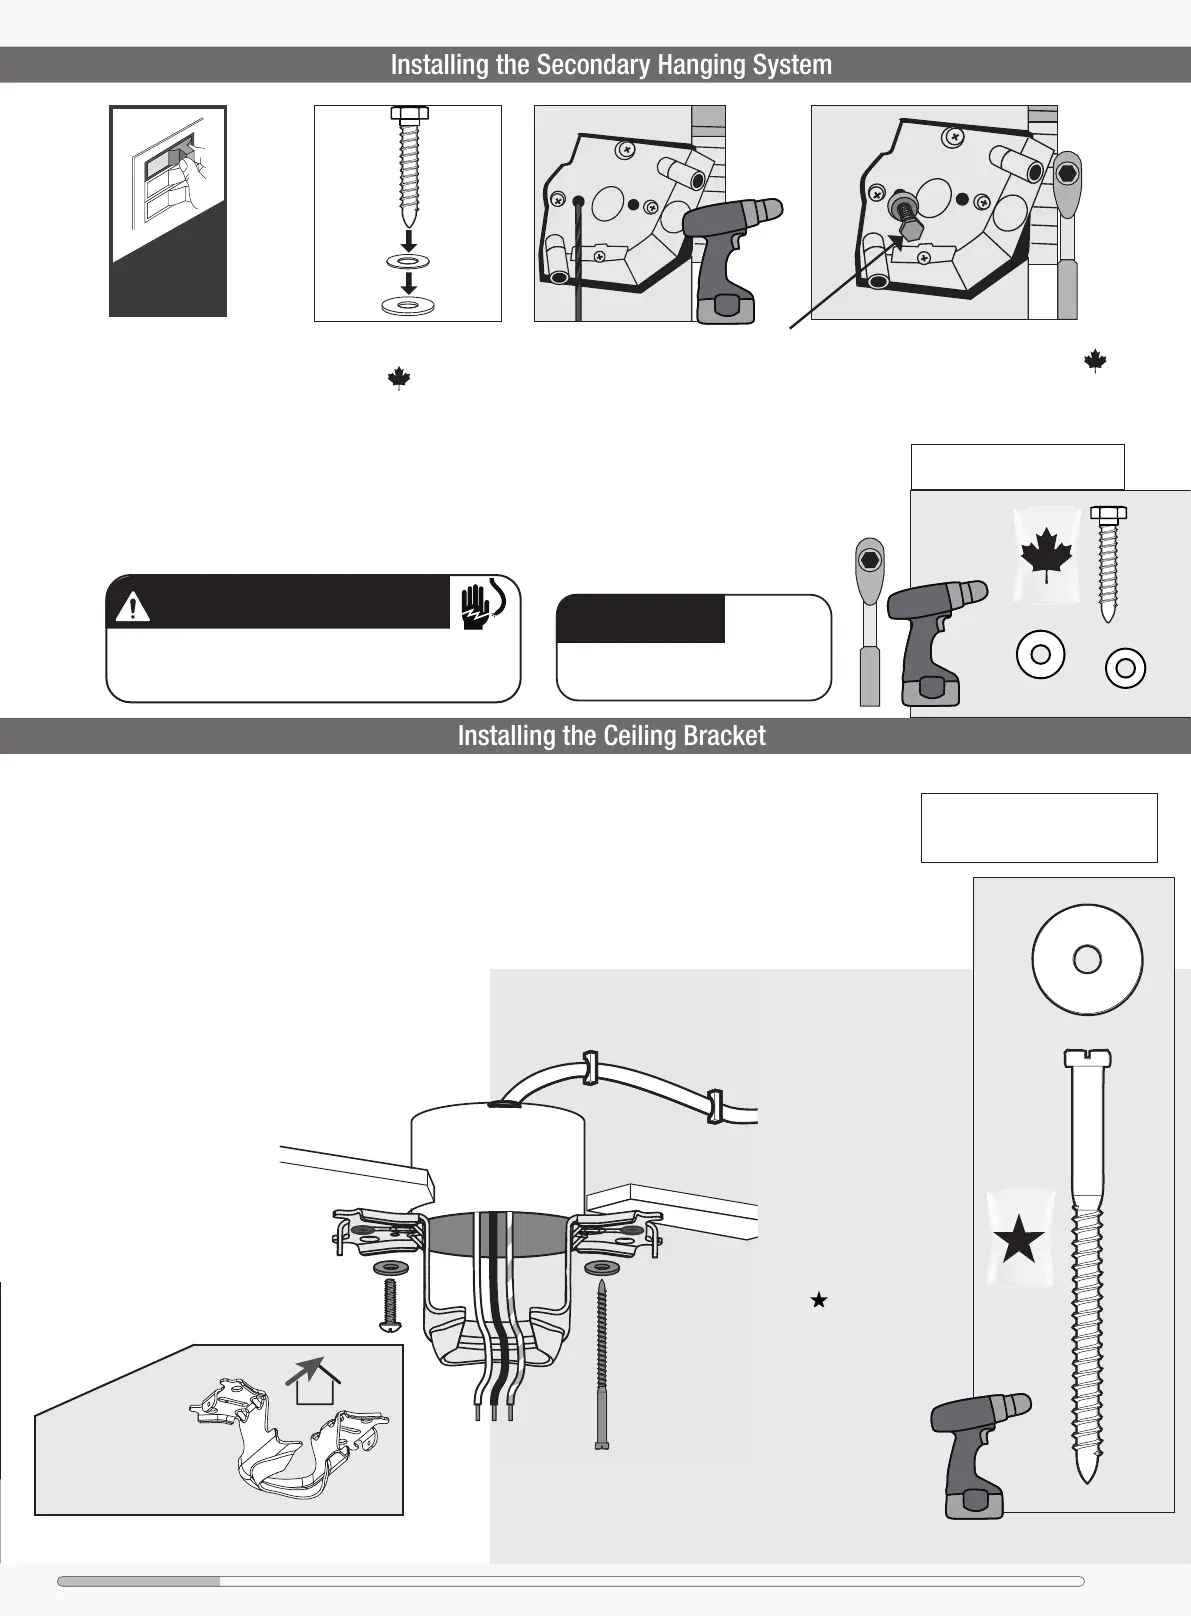
Installing the Ceiling Bracket
Use wood screws and
washers (included) when
securing to support structure
with approved electrical
outlet box. Drill 9/64” pilot
holes in support structure
to aid in securing ceiling
bracket with hardware found
in the hardware bag.
Use machine screws
(provided with outlet box)
and washers when securing
to existing ceiling fan-rated
outlet box. Make sure it is
securely installed and is
acceptable for fan support of
31.8 kg (70 lbs) or less.
Option 2:
Wood Screws
Option 1:
Machine Screws
The machine screws are the ones
that came with your outlet box.
Hunter Pro Tip:
For angled ceilings,
point opening
toward peak.
ANGLED
MOUNTING TIP
bag
Wood Screw
Washer
x2
x2
You have two options for installation. Pick which one works best for your location. Remove any existing
bracket prior to installation. Only use the provided Hunter ceiling bracket that came in your fan’s box.
OFF
Turn Power
Do this rst!
Installing the Secondary Hanging System
Do you have an exposed support structure?
Go to www.HunterFan.com/FAQs and click
“Where do I connect the cable to?
Drill a 5/32” pilot hole through
the Ceiling Fan Rated outlet box
and into the support structure.
Remove the lag bolt, metal
washer, and plastic washer
from the bag. Thread
the lag bolt through the
metal washer and then the
plastic washer.
Using a hex head ratchet socket wrench, screw
the lag bolt and washers found in the bag
into the pilot hole. Leave 3 mm (1/8”) of space
between the outlet box and the plastic washer.
NOTE: Completion of hanging
system is on pg 5
To reduce the risk of re, electrical shock, or personal injury,
mount fan directly from building structure and/or an outlet box
marked acceptable for fan support of 70 lbs (31.8 kg) and use the
mounting screws provided with the outlet box.
x1
x1
x1Lag Bolt
Washer
Plastic
Washer
bag