Do you have a question about the Hunter Indoor Ceiling Fan and is the answer not in the manual?
Key safety precautions, including power disconnection, wiring standards, and avoiding damage to fan parts.
Verify ability to locate ceiling joist, drill screws, connect wires, and lift 40 lbs.
List of tools needed for fan installation, including drill, screwdrivers, and wrench.
Consider optional accessories like wall-mounted or remote speed controls for enhanced performance.
Unpack fan carefully, check for shipping damage, and contact dealer if parts are missing or damaged.
Provides maximum installation flexibility with three mounting methods.
Mounting option for low ceilings (less than 8 feet).
Mounting option using a downrod for ceilings 8 feet or higher.
Select location ensuring blade clearance, minimum height of 7 ft from floor, and proximity to joist for support.
Check support brace, ceiling hole, outlet box, and wiring for suitability before proceeding with installation.
Includes cutting the ceiling hole, installing the support brace, and the outlet box.
Ensuring proper connection of fan supply line to the outlet box according to electrical codes.
Securing the ceiling plate to the support structure with pilot holes and screws.
Steps for assembling the downrod, including removing and reattaching the set screw for low-profile assembly.
Guide on fitting canopy, trim ring, and low profile washer for proper mounting.
Instructions on raising the fan and placing the hook through the loop on the ceiling plate.
Connecting fan wires to house wiring, with options for single or dual switch control.
Aligning and securing the canopy and canopy trim ring to the ceiling plate.
Attaching blade grommets and blade irons to the fan blades using assembly screws.
Securing the upper switch housing to the mounting plate with housing assembly screws.
Connecting light fixture wires and securing the fixture to the lower switch housing.
Installing light shades and bulbs onto the candlestick.
Connecting plug connectors and securing the lower switch housing to the upper switch housing.
Steps for attaching the switch housing when the light fixture is not used.
Instructions on using pull chains for fan speed, light control, and reversing switch for airflow direction.
Guidelines for cleaning fan finishes and wood blades using soft cloths and mild detergents.
Solutions for problems like fan not moving, noisy operation, and excessive wobbling.
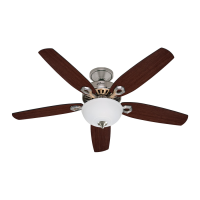
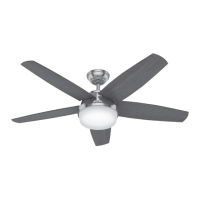
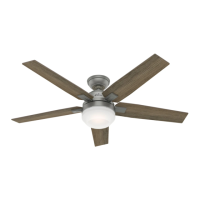
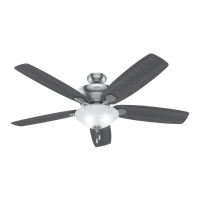
| Type | Ceiling Fan |
|---|---|
| Fan Type | Indoor |
| Location | Indoor |
| Number of Blades | 5 |
| Motor Type | AC |
| Control Type | Pull Chain |
| Color Options | Brushed Nickel |
| Motor Speed | 3-speed |
| Color | Varies by model |
| Material | Metal |
| Warranty | Lifetime |