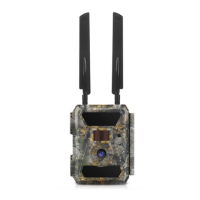
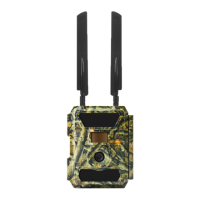
3. Mount the Antenna & Insert SIM card
4. Power on the Camera
Switch to ON; camera is ready to work upon motion triggers (screen will not light up
upon “ON”). You can mount it out to work directly after this, if default settings are
preferred.
5. Configure Camera Settings
Switch to SETUP, screen will light up. Press M key, you will enter the menu to view &
change settings. Press arrow keys for navigation and OK key to confirm settings.
Note! Switch to ON for enabling the camera to work after setups.
6. How to Connect the Camera to Network
Different from non-cellular models, 4G model has a signal “Searching” process when
you switch the power key to SETUP.
If it comes with a signal bar and no other pop-up, it means the network is
automatically connected. You only need to fill in phone numbers and emails in “Send
To” for receiving photos upon motion triggers.
SETUP→MENU→4G→Send To→Phone/Email
If it comes with a pop-up “SIM Auto Match failed…”, go to “SIM Auto Match” under
“4G”, select “Manual”, and fill in local operator APN details in “Manual Setup”, the
camera will connect to network to send photos.
1. SETUP→MENU→4G→SIM Auto Match→Manual
2. SETUP→MENU→4G→Manual Setup→MMS/4G
Note! This camera can send photos to 4 phones & 4 emails. It’s set to send photos to
phones via MMS, and photos/ videos to emails via SMTP (data). If you prefer more
personalized way of sending, configure in menu accordingly.