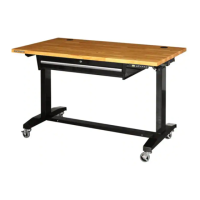
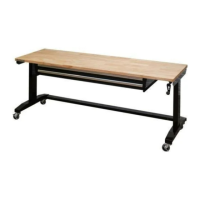
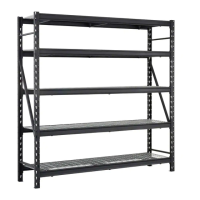
Assembly
7
1. While unpacking the unit, please lay the parts on a soft surface
such as a carpet, packaging, or blanket to prevent the top from
being scratched during assembly.
2. Attach the top rail (C) to the left leg (B) with six M6x15L
screws (CC).
3. Repeat the same step for right leg (K).
6. Using two people, flip the desk over to the upright position.
HUSKYTOOLS.COM
Please contact 1-888-HD-HUSKY for further assistance.
NOTE: Do not fully tighten bolts yet to allow for some movement
during cabinet installation.
B
CC
C
CC
B
K
C
4a. Option 1: Attach the support rail (G) to the bottom of the leg (B)
and leg (K) using four M8x12L bolts (DD) and four M8 washers
(EE). Finger tighten only. The support rail can attach in the
middle or rear of the legs. Attach it at your desired position.
See step 4b for Option 2.
4b. Option 2: Attach the support rail (G) to the bottom of the leg (B)
and leg (K) using four M8x12L bolts (DD) and four M8 washers
(EE). Finger tighten only.
You can tighten screws (CC) for top rail (C) after this step.
B
K
G
EE
DD
C
B
K
G
DD
EE
C
Option 1 Option 2
5. Screw the four leveling feet (J) or casters (I) all the way into the
leg assemblies to the maximum depth. Some adjustment may be
necessary after the workbench is in the desired location to
properly level and use the product.
Caster Installation
B
K
I
Leveling feet installation
B
K
J
B
K
B
K
7. Attach the ground wire to the panel with two M4 x 10L
screw (BB).
B
K
BB
8. Attach the motor control wires to proper pins.
K
B
 Loading...