H
AA
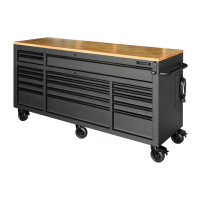
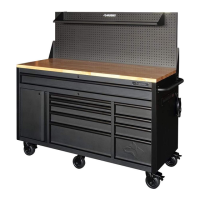
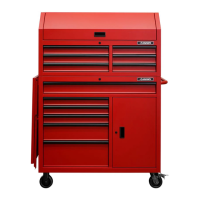
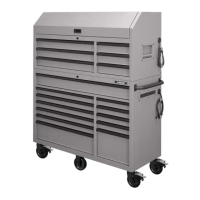
Assembly
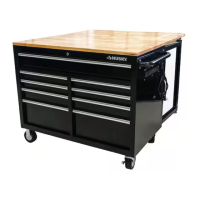
Attaching the side handle
NOTE: The holes in the cabinet are tapped and do not
require nuts.
□
□
Attach the side handle (B) to the cabinet using four bolts
(BB).
Tighten all bolts with the 10 mm wrench (CC).
□
CC
B
1
2
Do not over tighten the bolts to avoid damage to the finish.
Installing the crank handle or crank cap
3
Store the crank handle (K) or crank cap (L) in one of the
drawers when not in use.
NOTE:
Install the crank handle (K) or crank cap (L) into the shaft
□
next to the Husky badge.
K
L
4
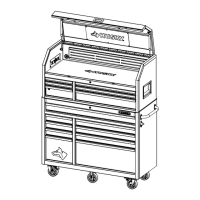
Attaching the power strip brackets
□
Attach the power strip brackets (H) to the cabinet using four
bolts (AA).
Tighten all bolts using a screwdriver.
□
Do not over tighten the bolts to avoid damage to the finish.
NOTE: The holes in the cabinet are tapped and do not
require nuts.
□
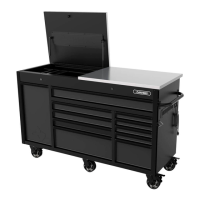
Installing the drawer liners
□
Place the drawer liners (M) in appropriately-sized
drawers to protect the surface.
BB
M
66