5 HUSKYTOOLS.COM
Please contact 1-877-260-1630 for further assistance.
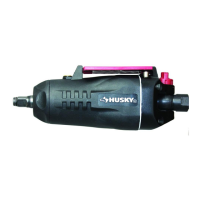
APPLICATIONS
You may use this product for the purposes listed below:
• Driving Screws, lag bolts
• Tightening nuts and bolts
• Removing screws, nuts and bolts
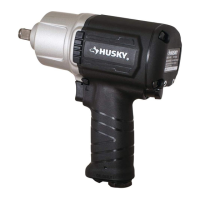
OPERATION
Switch Trigger
To turn the impact driver ON, depress the switch trigger. To turn it
OFF, release the switch trigger..
Variable Speed
This tool has a two-step trigger that delivers higher speed with
increased trigger pressure. Speed is controlled by the amount of
switch trigger depression.
Direction for Rotation Selector (Forward / Reverse)
The direction of bit rotation is reversible and is controlled by side
mounted forward/reverse switch.
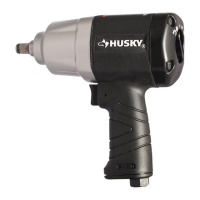
Installing / Removing Bits
To install:
Remove air supply from the impact driver.
Pull back the coupler sleeve and insert bit. Release sleeve
and bit will lock in place.
Pull on the bit to ensure it is secured in the coupler.
There may be some play in the installed bit; this is
normal.
NOTE: Use only impact quality bits with a locking
groove.
Make sure the bit is secured
in the coupler before using the impact
driver. Failure to do so could cause
serious personal injury.
To remove:
Remove the air supply from the impact driver.
With the nose of the tool pointed away from
you, pull the coupler sleeve back.
The bit can be removed.
Driving or Removing Screws
Place the direction of rotation selector in the
correct position for the operation.
Hold the impact driver with one hand.
Place the bit on the screw head and slowly
depress the switch trigger. Start the bit slowly
for more control.
As screw is driven, impacting will begin.
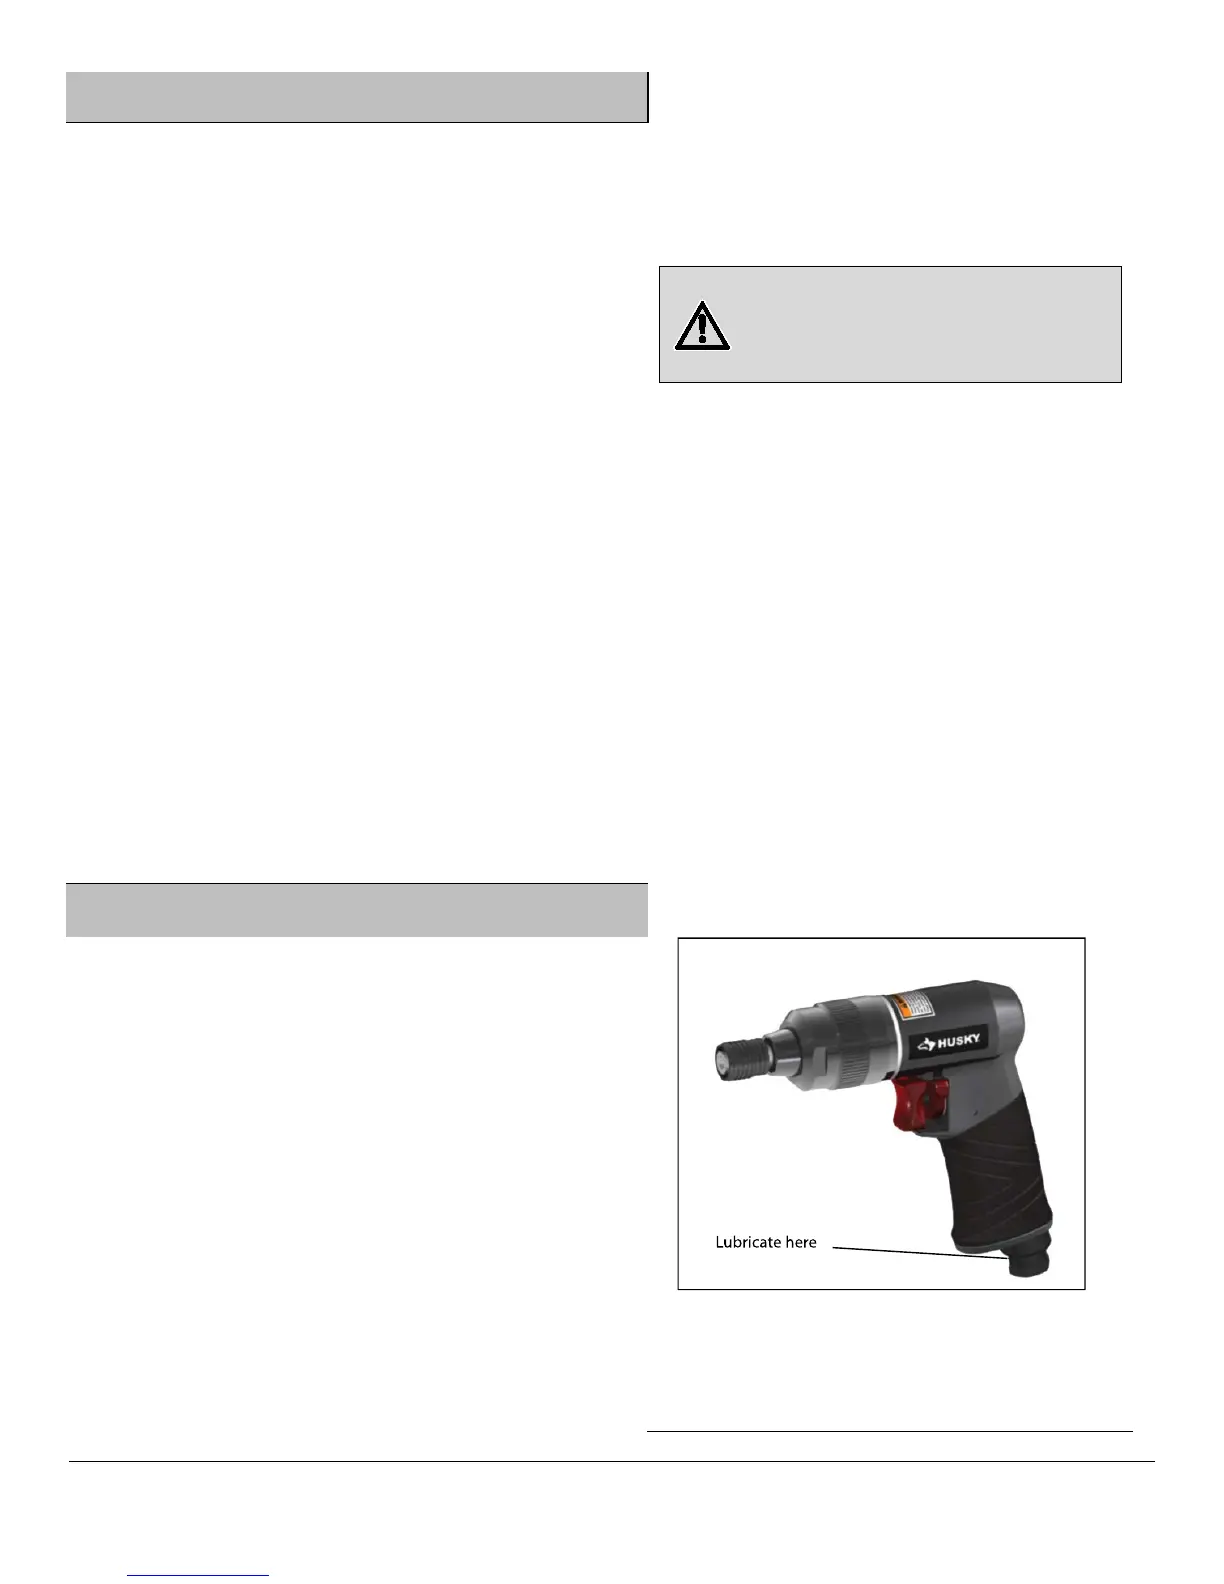
Maintenance
Lubrication
An in-line filter-regulator-lubricator is recommended as it increases
tool life and keeps the tool in sustained operation. The in-line
lubricator should be regularly checked and filled with air tool oil.
Proper adjustment of the in-
line lubricator is performed by placing a
sheet of paper next to the tools exhaust ports and holding the
throttle open approximately 30 seconds. The lubricator is properly
set when a light stain of oil collects on the paper.
Excessive amounts of oil should be avoided. In the event that it
becomes necessary to store the tool for an extended period of time
(overnight, weekend, etc.), it should receive a generous amount of
lubrication through the air inlet. The tool should be run for
approximately 30 seconds to ensure oil has been evenly distributed
throughout the tool. The tool should be stored in a clean and dry
environment.
Recommended lubricants: Use air tool oil or any other high grade
turbine oil containing moisture absorbent, rust inhibitors, metal
wetting agents and an EP (extreme pressure) additive.