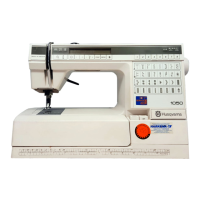
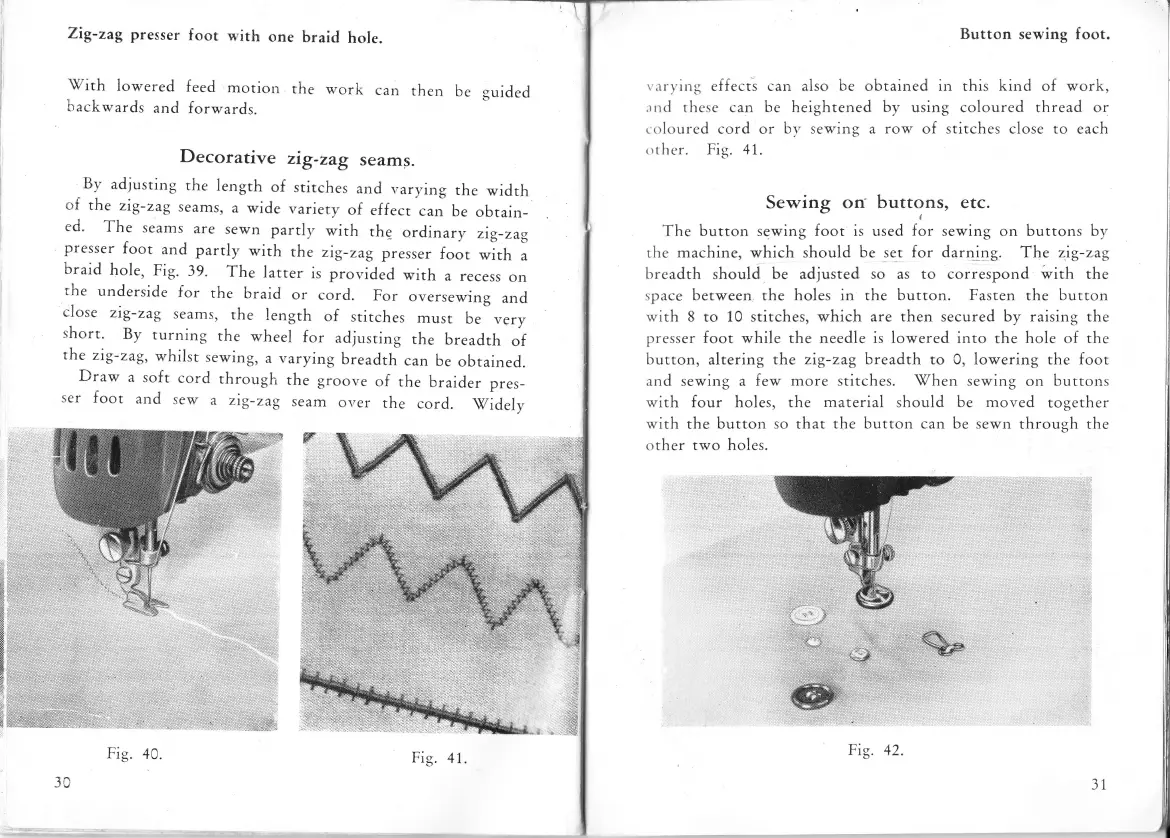
Zig-zag
presser
foot
with
one
braid
hole.
vith
lowered
feed
motion
the
urork
can
then
[:e
guided
backv'ards
and
forwards.
Decorative
zig-zag
seams.
Bv
adjusting
the
length
of stitches
and
r.aryilg
the
width
of
the
zig-zag
seams,
a
wide
variery
of
effec,
.rn
b.
obtain-
ed.
The
seams
are
sewn
partly
with
thg
ordinary
zig-zag
presser
foot
and
partly
with
the
zig-zag
presser
foot
with
a
braid
hole,
Fis"
39.
The
latter
is
provided
with
a recess
on
the
underside
for
the
braid
or
cord.
For
oversewing
and
close
zig-zag
seams,
the
length
of
stitches
must
be
very
short.
By
turning
the
wheel
for
adjusting
the
breadth
of
the
zig-
zng,
whilst
sewing,
a varying
breadth
can
be
obtained.
Draw
a
soft
cord
through
the
groove
of
rhe
braider
pres-
ser
foot
and
sew
a
zig-zag
seam
over
the
cord.
v;a.ty
Fig"4a.
3C
FiS.
41.
Fig.
42.
r
.r
r
y'inu effects
.,
rr
cl
these can
t
olou re
d cord
Button
sewing
foot.
cani also
be
obtained in this
kind
of work,
be heightened by
using
coloured
thread
or
or
b)'
sewing a
rorr
of stitches close to each
ri\,,irrI.::!+:;ii,a+J.!:Eqs*Iid+iYfij
1...
ljl ,.1
::
i::::: !,ji 1:i 1:::!::iy.*.:EY
:.i\i\ l\i :.1:!:!l:--':r.:!iil $l i'li f
.......\4.\:.r
Bl".'.j.'Ll.ri::;4i,;it:\.\
iL,::*iri.'i\'a!:l:11i.)ii:'i':1:'r:i;ii
._.arr-.:.._r._'11.-.i-.ri.r:.r..ivjj:f,|2i
:,,,
.',\',,:
,,. ,
j,
,,
.
: 'i,..,i:
,\:
\,
:i,,:i.:i!:;1'
!a
l,i:, |\ir
1,j a:,
!, \-'+;!'
!
l!j\:,,,iq'
l.i};lti:i:
:'!i'ri'i.:iril.:::;r
;:i".;!td:i!
il?;Yb):j:!lr.:::r:':
i ! r.1': i:i;r':1!]' rlf \:
&Ar&i-.:..'*a:l:iia)i :
i.:'
j'i!::'!'Iil
:
ffi5ffi:,n,:;oi;;,::i:,
Sewing
on
buttons,
etc.
The
button
sewing
foot is used
fL,
sewing
on
buttons by
the machine,
which
should
be set for darning.
The
zig-zag
breadth
should
be
adjusted
so as to correspond with the
space
between the holes in the
button. Fasten
the
button
with
8
to
10 stitches, which are
then
secured
by raising the
presser foot
while the needle
is
lowered
into
the
hole
of the
button,
altering
the
zig-zag
breadth to C,
lowering
the foot
and
sewing a
few more stitches.
When
sewing
on
buttons
with four holes, the material
should
be moved
together
with the button so
that the button can be
sewn through the
other two holes.
I !:l I
:.....:l
.:. :
ailt!:ii:i:!tj::iji
:lt:::::ili:::,:i::
:iji!lUii:i]jii:ii
ri!!:::iri:it!:i,i:i:l
!r:::::::i:::!r:::
::::!l
t::::t:tiiljl:.i:i:i:
31
 Loading...