D
donald19Aug 20, 2025
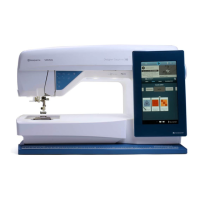
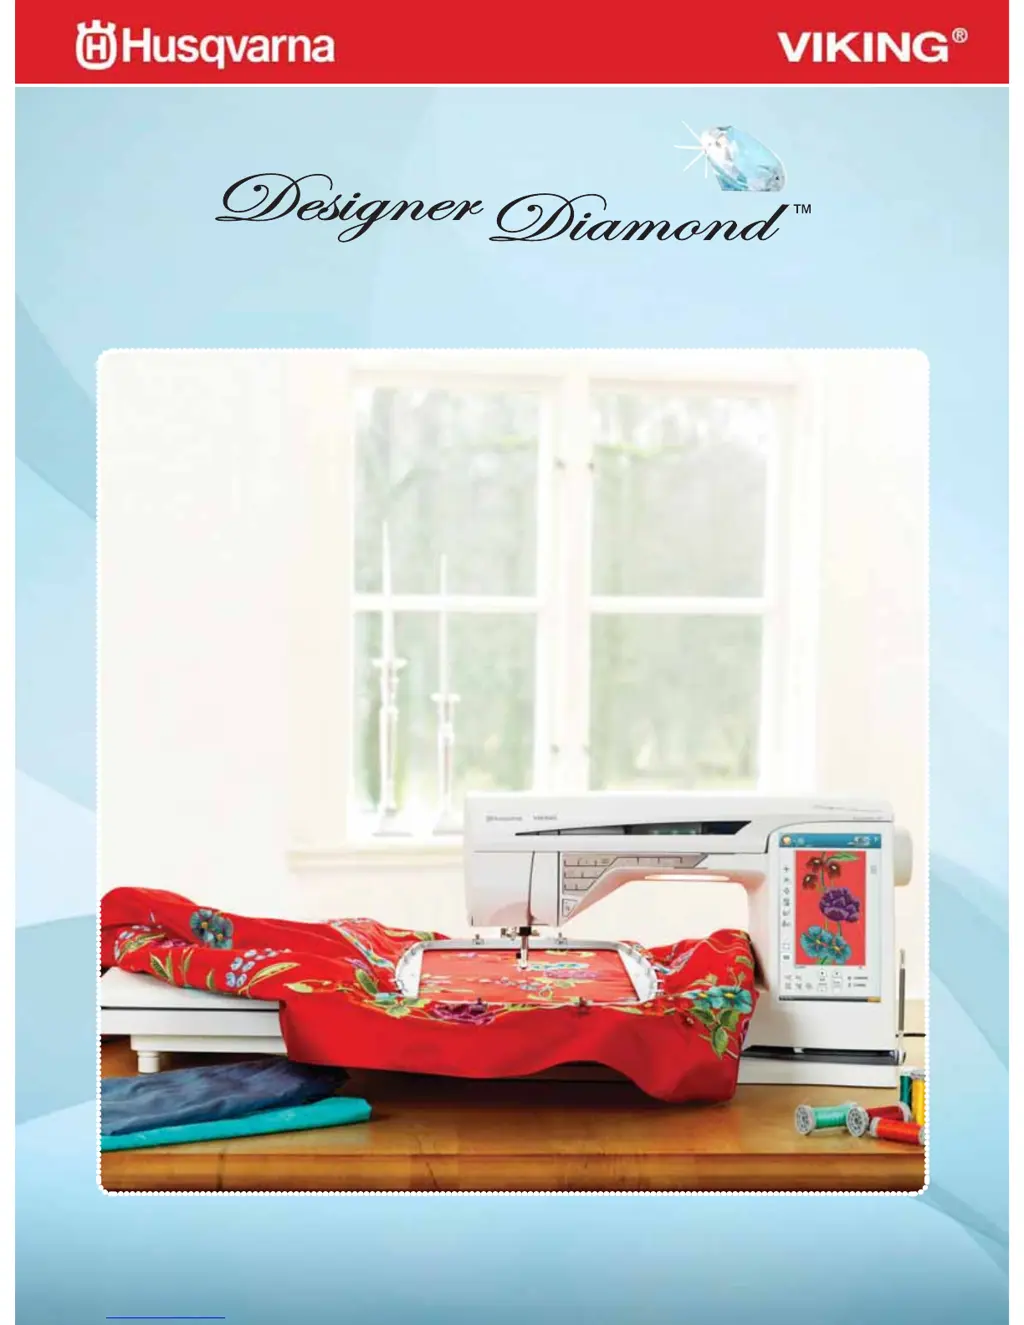
What to do if my Husqvarna Designer Diamond skips stitches?
- SstonepaulAug 20, 2025
If your machine skips stitches, consider the following: * Ensure the needle is correctly inserted. * Verify you're using the correct needle system 130/705 H. * Check if the needle is bent or blunt and replace it if needed. * Confirm the machine is threaded correctly. * Make sure you're using the correct presser foot. * Ensure the needle isn't too small for the thread being used.