J
Jeremiah DiazSep 8, 2025
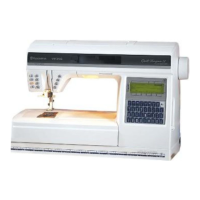
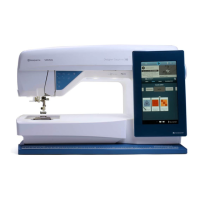
What to do if icons on the Husqvarna Designer Diamond screen are not activated when touched?
- JJamie CollinsSep 8, 2025
If the icons on the screen aren't responding to touch, calibrate the screen. You can find the Calibrate option in the SET Menu.