ECN 04007 Manual 440-1008 Rev D Page 6 of 10
bleeding device.
2. Special care must be taken to insure that the Hydrastar™ unit does not run out of brake fluid. Check
the fluid level frequently during the bleeding process.
3.
Block the wheels on the trailer and towing vehicle.
4. If the trailer is equipped with drum brakes, check that the brake running clearances are properl
y
adjusted consistent with the trailer manufacturer’s recommendations. Even the slightest amount of
brake drag will generate heat and will damage the trailer brake system voiding the manufacturer’s
warranty.
CAUTION – Failure to properly adjust the brakes on trailers equipped with drum brakes
can result in sluggish operation of the Hydrastar™ unit. Eye protection should be worn at all
times while bleeding the Hydrastar™ unit and trailer brake system.
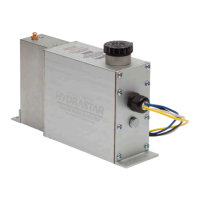
5. Remove the dust cap from the bleed screw on the Hydrastar™ unit and install plastic tubing onto the
bleeder
6. Immerse the free end of the plastic tubing in a clean container partially filled with brake fluid.
7. With eye protection on, open the bleeder screw one half turn on the Hydrastar™ unit. Take care t
o
protect yourself an
d the trailer from brake fluid expelled from the bleeder.
8. Activate the Hydrastar™ unit by turning on the ignition switch and pressing on the brake pedal or the
manual control on the in-cab controller.
9. Watch the free end of the bleeder hose for air bubbles escaping into the container.
10. Continue to bleed until the fluid becomes clear and free of bubbles.
11. Tighten the bleeder screw, turn off the Hydrastar™ unit, and remove the plastic tubing from the
bleeder screw. Bleeding of the Hydrastar™ unit is now complete.
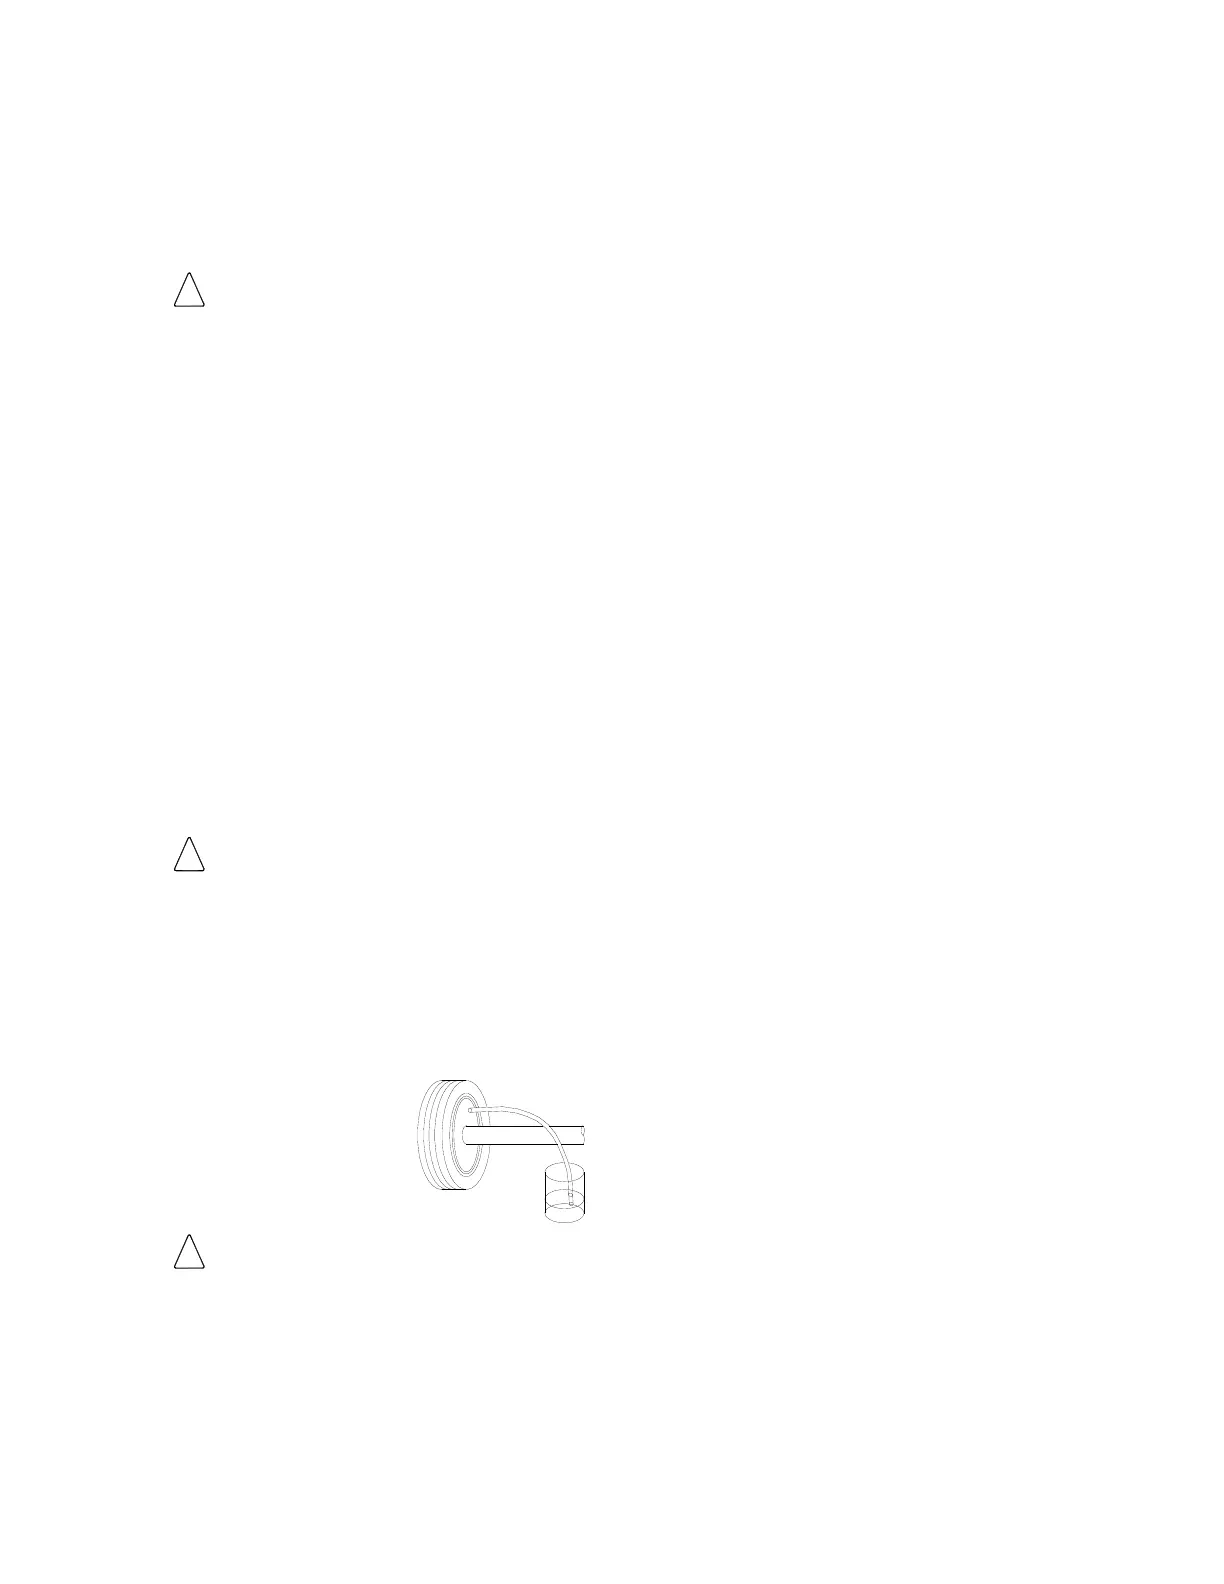
12. Install plastic tubing onto the bleeder screw of the wheel cylinder/caliper.
13. Immerse the free end of the plastic tube in a clean container partially filled with brake fluid.
14. With eye protection on, open the bleeder screw one half turn on the wheel cylinder/caliper farthes
t
from the Hydrastar™ uni
t. (If towed vehicle has multiple axles, always start with the rear axle
first.)
15. Activate the Hydrastar™ unit. (Turn the ignition switch on and press on the brake pedal.)
16. Watch the free end of the bleeder hose for air bubbles escaping into the clear container. Continue to
bleed the wheel cylinder / caliper until the fluid becomes
clear and free of bubbles.
CAUTION – Do not run the Hydrastar™ unit without adequate brake fluid in the reservoir as it
will damage the unit and void the manufacturer’s warranty.
Check all bleeder screws to ensure that they
are securely closed and do not leak.
17. Tighten the bleeder screw, turn off the Hydrastar™ unit, and remove plastic tubing from the bleeder
screw. Bleeding of the wheel cylinder/caliper is now complete.
18. Refill the Hydrastar™ unit with brake fluid.
19. Continue the above process (steps 12 through 18) on the next farthest brake away from the
Hydrastar™ unit. Repeat these steps until all the brakes have been bled.
WARNING – Failure to properly adjust the trailer brakes and to properly fill and bleed the
Hydrastar™ unit and brakes may result in sluggish brake performance. This may result in serious or fatal
injuries and / or property damage. As a precautionary measure, CTS recommends bleeding the brakes a
second time after the trailer has been in service for 7 – 10 days. CTS also recommends checking the
temperature of the hubs on a regular basis to insure that the trailer brakes are not dragging.
F. TESTING AND ADJUSTMENT OF ELECTRONIC CONTROLLER UNIT
1. Adjust the gain setting on the in-cab controller to a mid range setting and the sync setting to the maximum
(most aggressive) setting.


 To Next Page
 Loading...