5
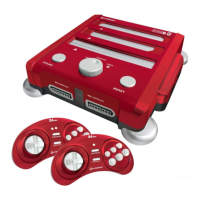
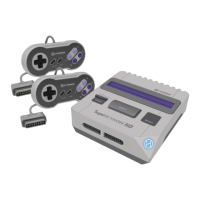
RETRON 5 SETUP
1. Insert AC Adapter into the AC Adapter port of the RetroN 5, then plug the AC Adapter into power outlet.*
2. Insert the High Denition cable into the High Denition output port of the RetroN 5, then insert the other end of the High
Denition cable into the HDMI input of your TV, monitor, or projector.**
3. Press the POWER button to turn on the RetroN 5.
4. The rst time you turn on RetroN 5, you will be presented with the rst run screen. This will help you to pair your RetroN 5
Wireless Controller and calibrate the screen size for your TV.
*The RetroN 5 comes with 4 variable head sockets; please use the correct head socket for your region, or risk damaging your
RetroN 5 console.
**Can only be projected with a HDTV display capable of 720p or greater resolution.
1
1
2
2
TV