Hypnocube 4Cube Instructions v 6.5, December 2013
- 26 -
Once you have the first wire done, you can continue on and do the rest of the red drop wires (8 in all.) While
soldering, try to make sure that the LEDs remain lined up in a nice lattice. This is most important for the first set
of drop wires; when you do the later wires the LEDs will already be pretty firmly in place.
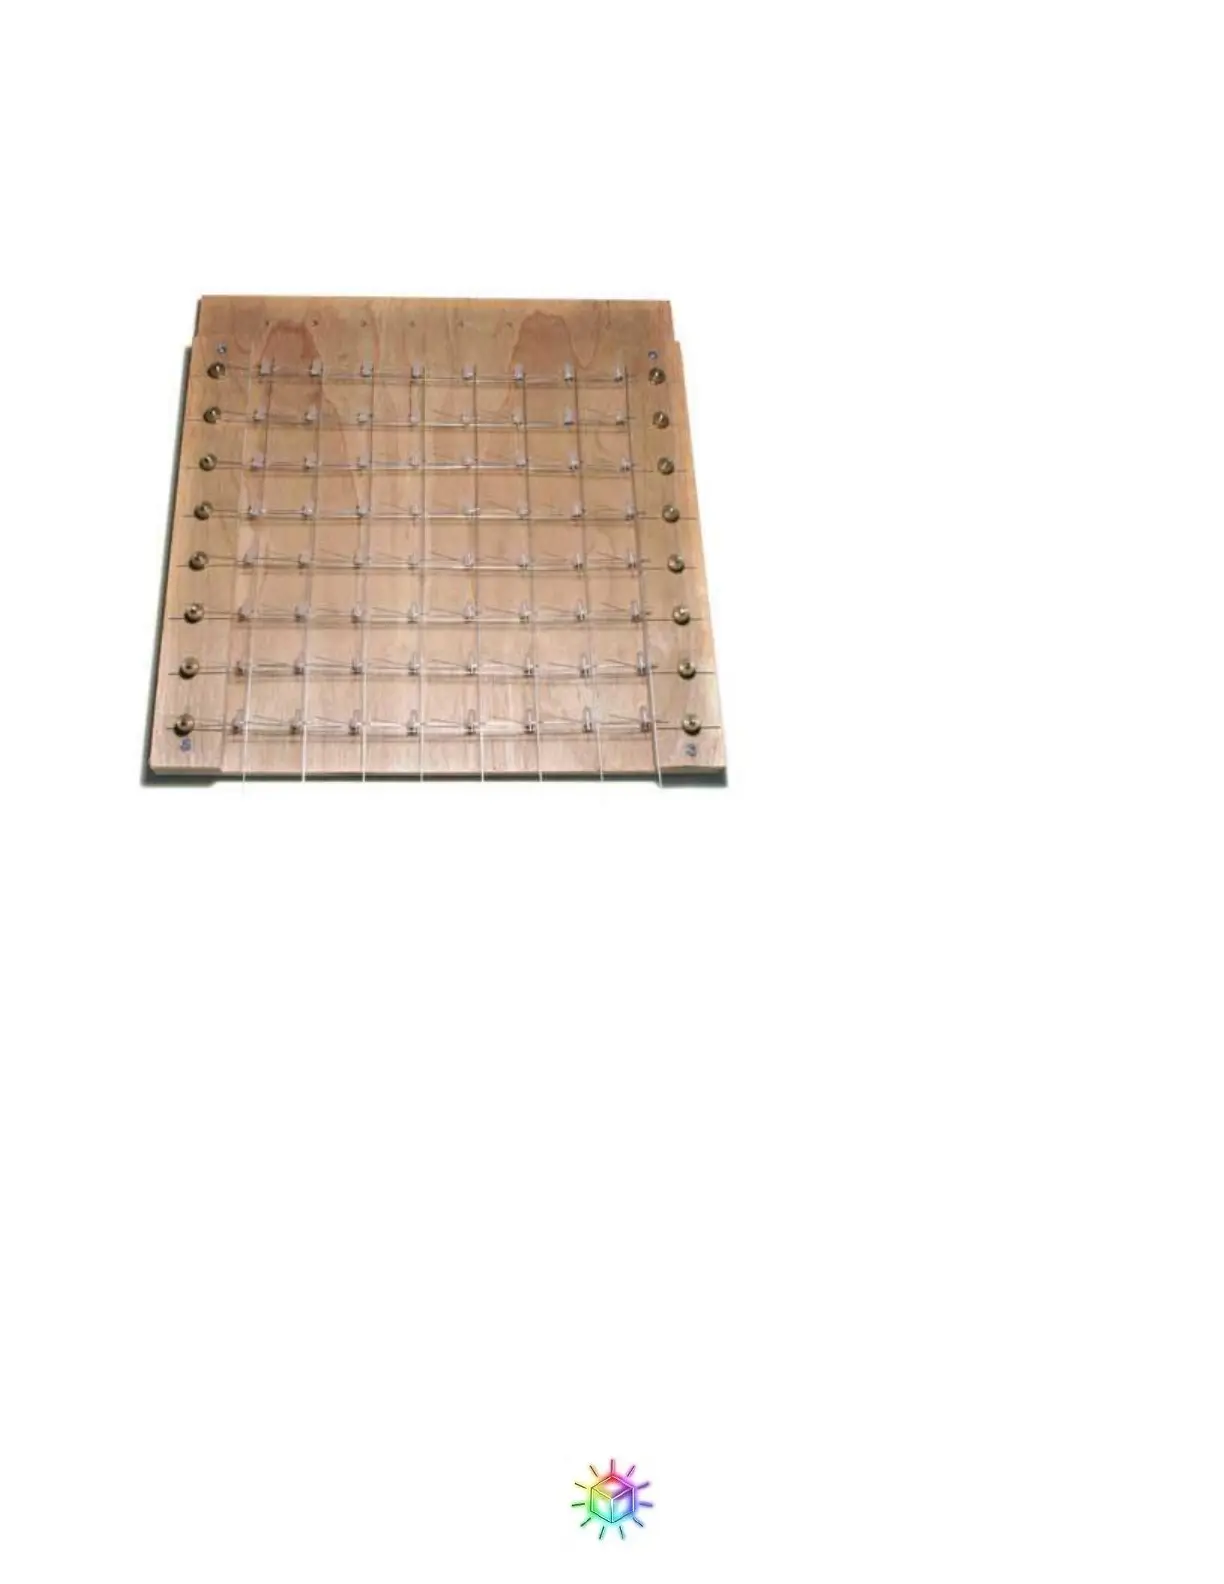
Figure 46 shows all of the red drop wires in place.
Figure 46: First set of drop wires in place.
Double check that all of the solder joints look good, then clip off the excess from the LED red leads, as they can
be in the way when soldering the blue drop wires. Do not trim any of the other wires, as some (like the extra
wire at the bottom) is very important for later steps.
Now the next set of drop wires is tricky. Because the blue leads are on a diagonal, the drop wires do not readily
stay in place while soldering. To alleviate this, elevate one side of the jig so that the diagonal leads are level.
Books work well for this (I used the stack of PCBs I had sitting next to me.)
 Loading...