Hypnocube 4Cube Instructions v 6.5, December 2013
- 35 -
Part 3: The Ugly
(Actually, “The Ugly” is nowhere near as ugly as it once was, due to improved techniques. But “The Somewhat
Unpleasent” just doesn’t have the same ring to it.)
In “The Ugly” we will put everything together, attaching the LED planes to the PCB, and then mounting the
whole thing into the case.
Estimated completion time: 2-4 hours.
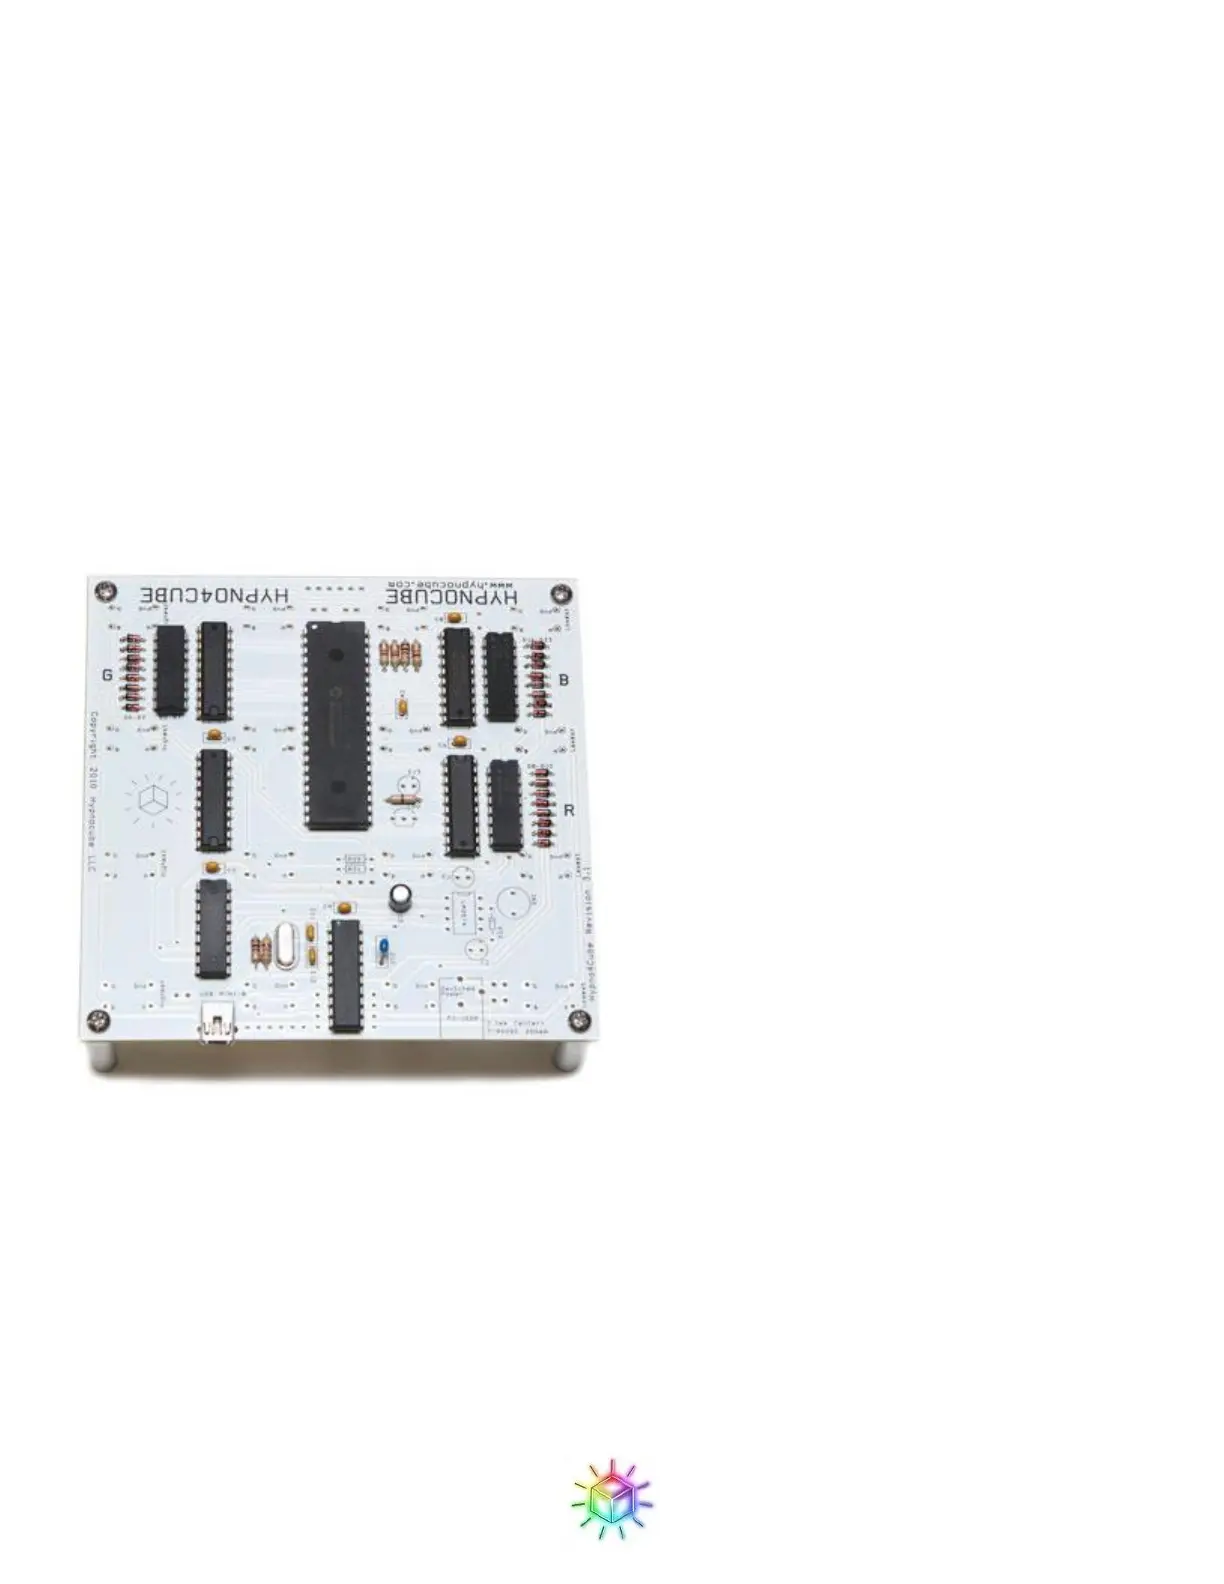
Step 1: Attach standoffs
First attach the 4 standoffs to the PCB as shown in Figure 61 with the provided screws. This lifts the board off
your working surface, and allows the LED plane wires to poke through. Using the standoffs for this purpose is a
lot easier and more stable than propping the PCB over a box as our previous instructions had you do.
Figure 61: PCB with stand offs
 Loading...