Hypnocube 4Cube Instructions v 6.5, December 2013
- 4 -
Step 2: Resistors
Next we will place the resistors and a jumper masquerading as a
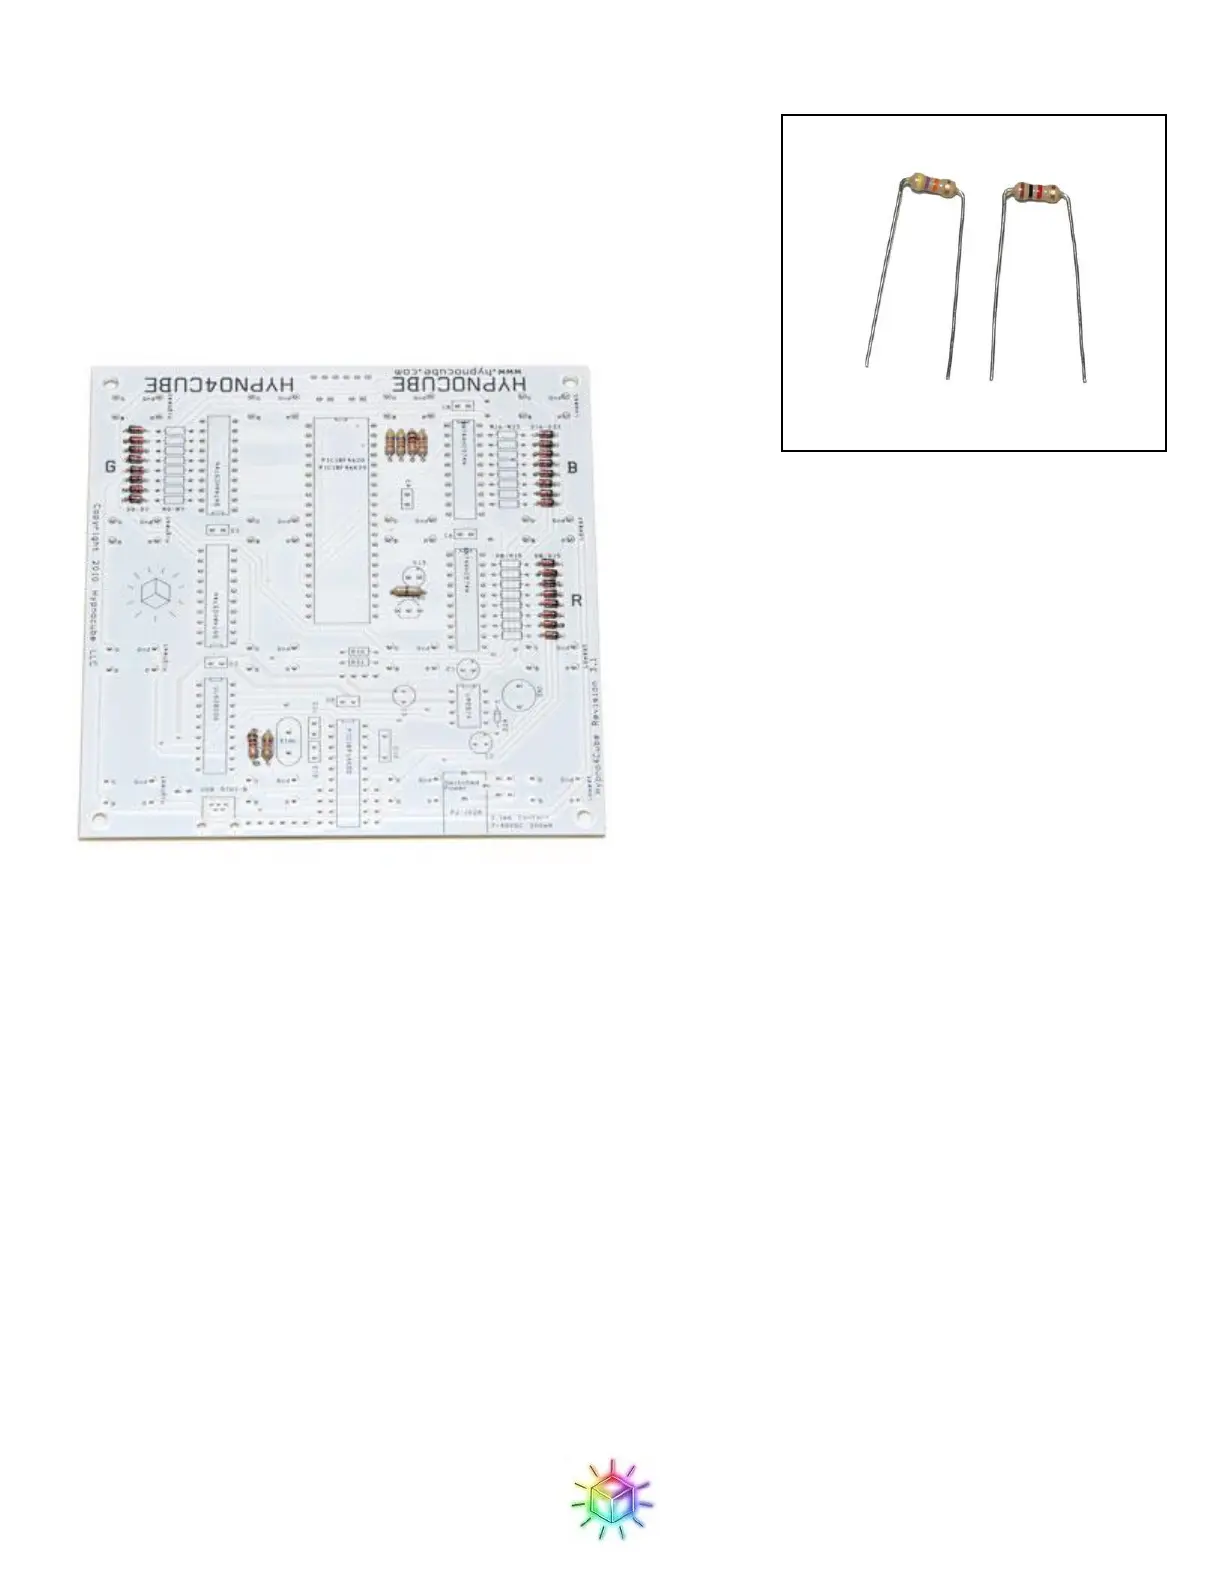
resistor. We have three resistor values here, 1K (brown-black-red,)
47K (yellow-violet-orange) and 0 (single black stripe). The 47K
resistors go in R24, R26, R27 and R28. The 1K resistors goes in R25
and R29. Finally, the 0 “resistor” goes across J1. Resistor orientations
do not matter.
Figure 4: Resistors in place.
Figure 3: 47K (left) and 1K (right)
resistors