Hypnocube 4Cube Instructions v 6.5, December 2013
- 5 -
Step 3: Small capacitors
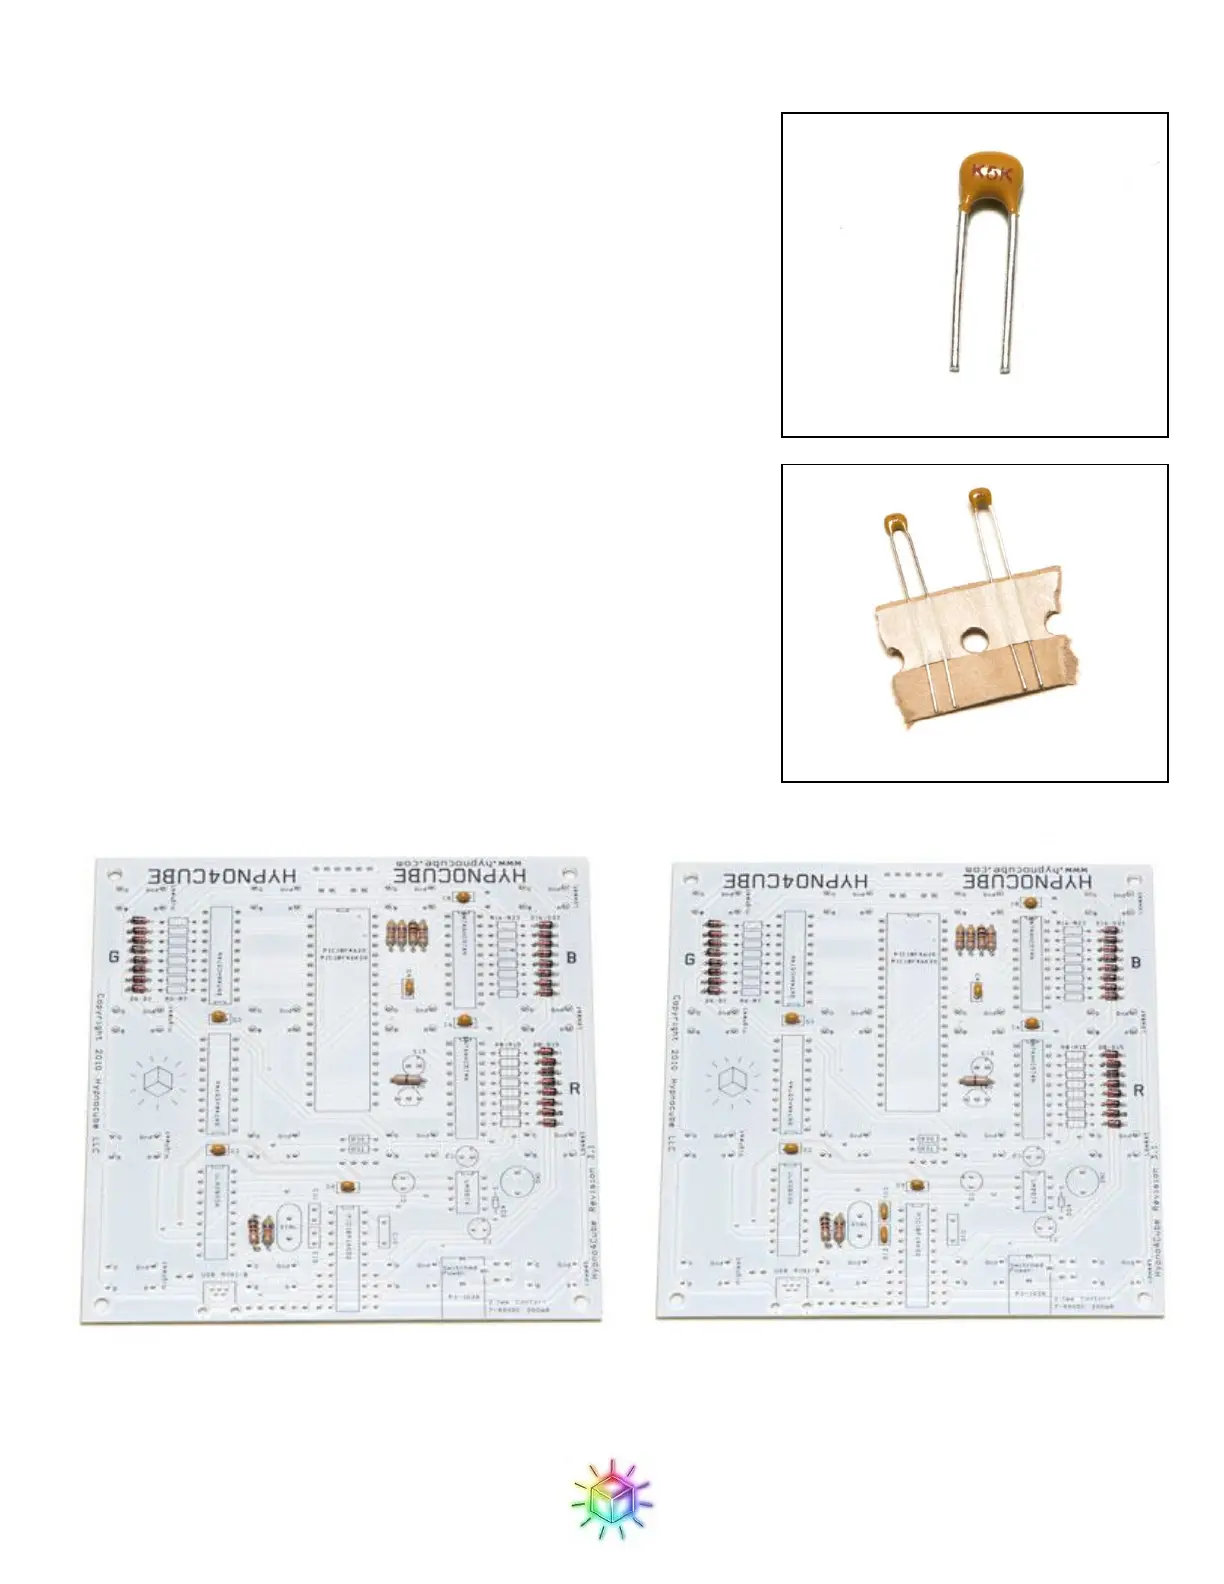
Next solder the six 0.1uF and two 22pF ceramic capacitors, shown in
Figure 5 and Figure 6: 22pF ceramic capacitors. The two look very
similar so take care to not mix them up. The 0.1uF capacitors go in C4
through C9 (Shown if Figure 8: 0.1uF ceramic capacitors in place.)
The 22pF capacitors go in C11 and C12 as shown in Figure 7: 22pF
ceramic capacitors in place..
These ceramic capacitors are not orientation dependent.
Figure 8: 0.1uF ceramic capacitors in place.
Figure 5: 0.1uF ceramic capacitor
Figure 6: 22pF ceramic capacitors
Figure 7: 22pF ceramic capacitors in place.
 Loading...