Hypnocube 4Cube Instructions v 6.5, December 2013
- 6 -
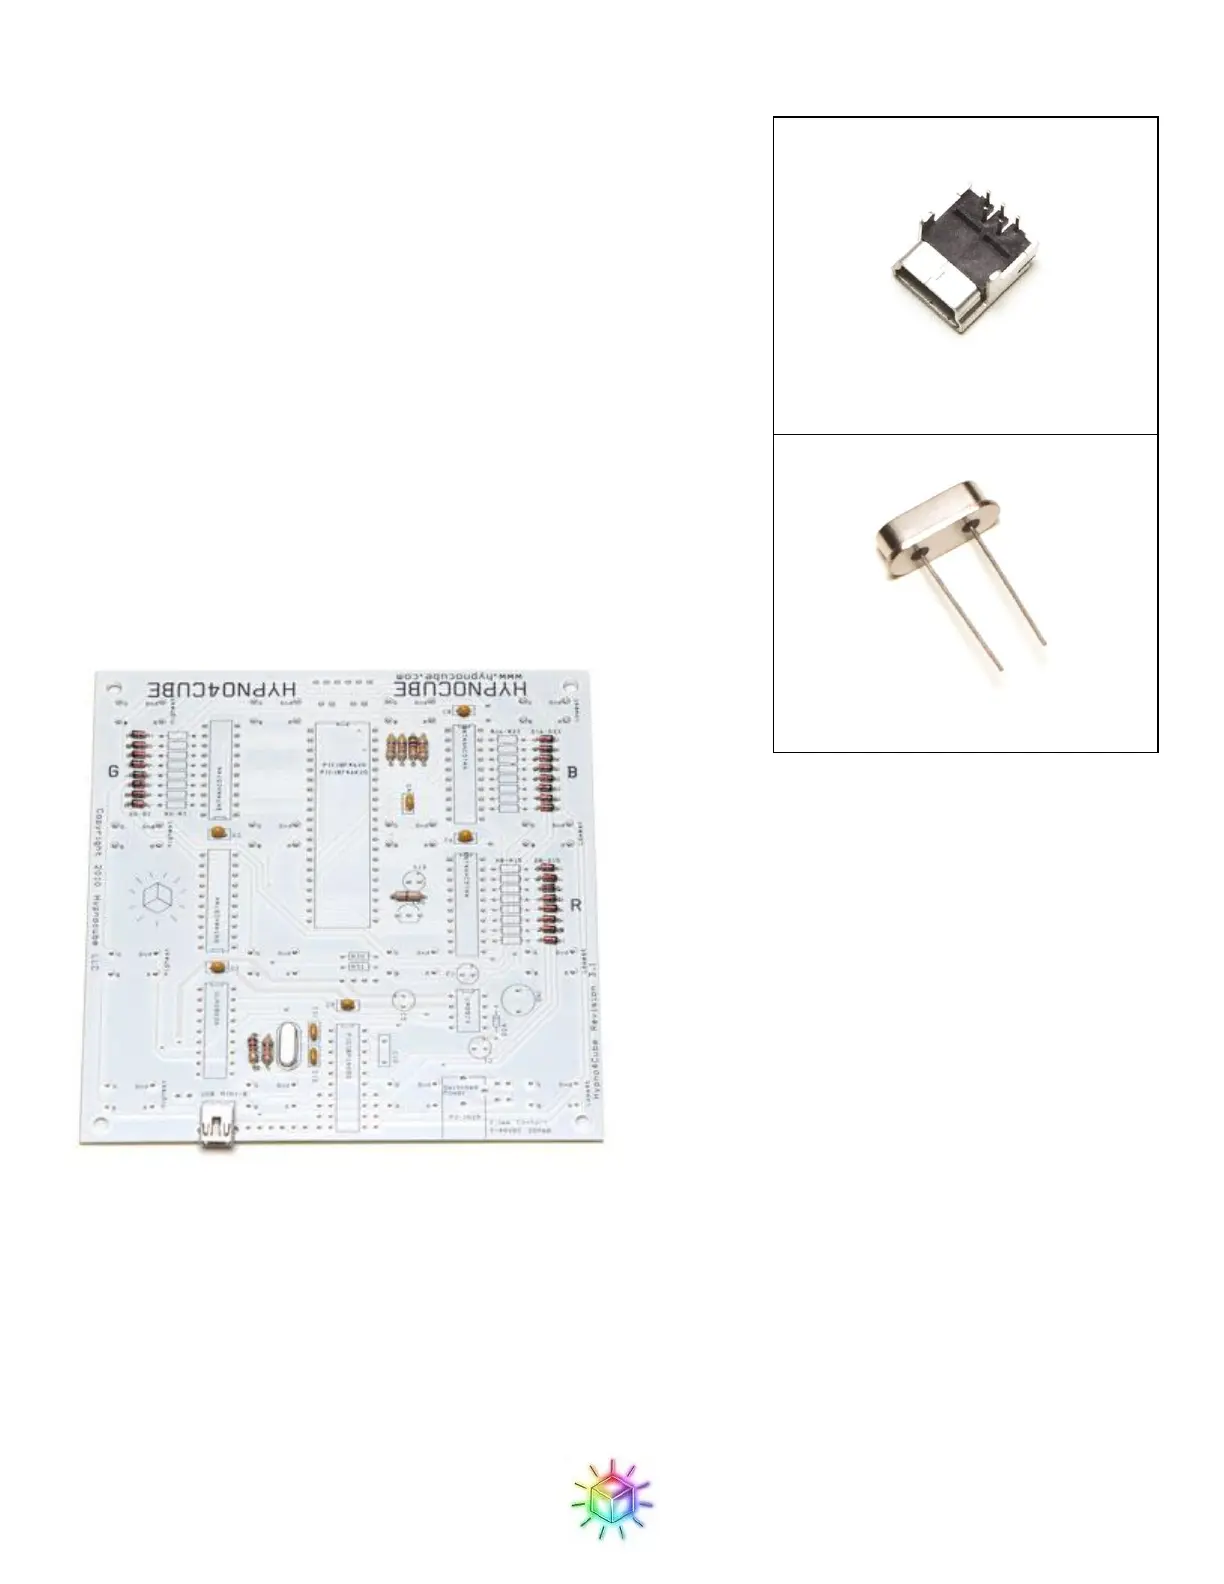
Step 4: Crystal and USB jack
The mini USB jack and the crystal both have similar heights so we’ll
do them together next.
The USB jack might be a bit tricky since it has a smaller pin spacing
then any of the other components, and the leads are barely long
enough to go through the PCB (it was, however, the only through-hole
mini USB jack I could find, and I figured many of you would prefer it
to the common surface mount variety.) Solder one of the large support
legs first, and make sure that the jack is reasonably well aligned, as
there is a bit of wiggle room in placement. Make sure that the solder
flows into the holes to make good contact with the USB pins. Also
make sure to solder the other support leg to give the jack extra support
during insert/removal of the plug.
The crystal on the other hand is a simple affair, and goes in the spot
marked ‘XTAL’. It is not orientation sensitive.
Figure 11: USB jack and crystal in place.
 Loading...