Hypnocube 4Cube Instructions v 6.5, December 2013
- 7 -
Step 5: Chips, dips, chains, whips...
It's time to place some chips. When the chips are down....
ICs can be damaged by static from your fingers, so ground yourself as usual when working with static-sensitive
electronics.
The chips usually don't quite fit since their pins are splayed a little wider than the PCB slots. It might help to
bend the pins slightly before inserting. Use a flat right-angle surface to bend them all slightly and at once.
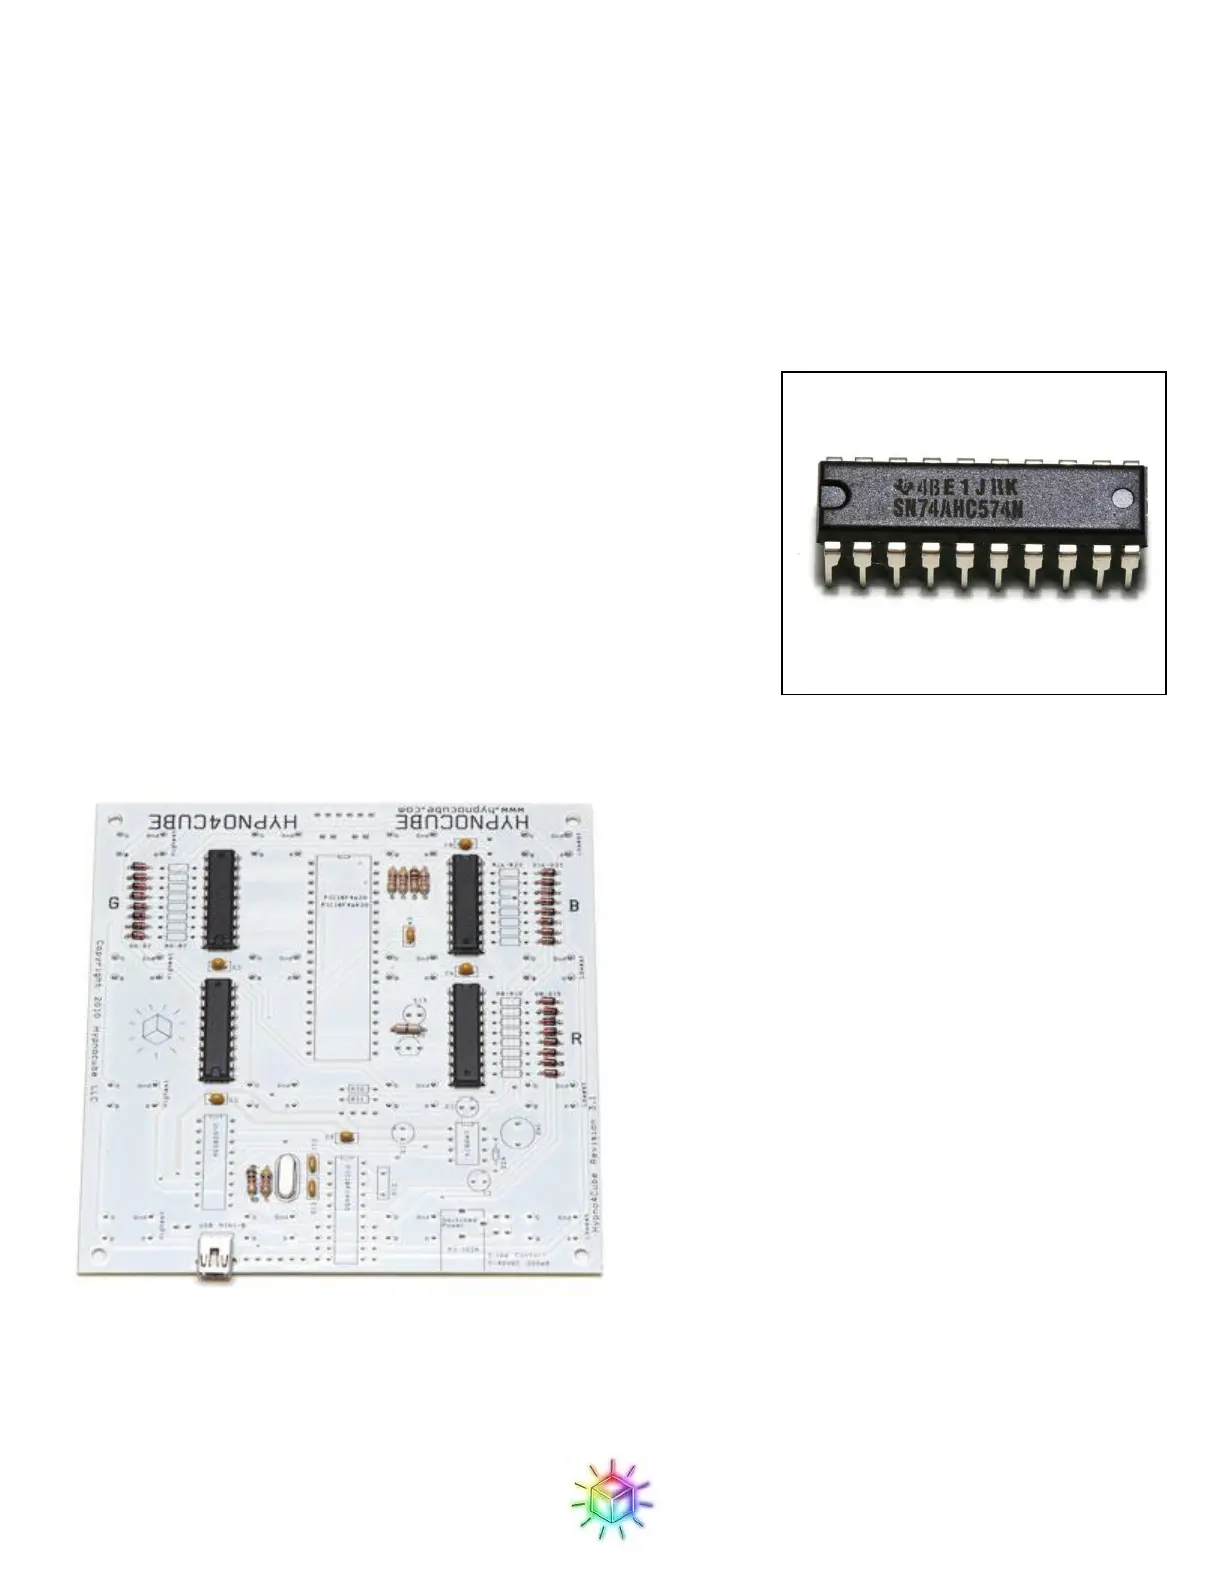
We will start with the 4 SN74AHC574N chips (Figure 12)
Be sure to orient the chip properly! There is a notch on one end of the
chip (to the left in the picture above,) and this should align with a notch
drawn on the PCB footprint. Note that two of the SN74s face the
opposite direction as the other two SN74s – make sure they are all
oriented properly.
It can be helpful to tack the chip by soldering just 2 corner pins in
place, and making sure that the chip is properly seated before soldering
the rest. Uneven seating won't harm anything, but may not look very
good either. It's also good to double-check that the chip is oriented
properly - you really don't want to be trying to extract one after it's all soldered in.
Figure 13: SN74AHC574Ns in place.
 Loading...