Hypnocube 4Cube Instructions v 6.5, December 2013
- 40 -
wire should slot into the GND hole on the side marked “Lowest” on the PCB. Otherwise all of the GND holes
should be open.
Do not solder yet!
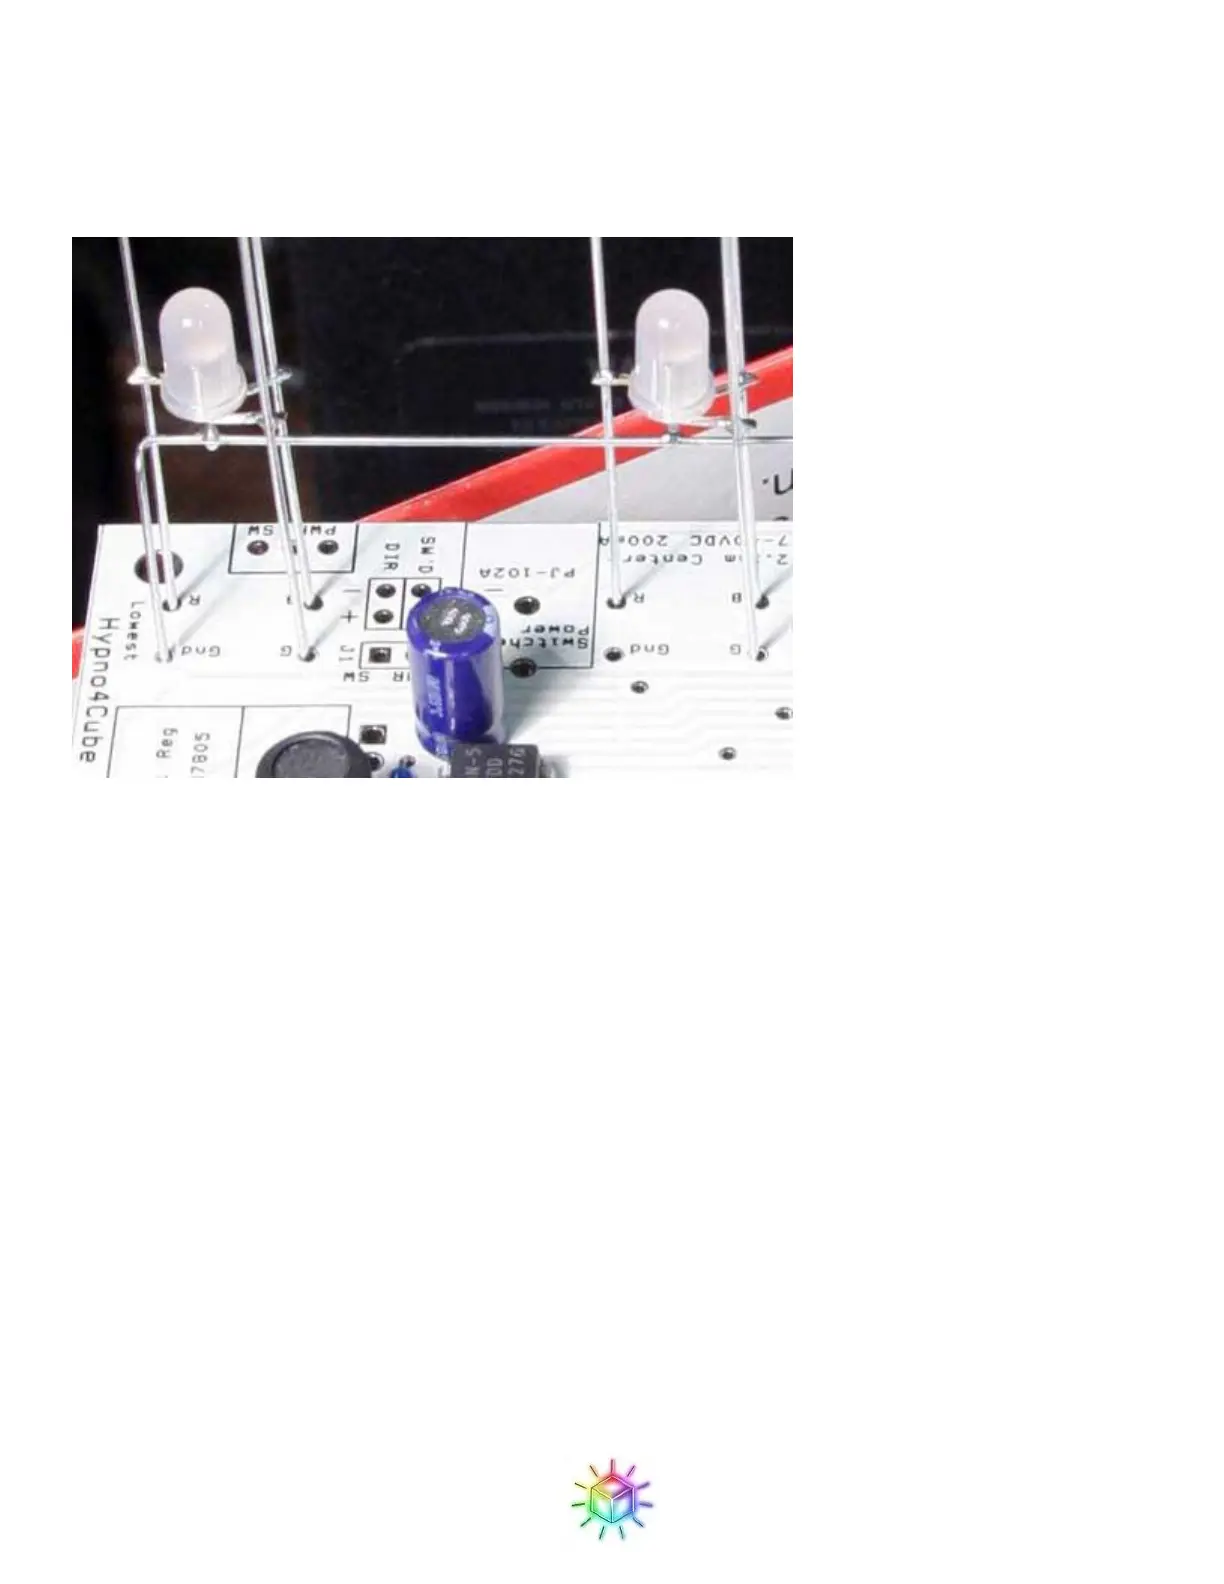
Figure 67: Close up of the LED holes.
First double check that all of the wires are in the proper holes.
Next, adjust the plane so that the height of the LEDs from the PCB looks good to you, and that the LEDs are
level to your satisfaction.
Now solder only one wire at each end of the PCB. This will allow you to check that the alignment wasn’t
disturbed, and allow you to make any fine adjustments (by reflowing one or the other joint) before continuing.
Once you have everything positioned to your satisfaction (grid is square, aligned, even, etc.), you can solder all
of the remaining the leads. You can do all of the soldering from the top; there’s no need to turn the cube upside
down. Then clip off the excess wire below the PCB.
Figure 68 shows the PCB with the first grid soldered on.
 Loading...